Put a Lid On It - Shaping the Top of a Chest of Drawers

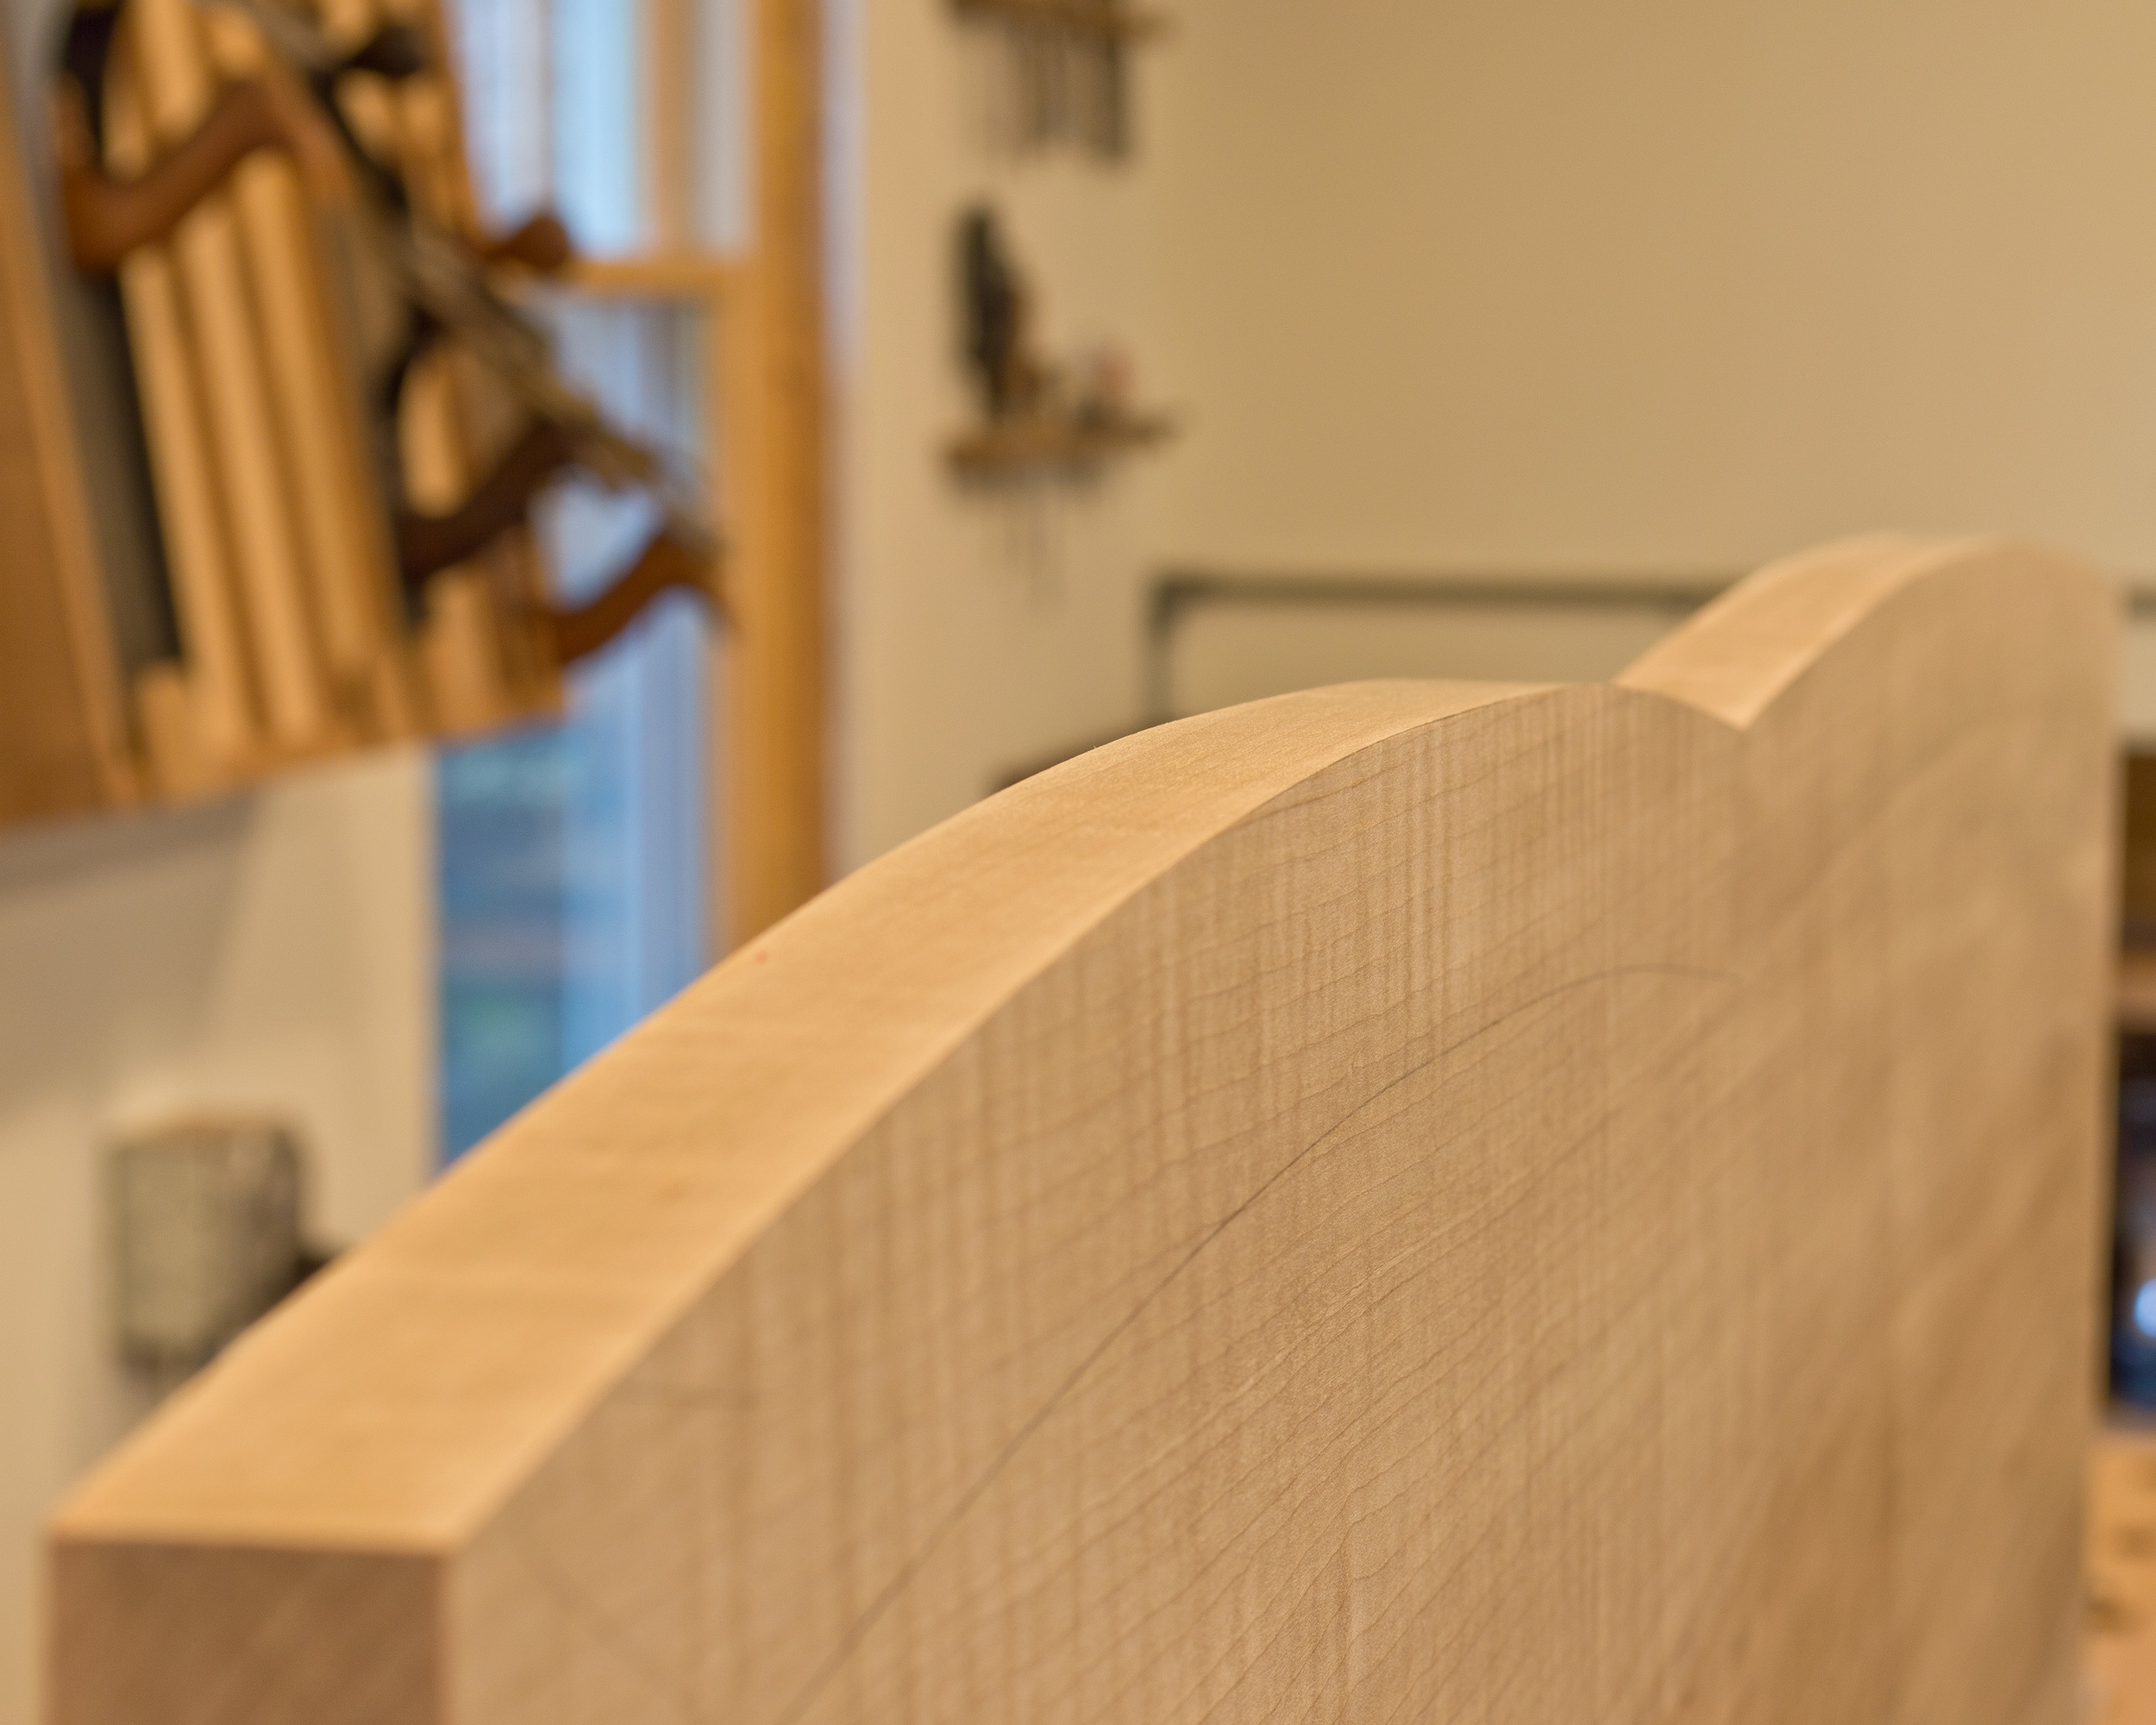
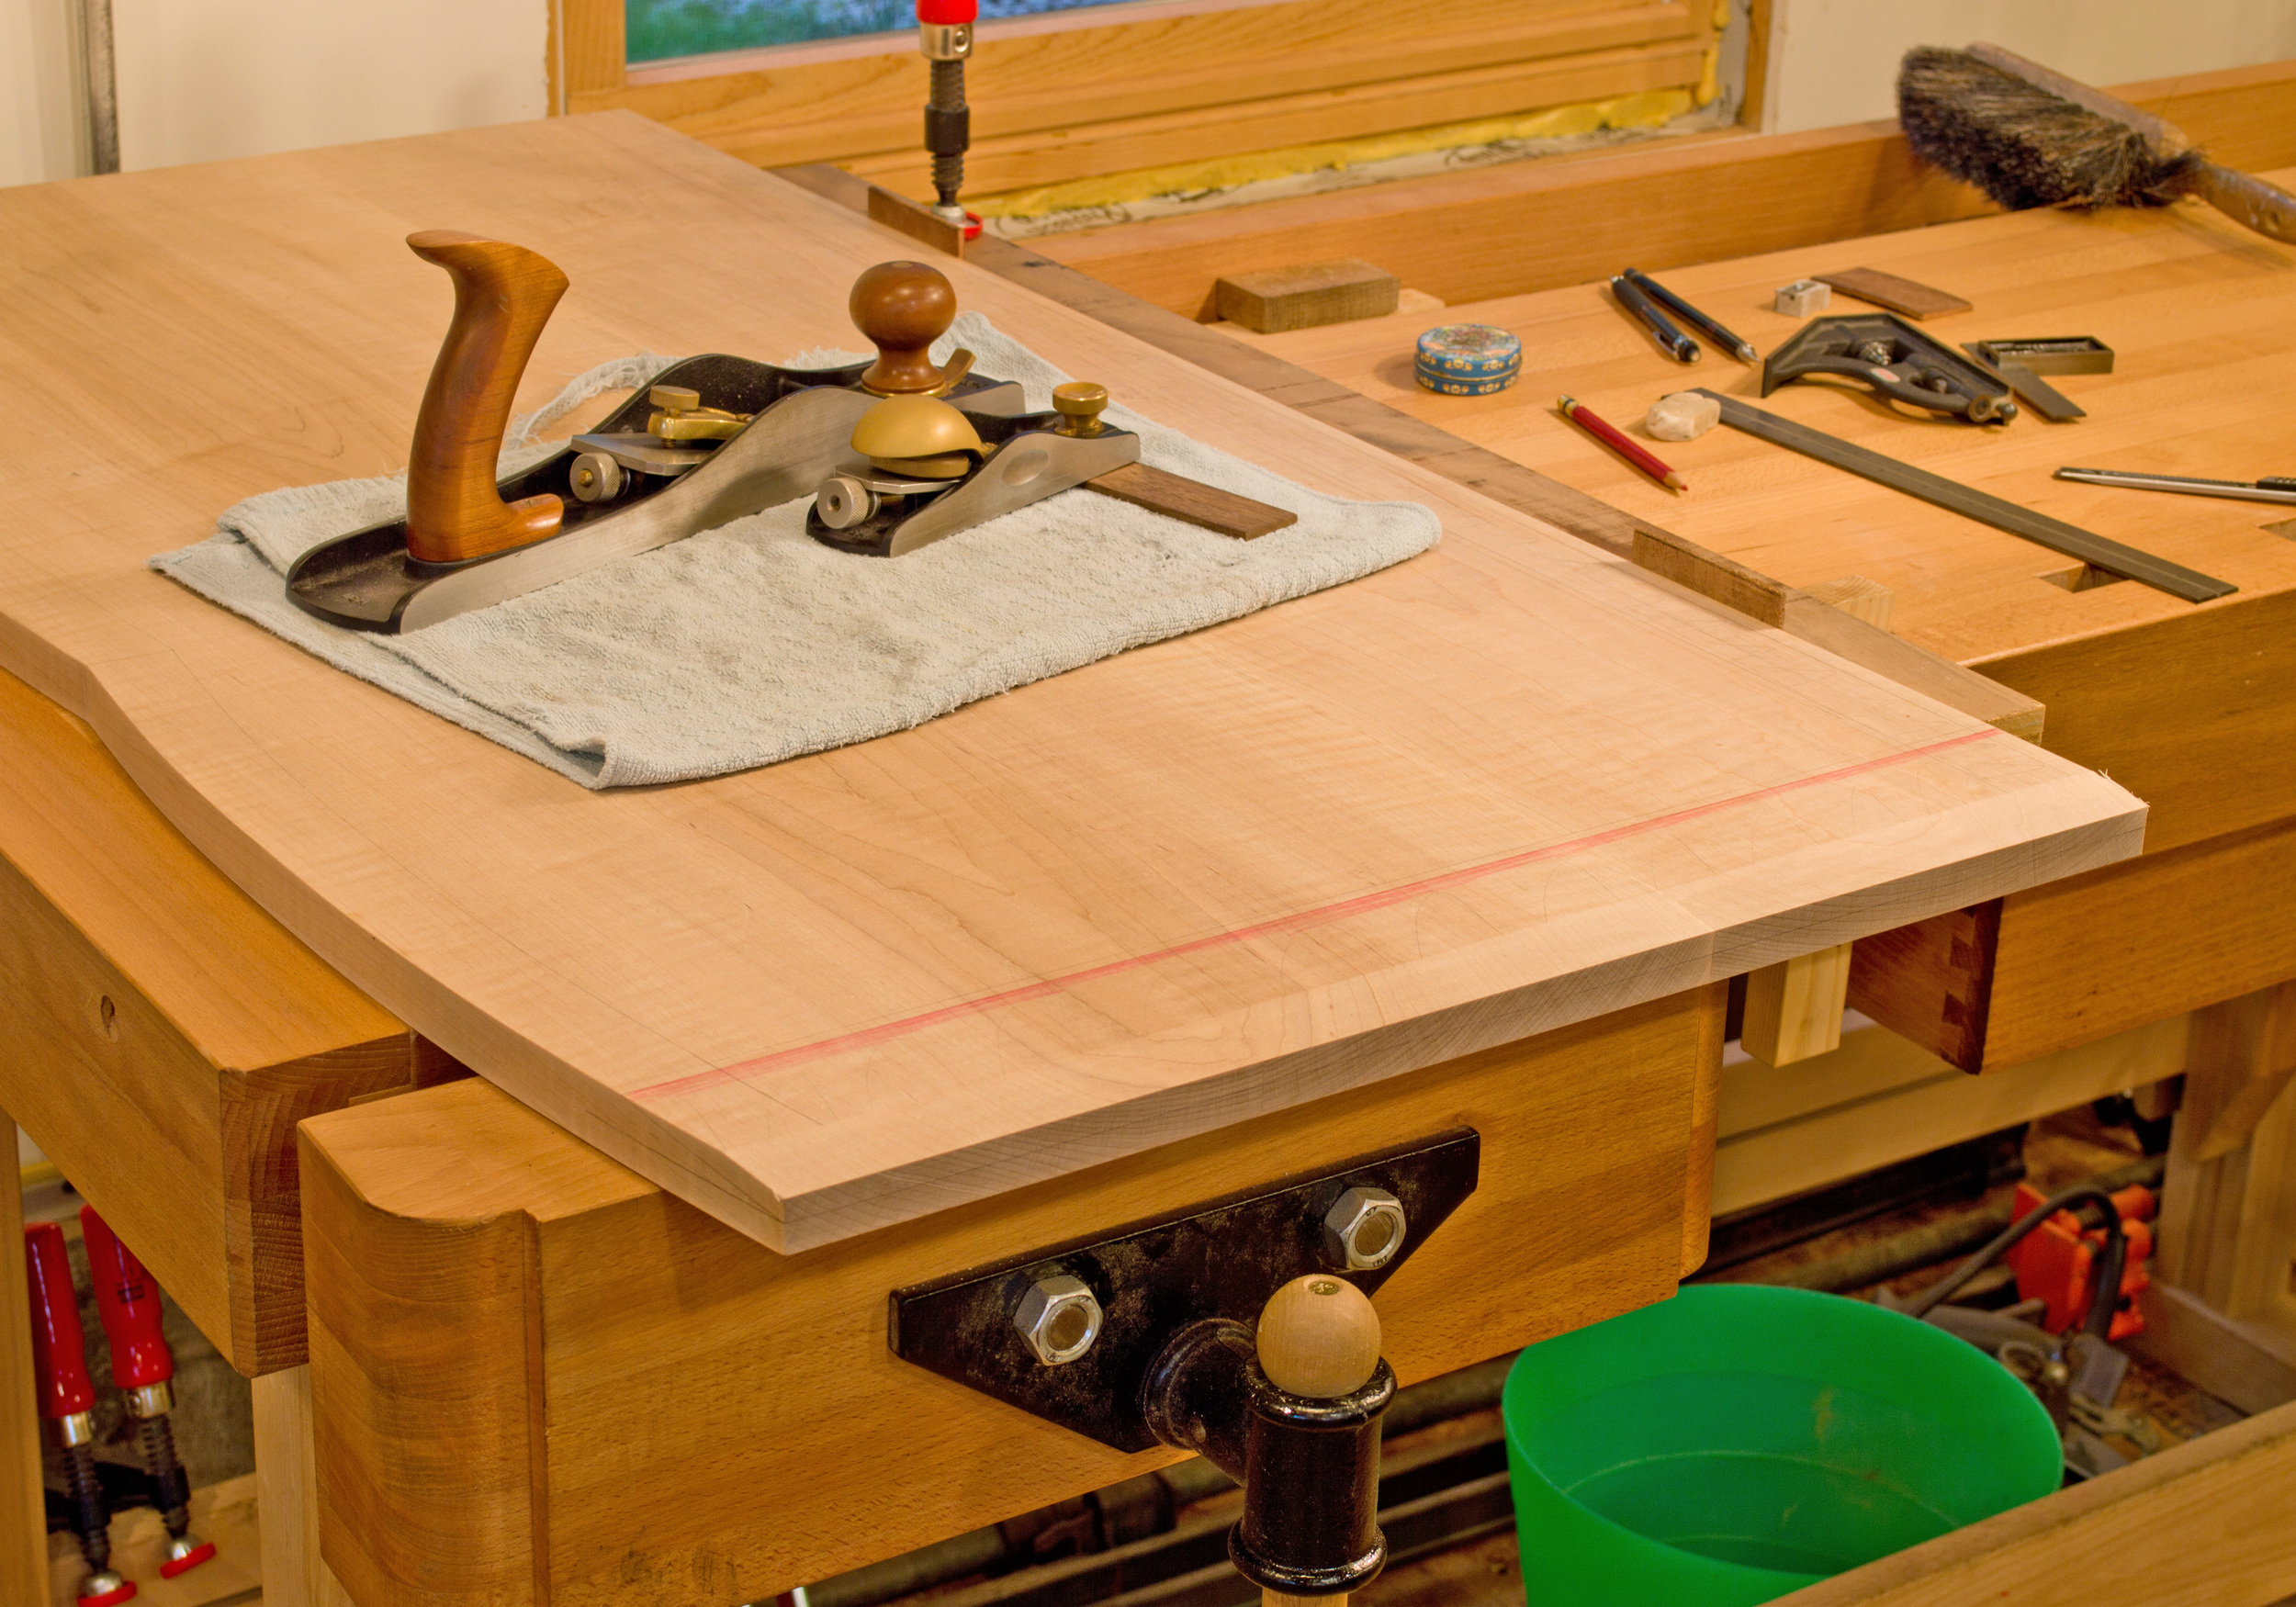
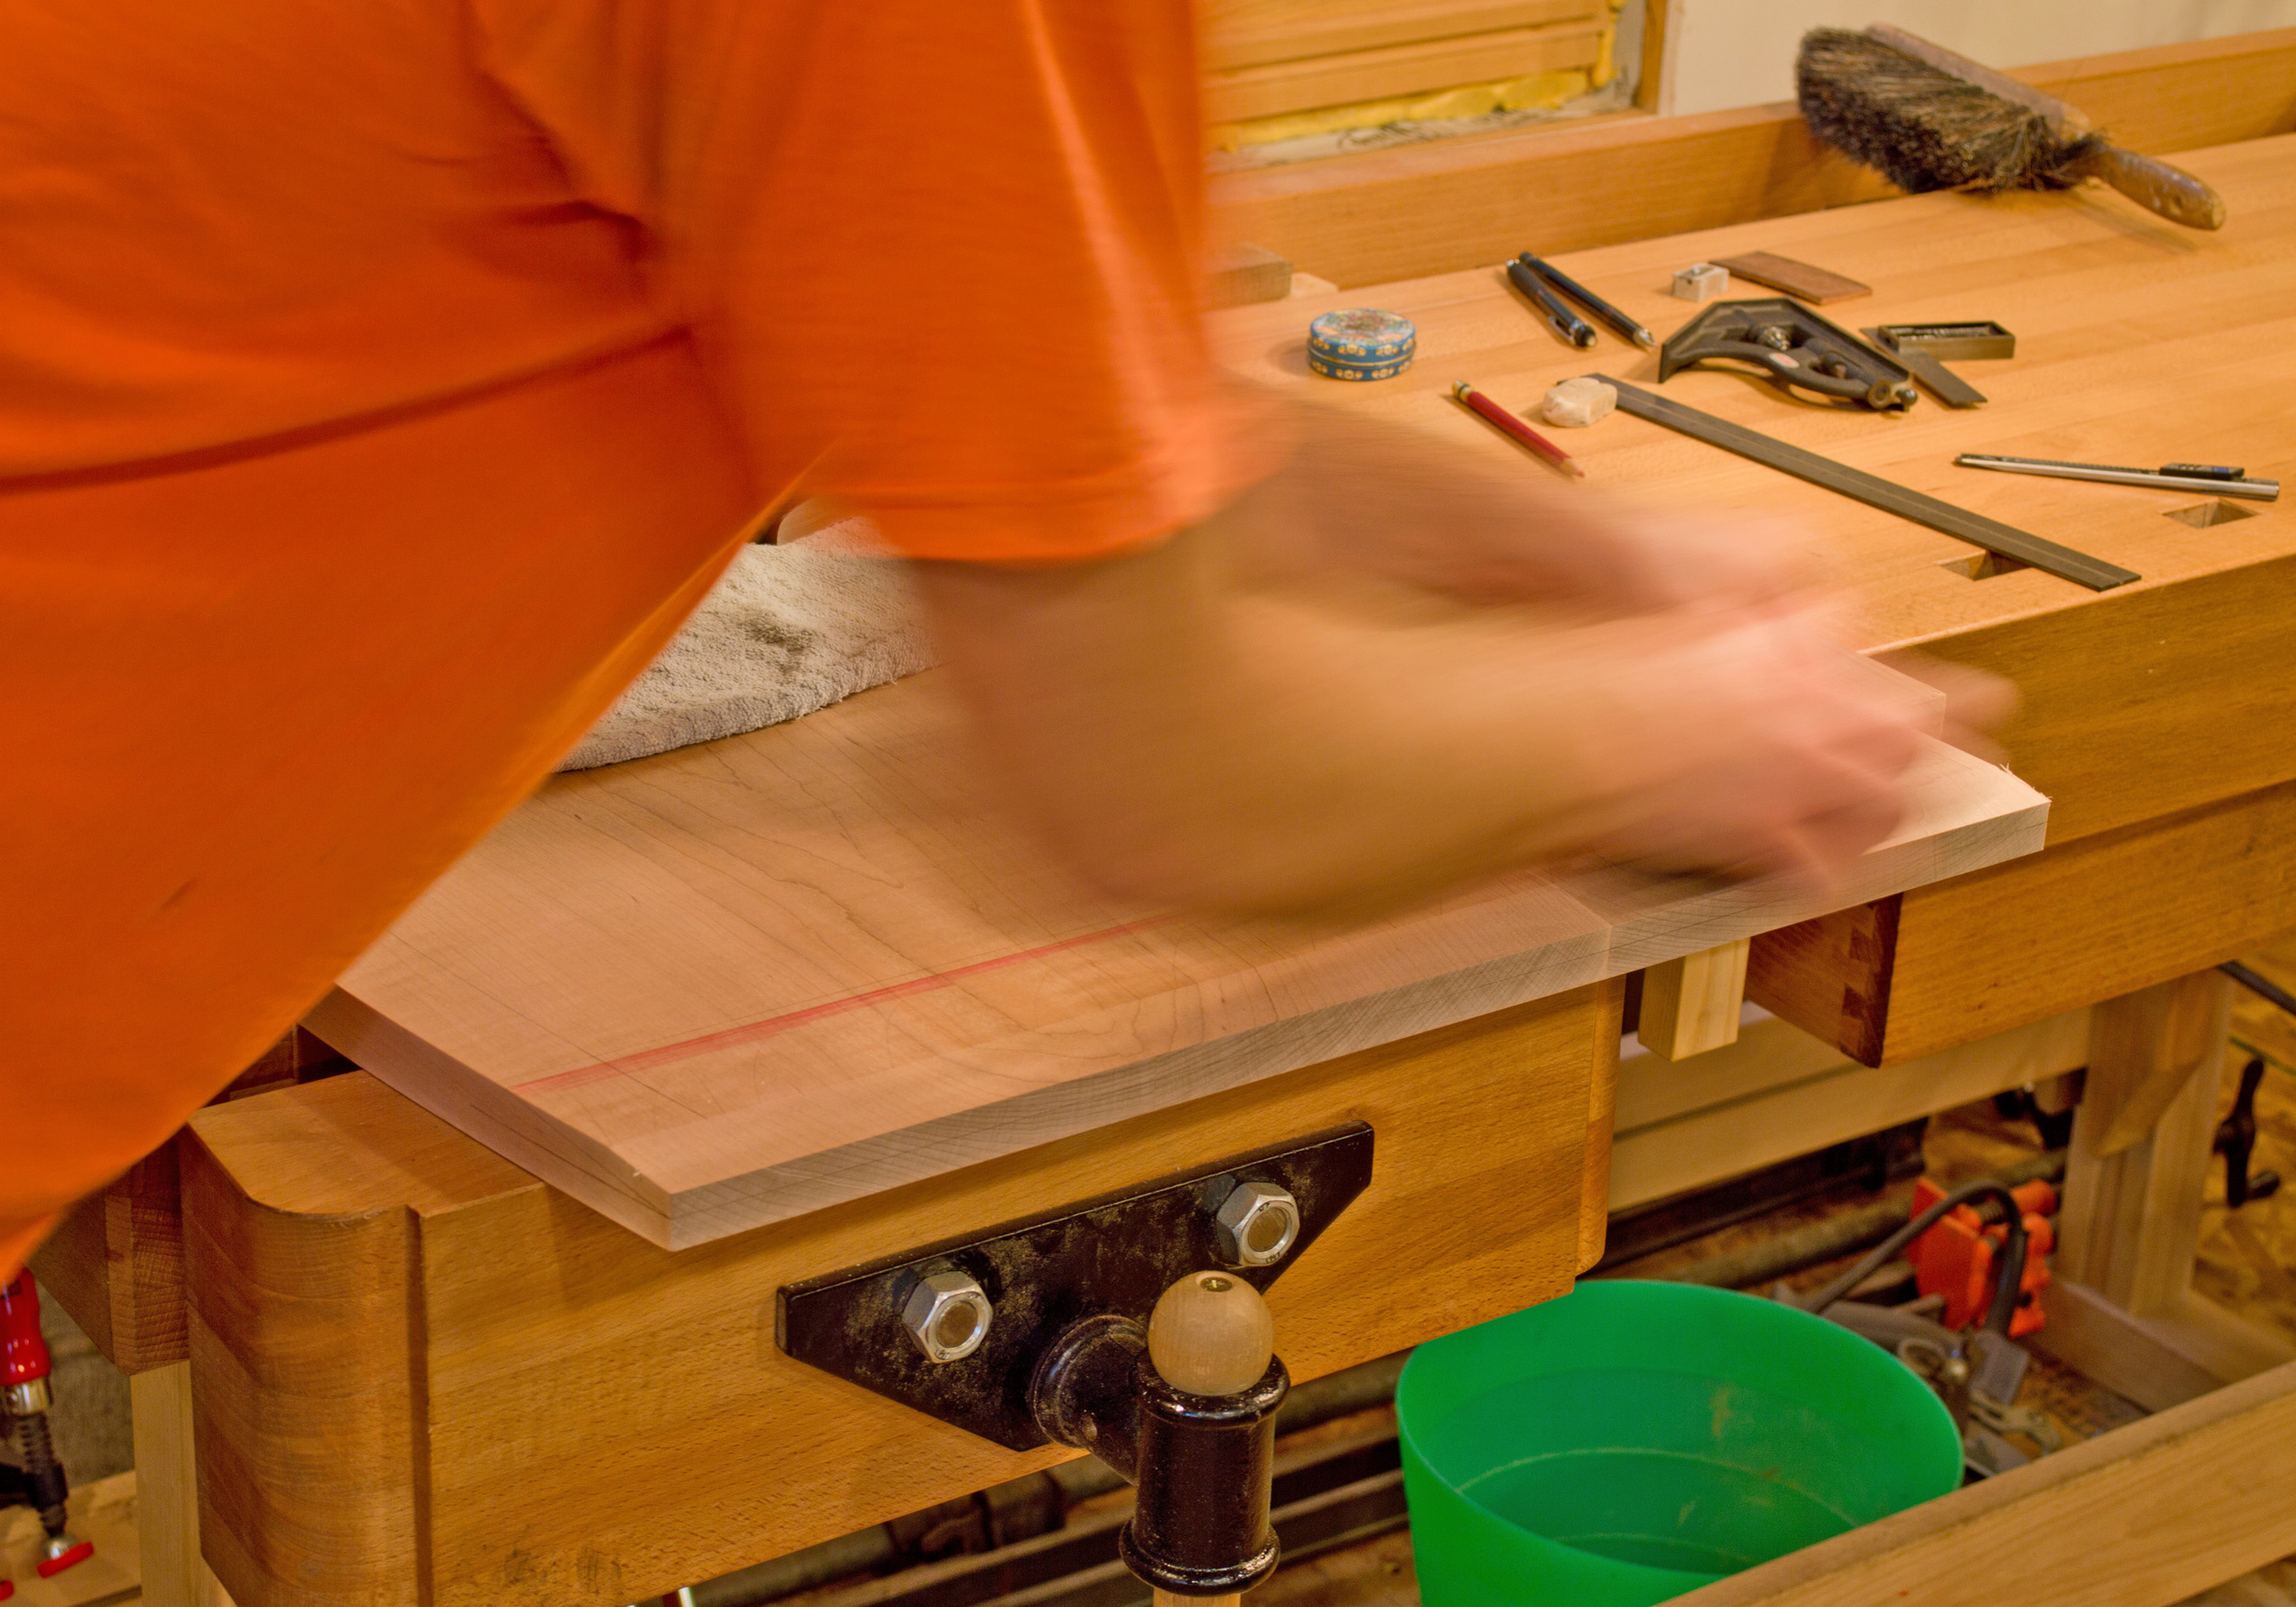
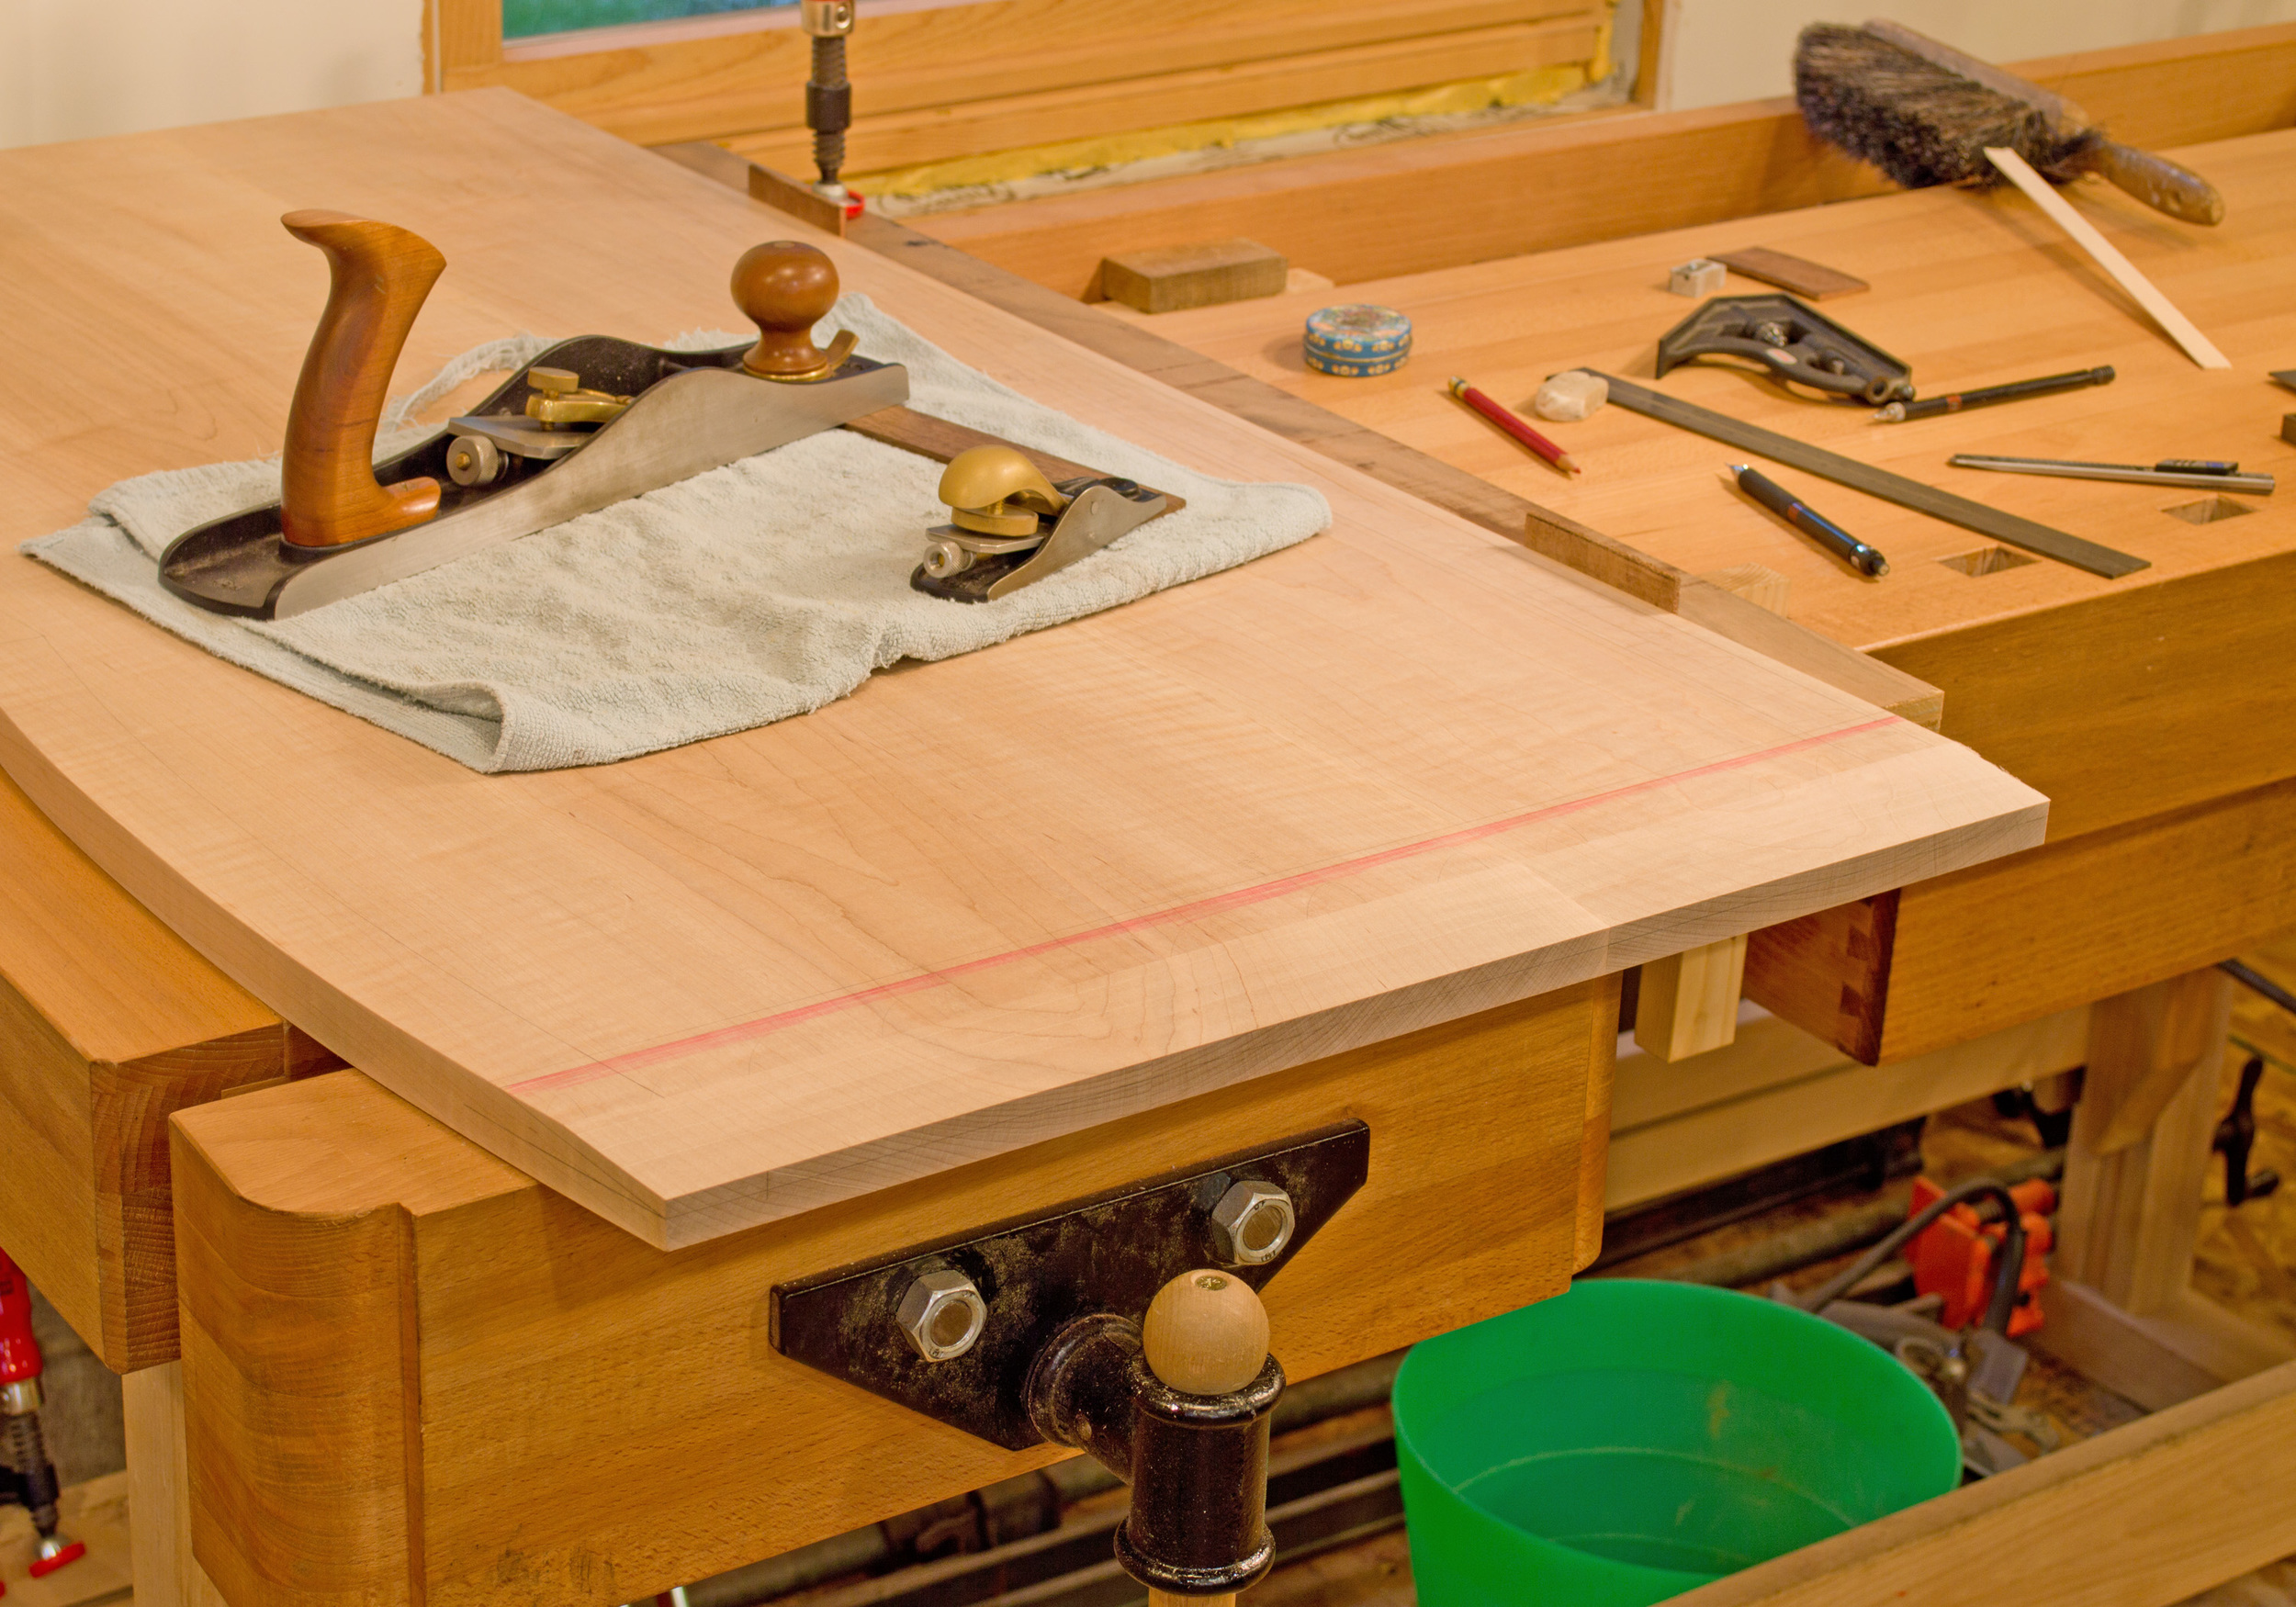
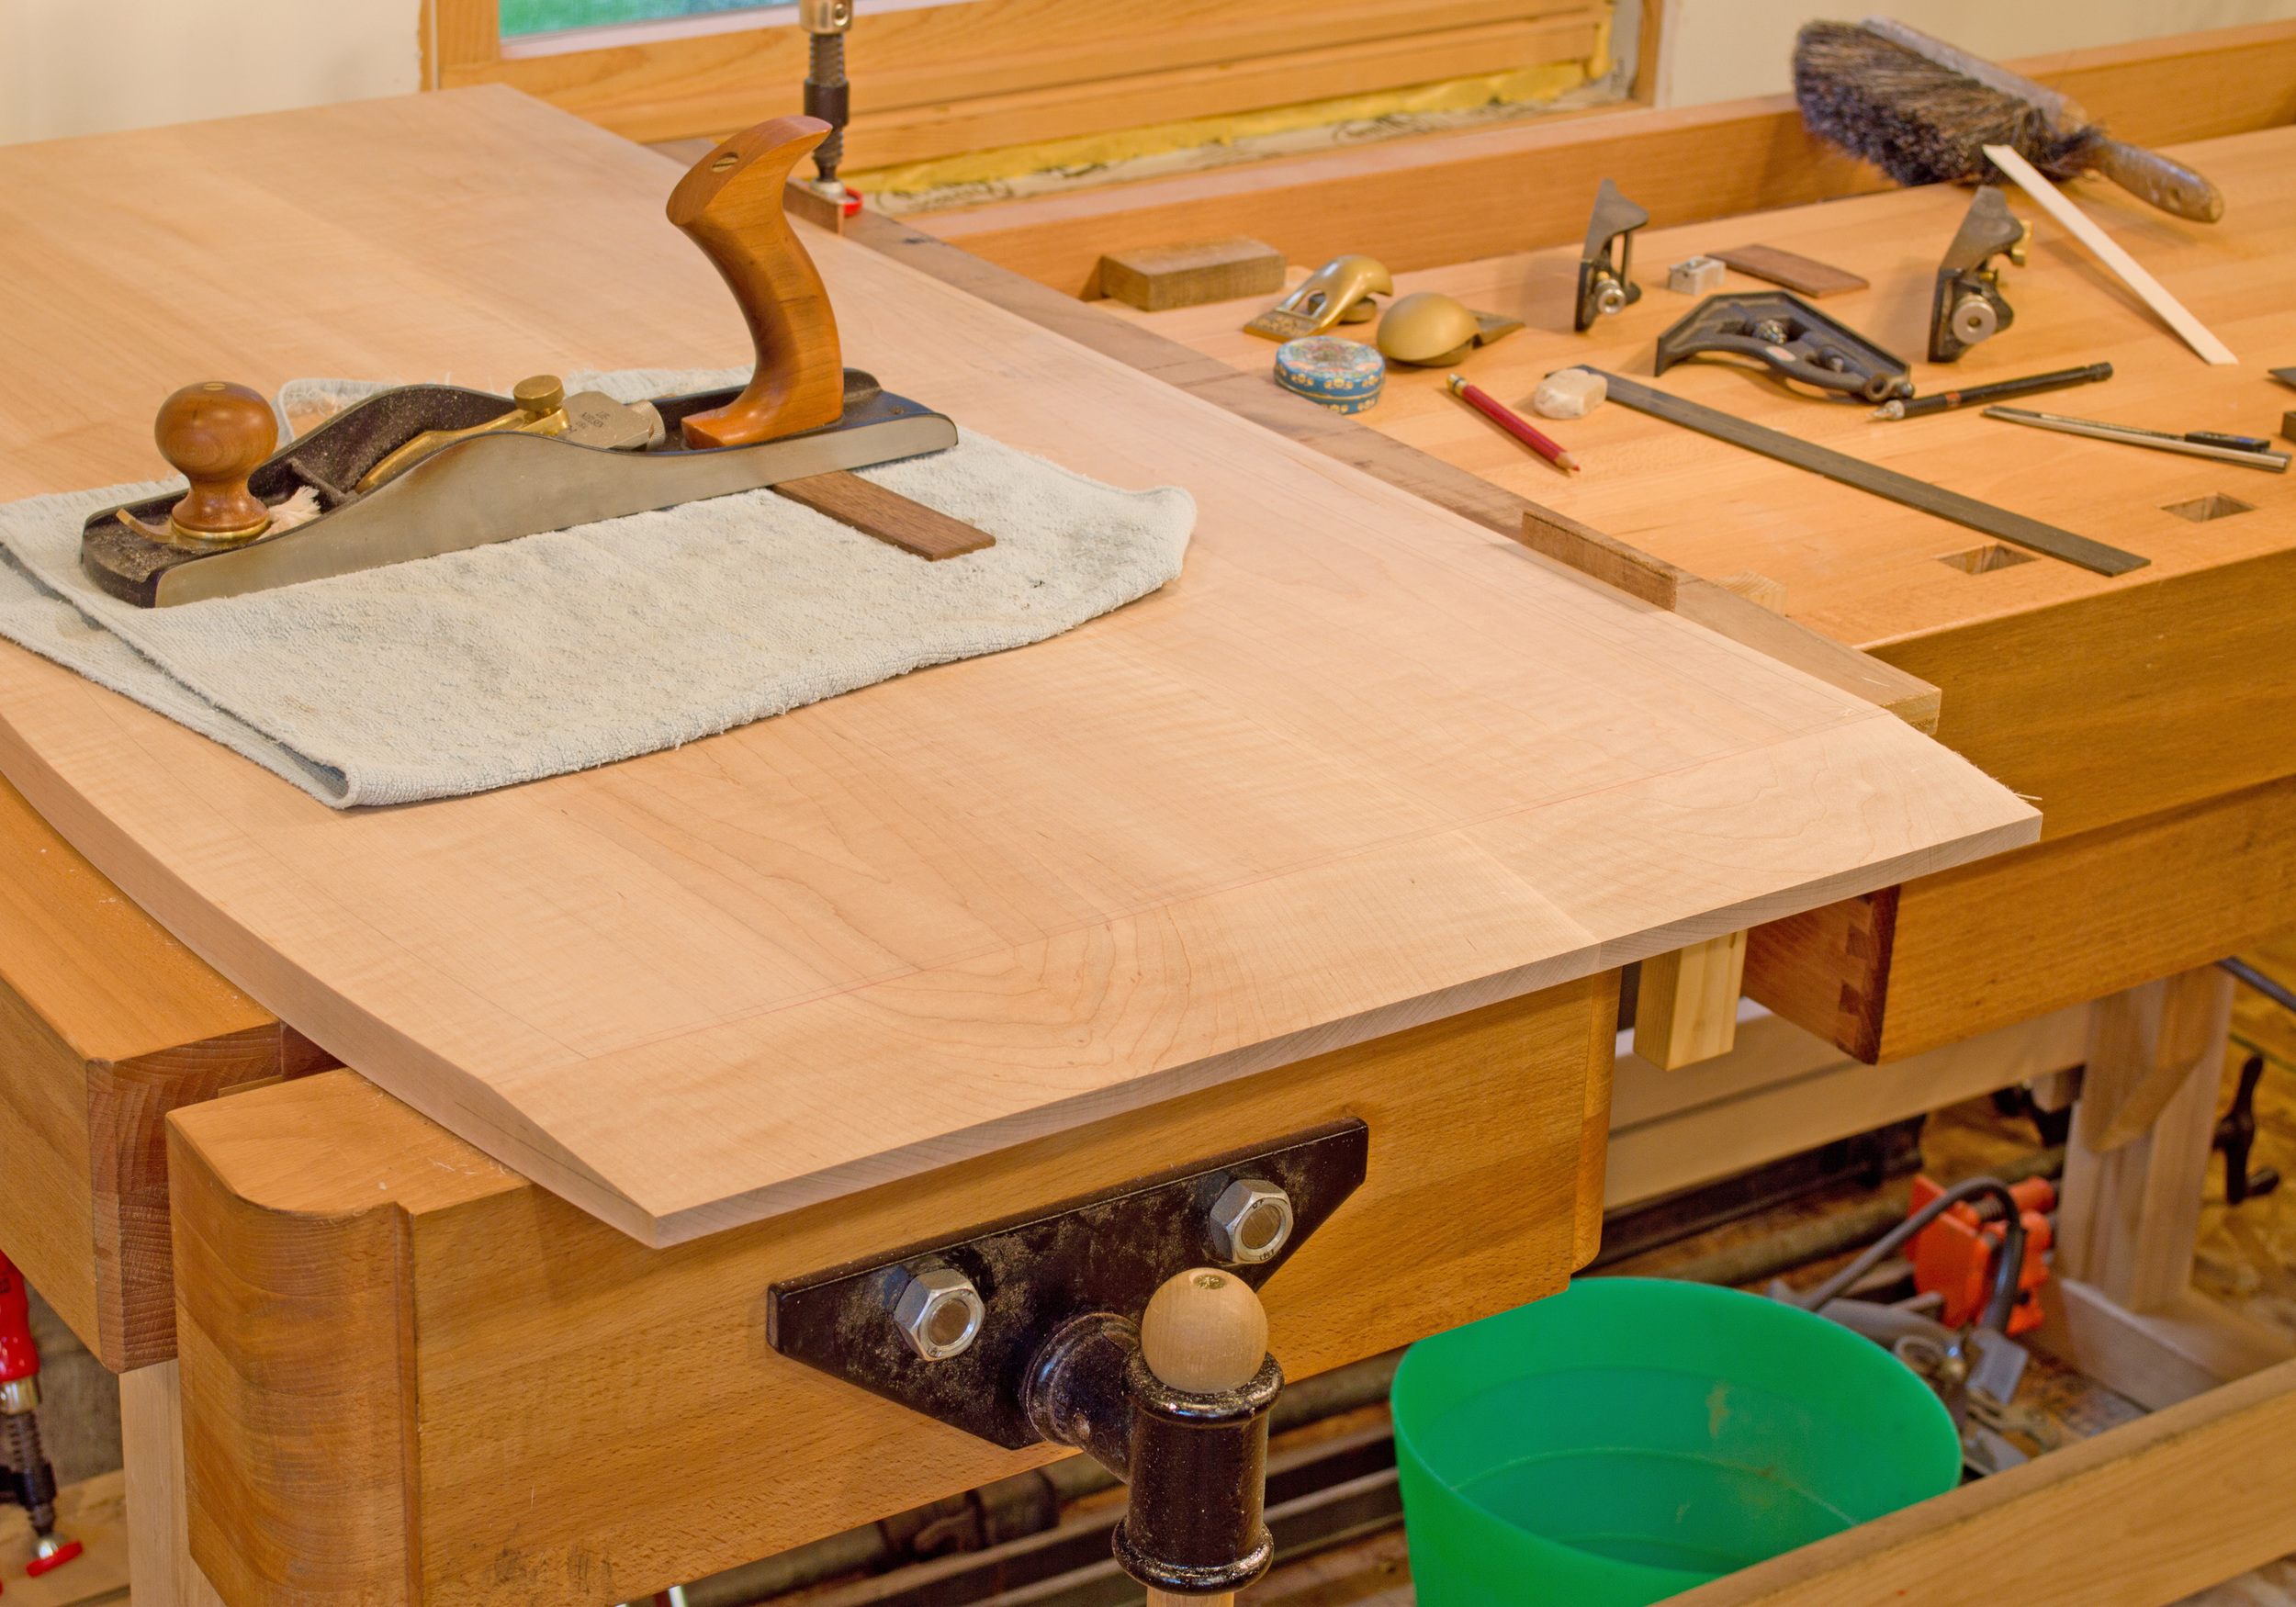
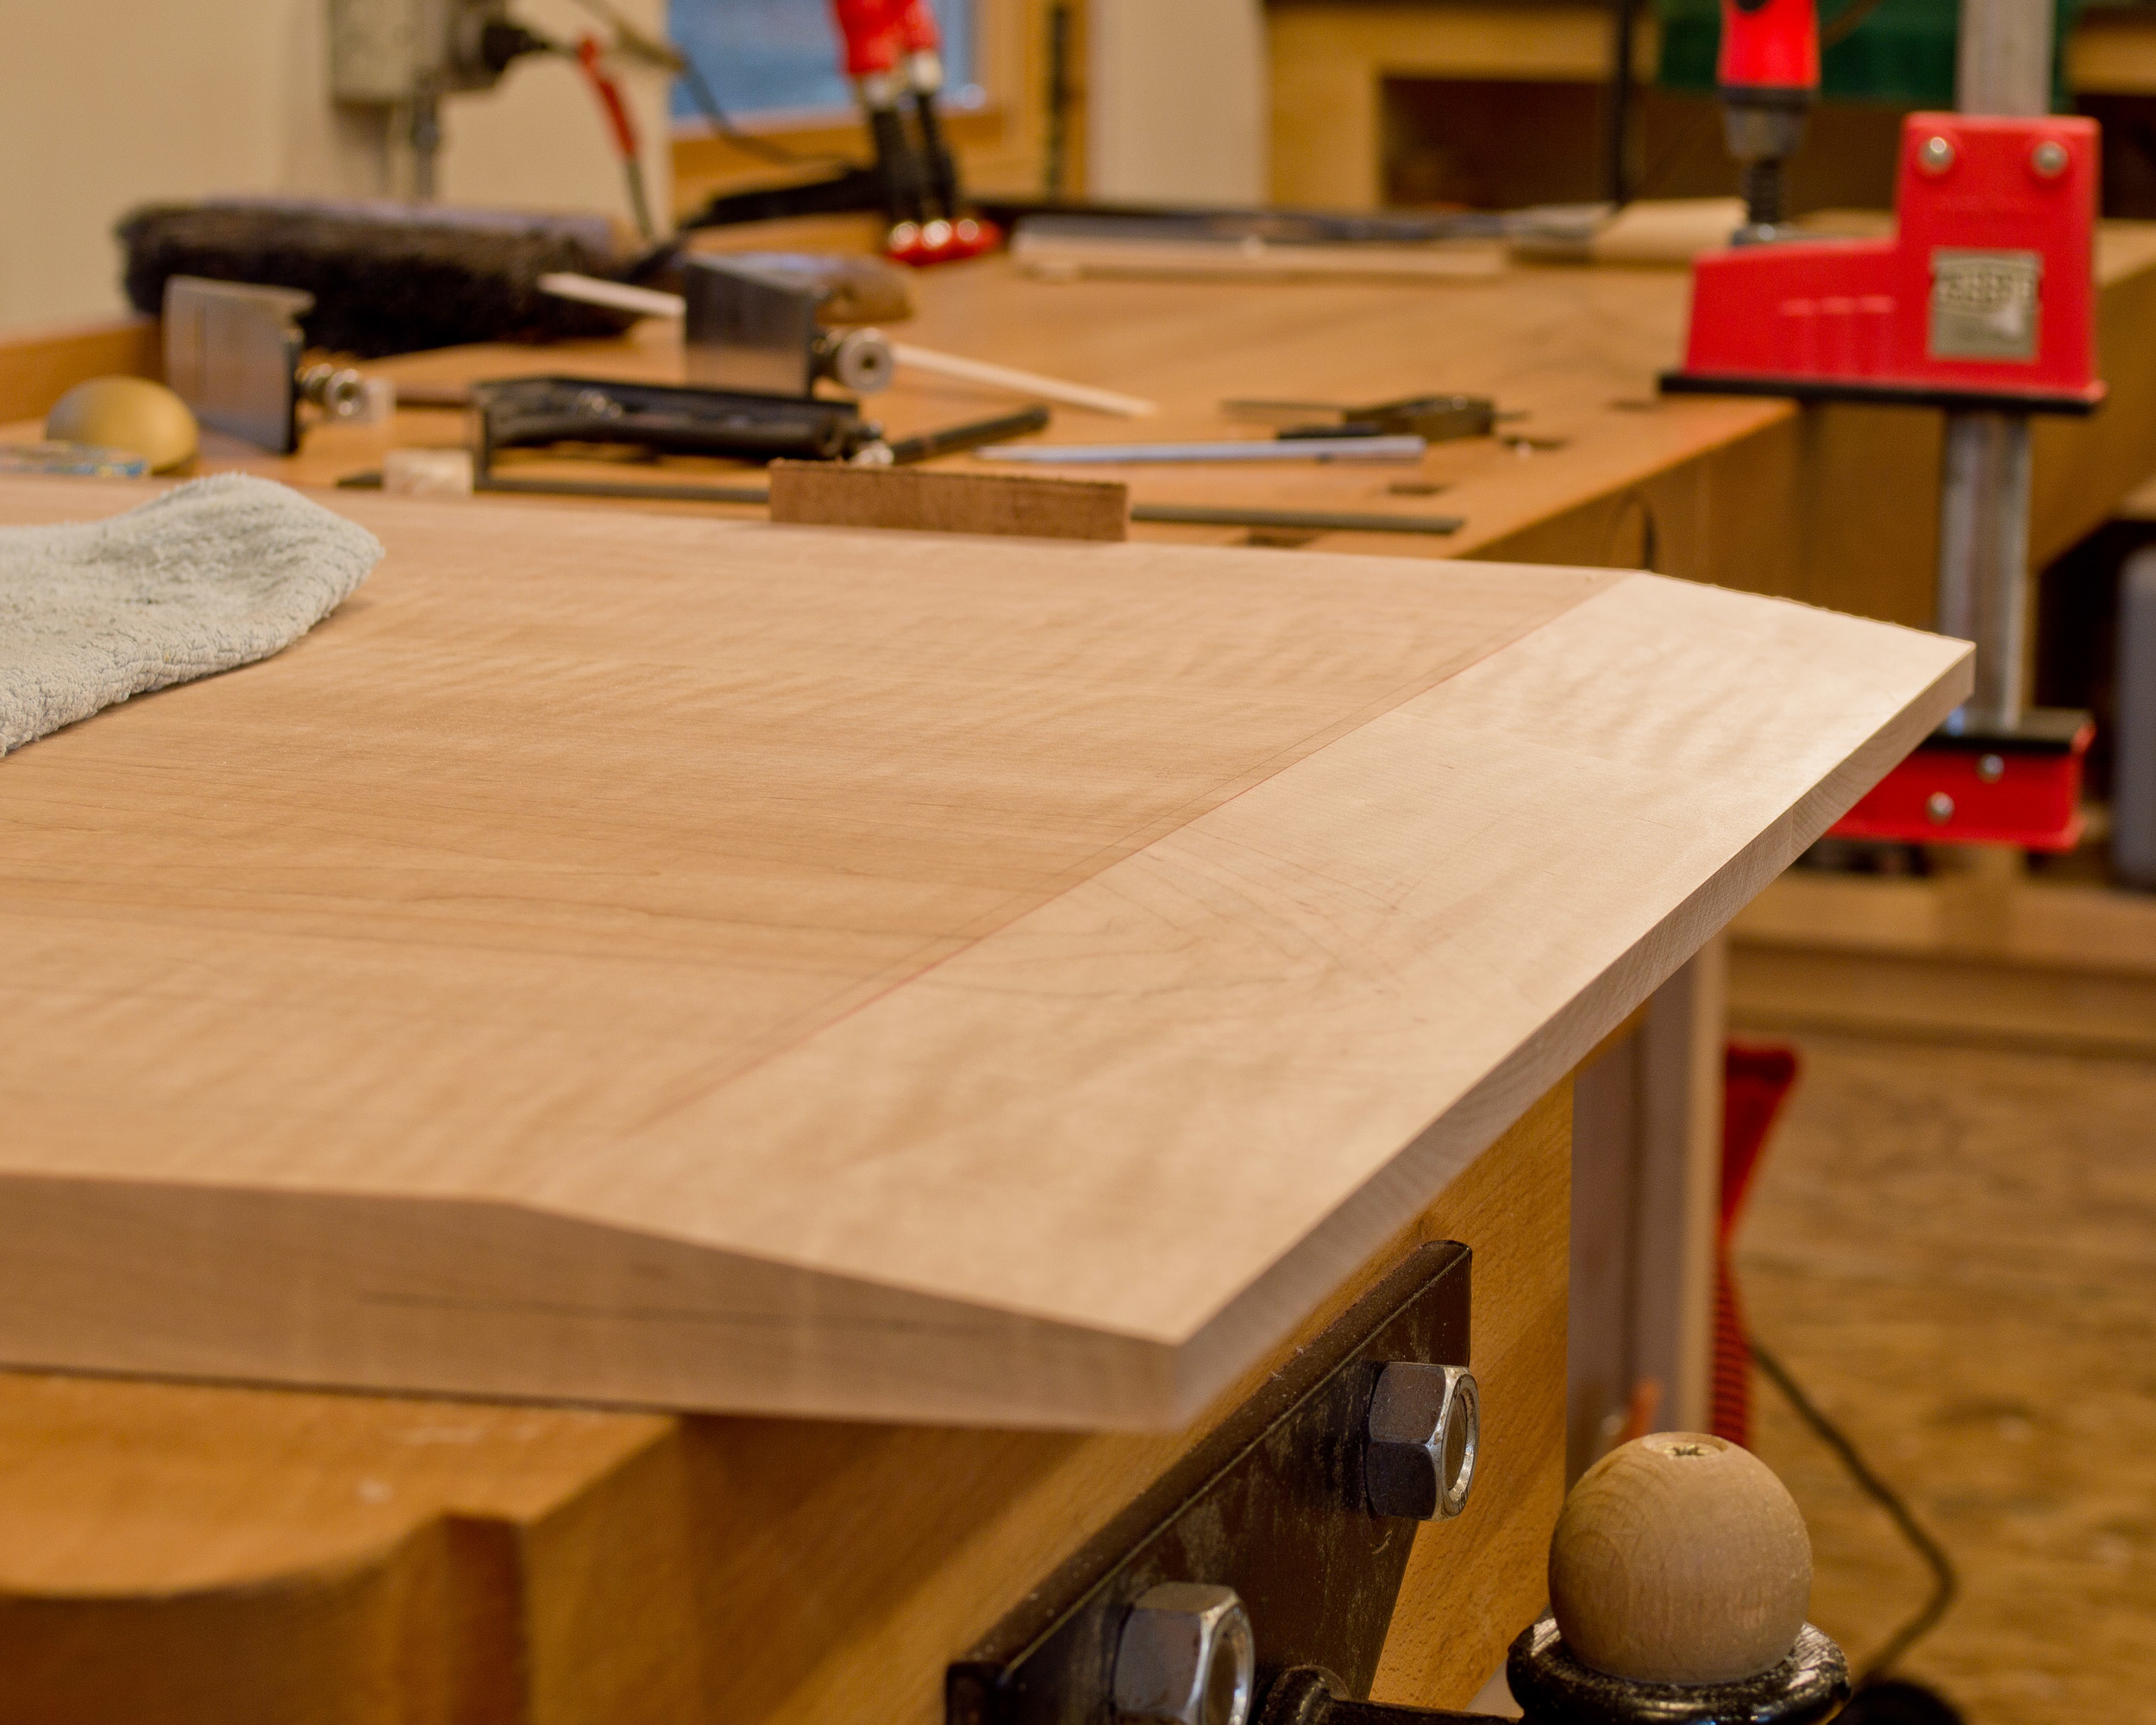
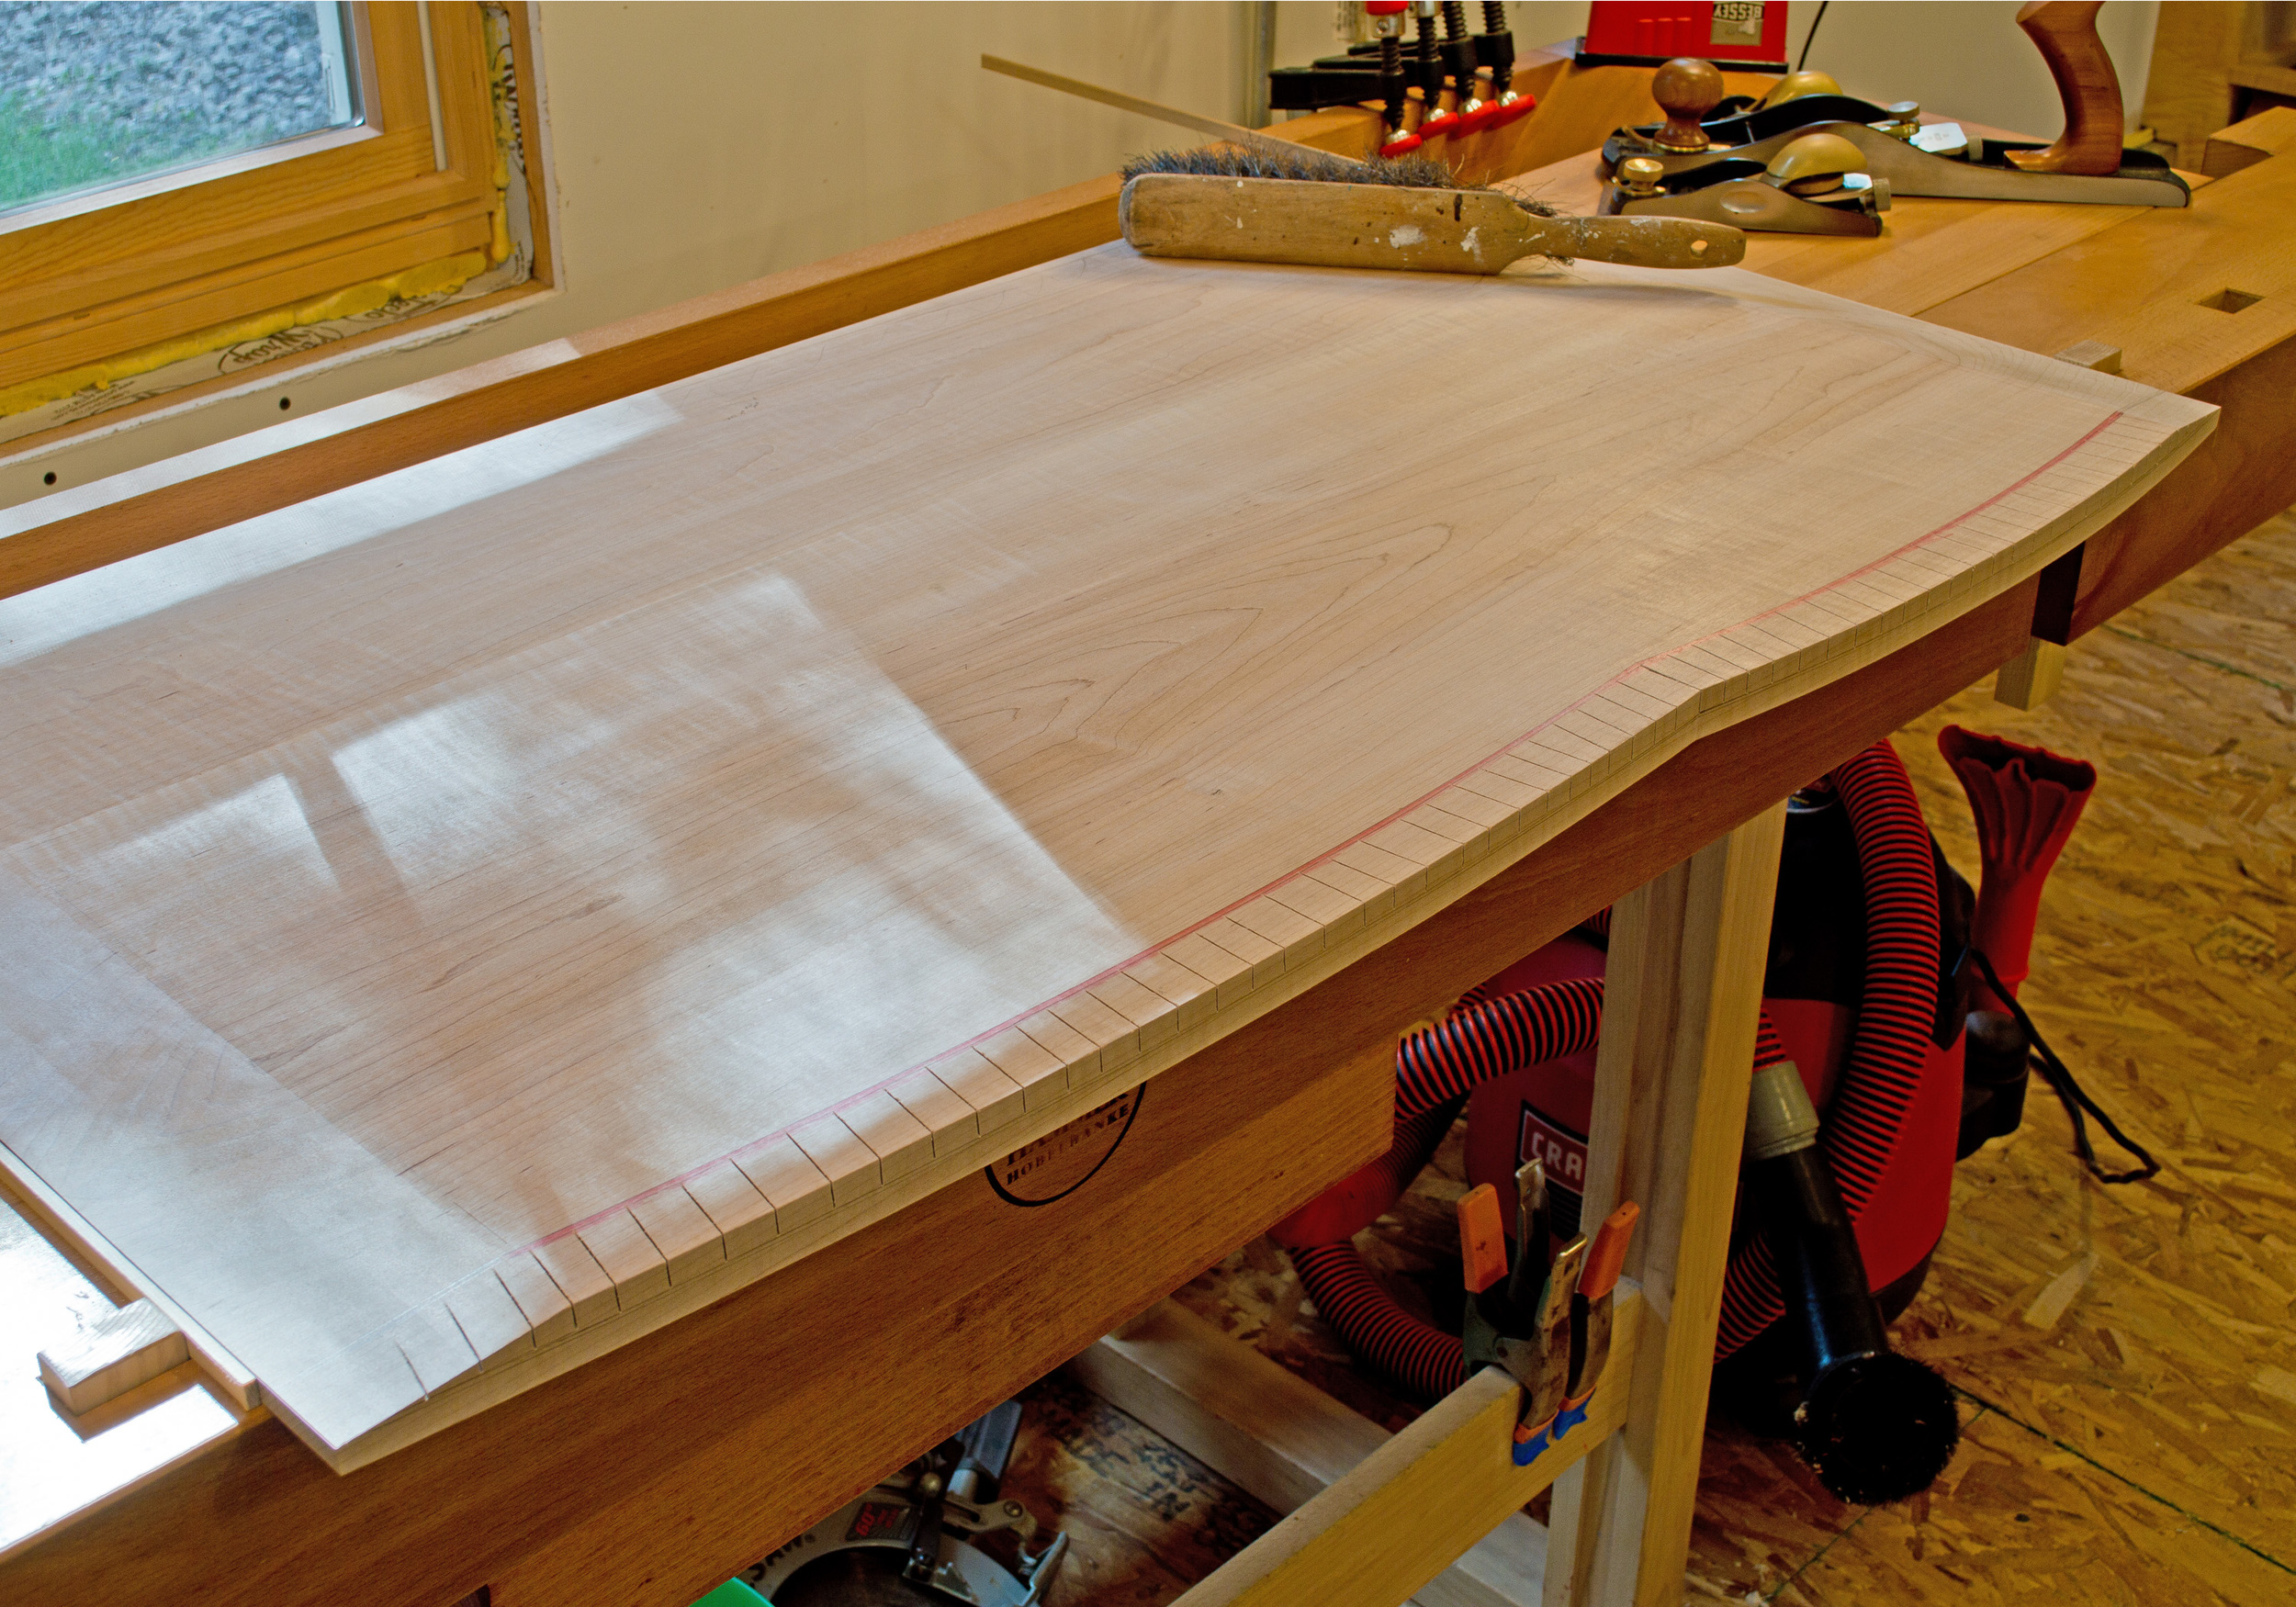
All of the edges on the top of the chest of drawers are shaped with an underbevel.  I love this edge detail and have used it on quite a few pieces in the past.  Besides the aesthetics of this detail, I love it because the shaping is done completely with hand tools.  A tedious process, but definitely worth the work.

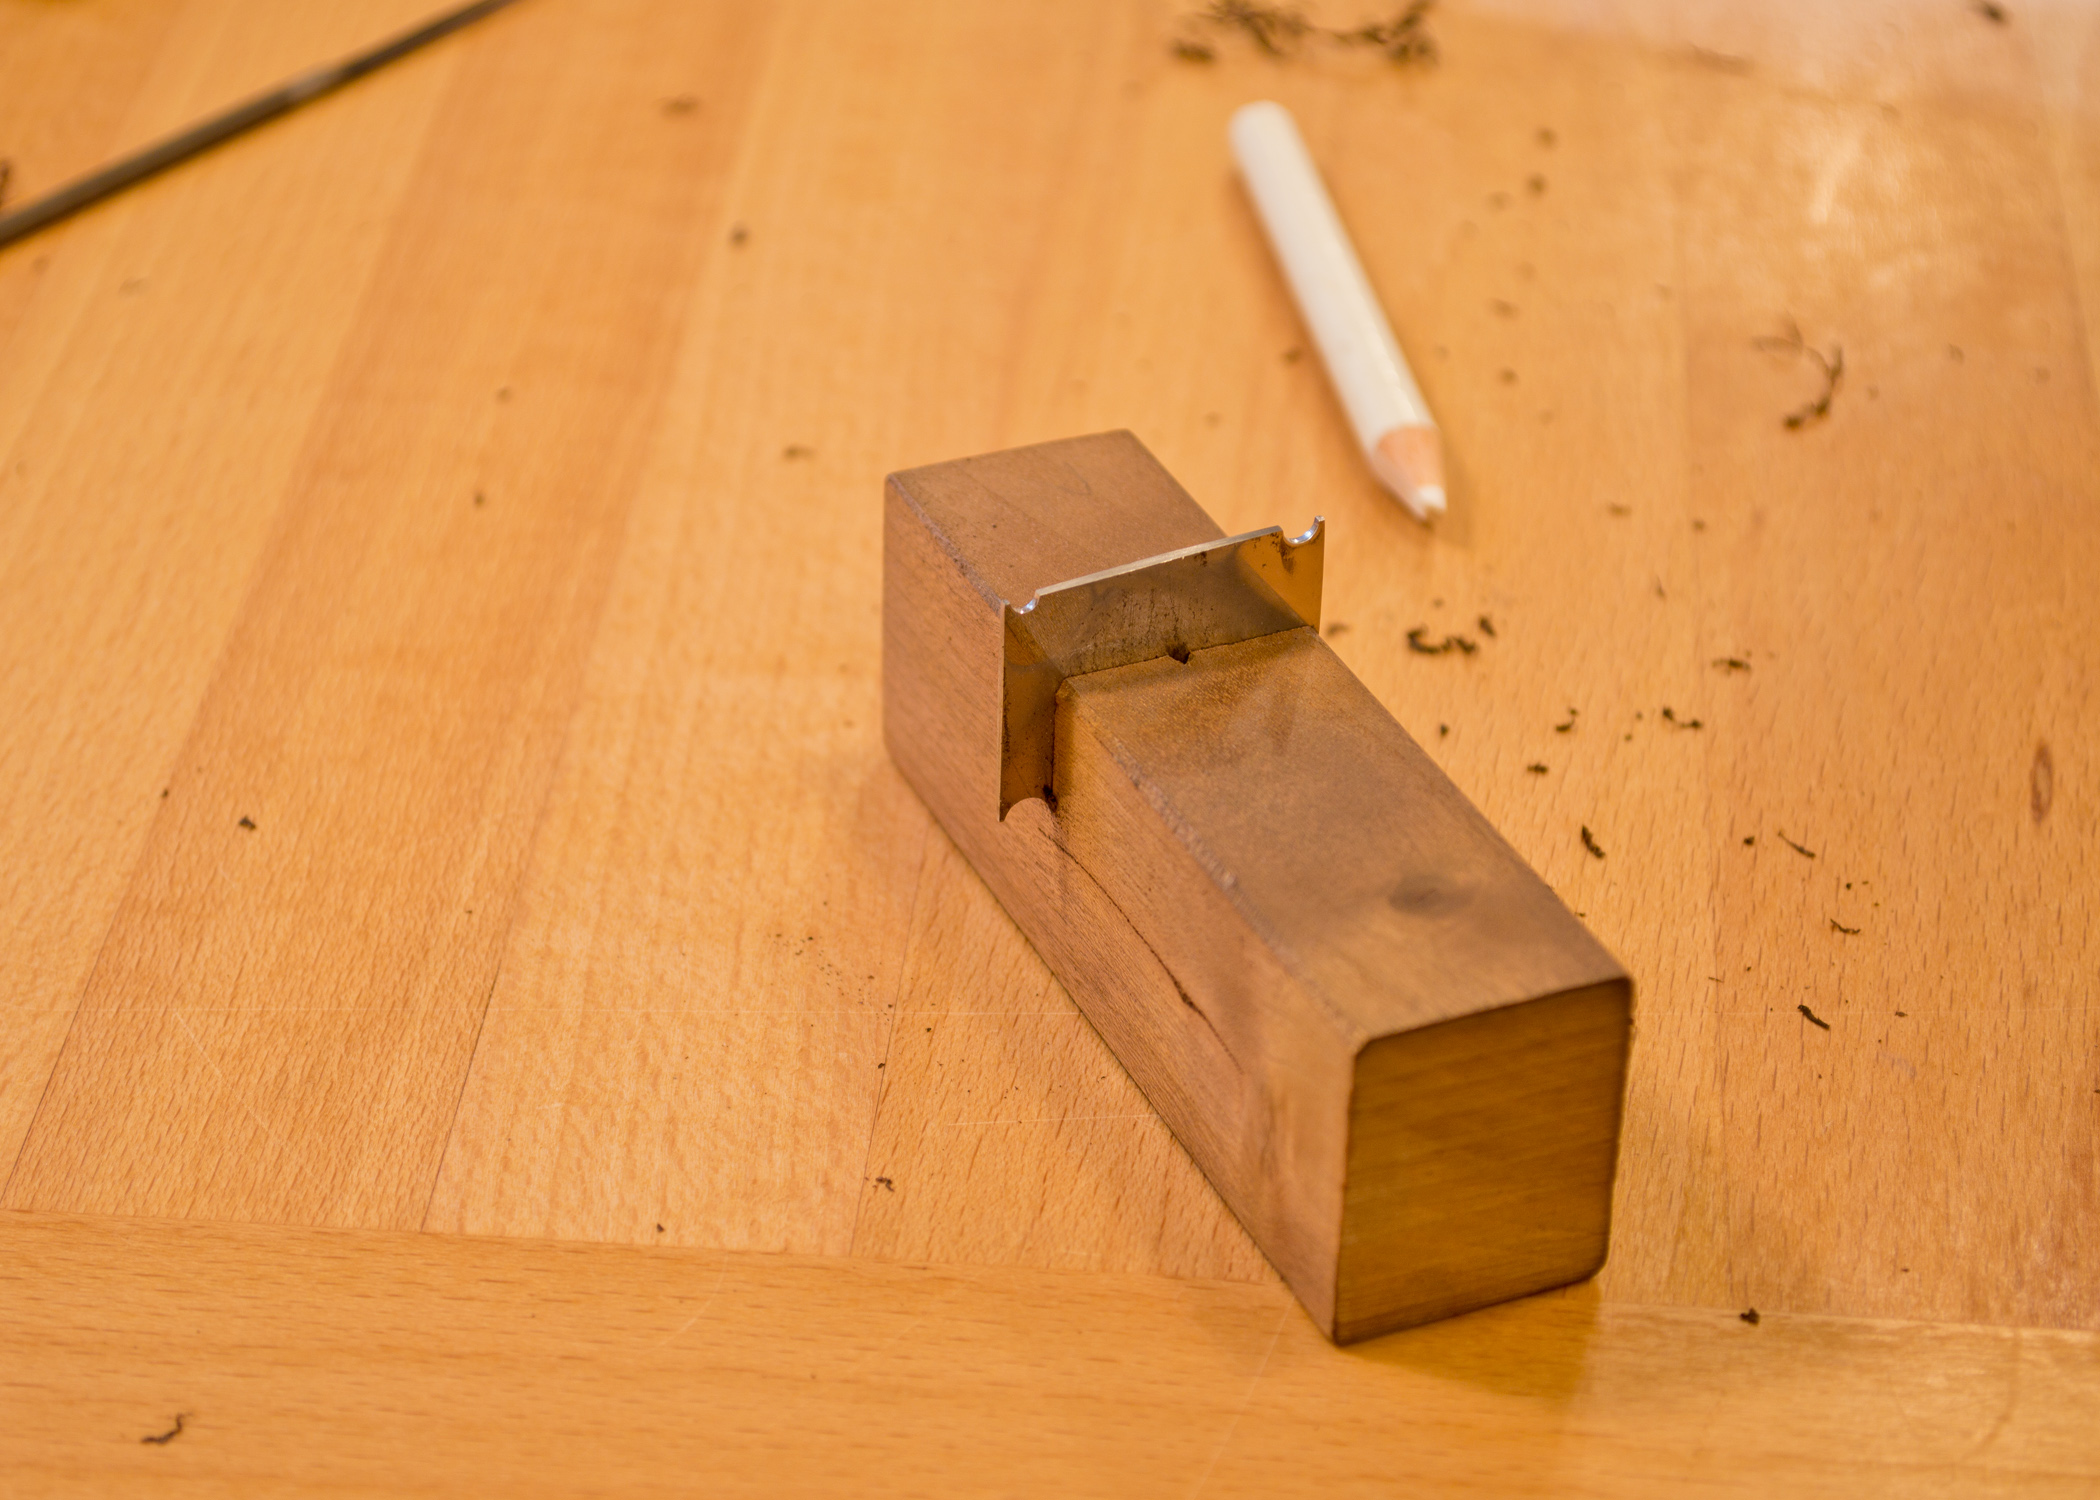
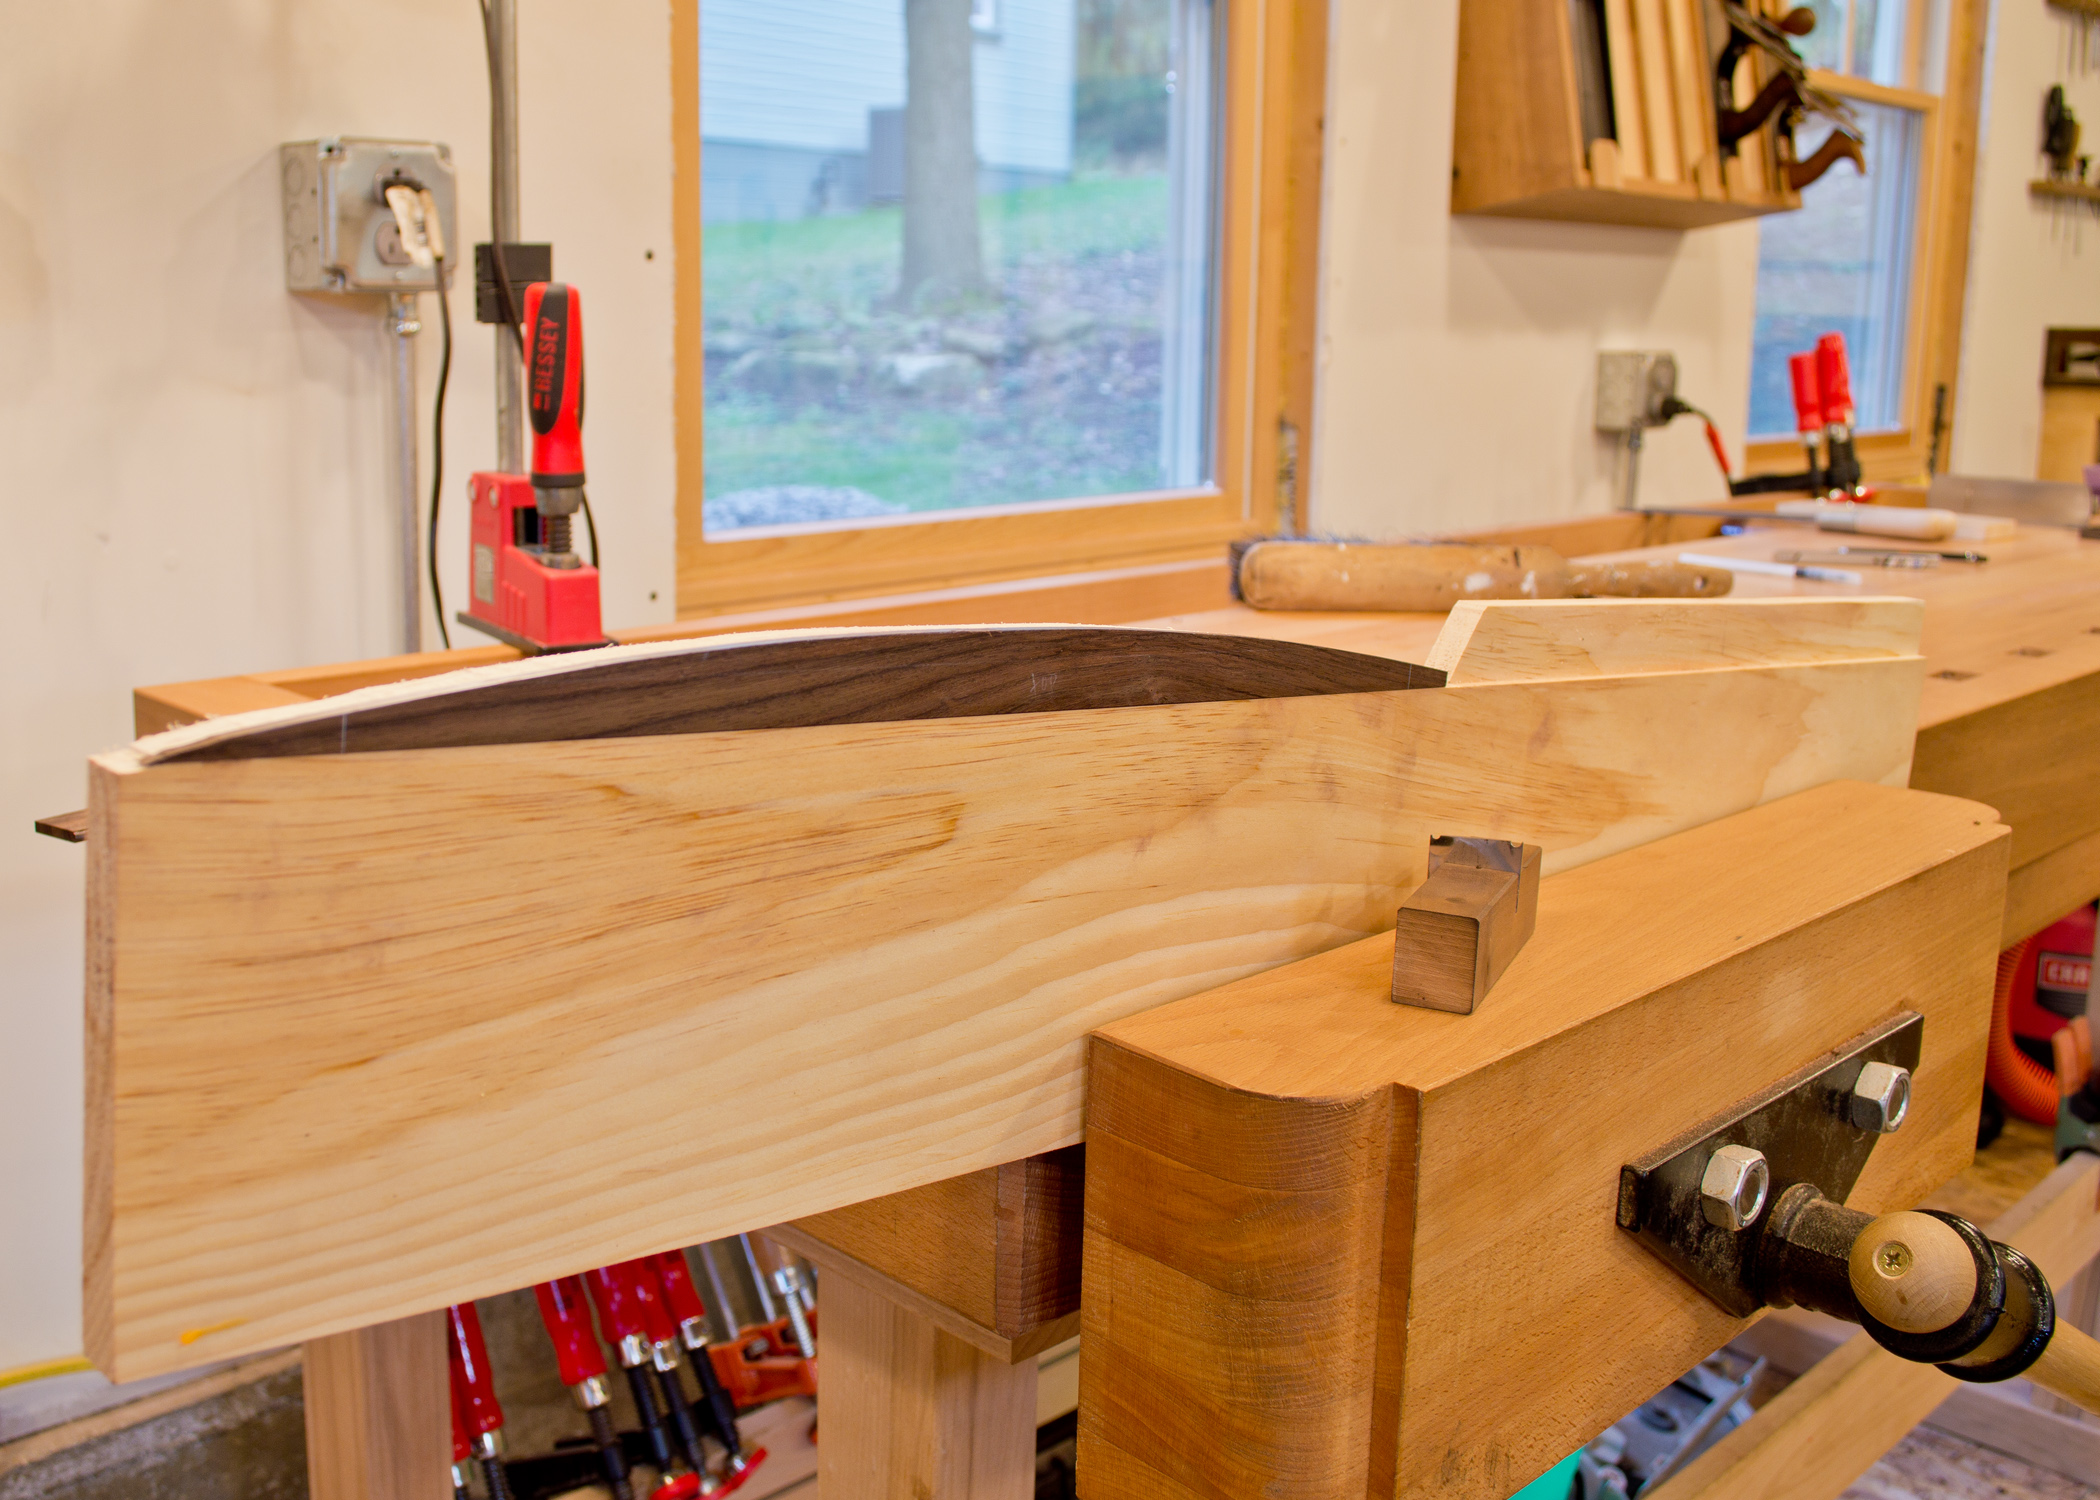
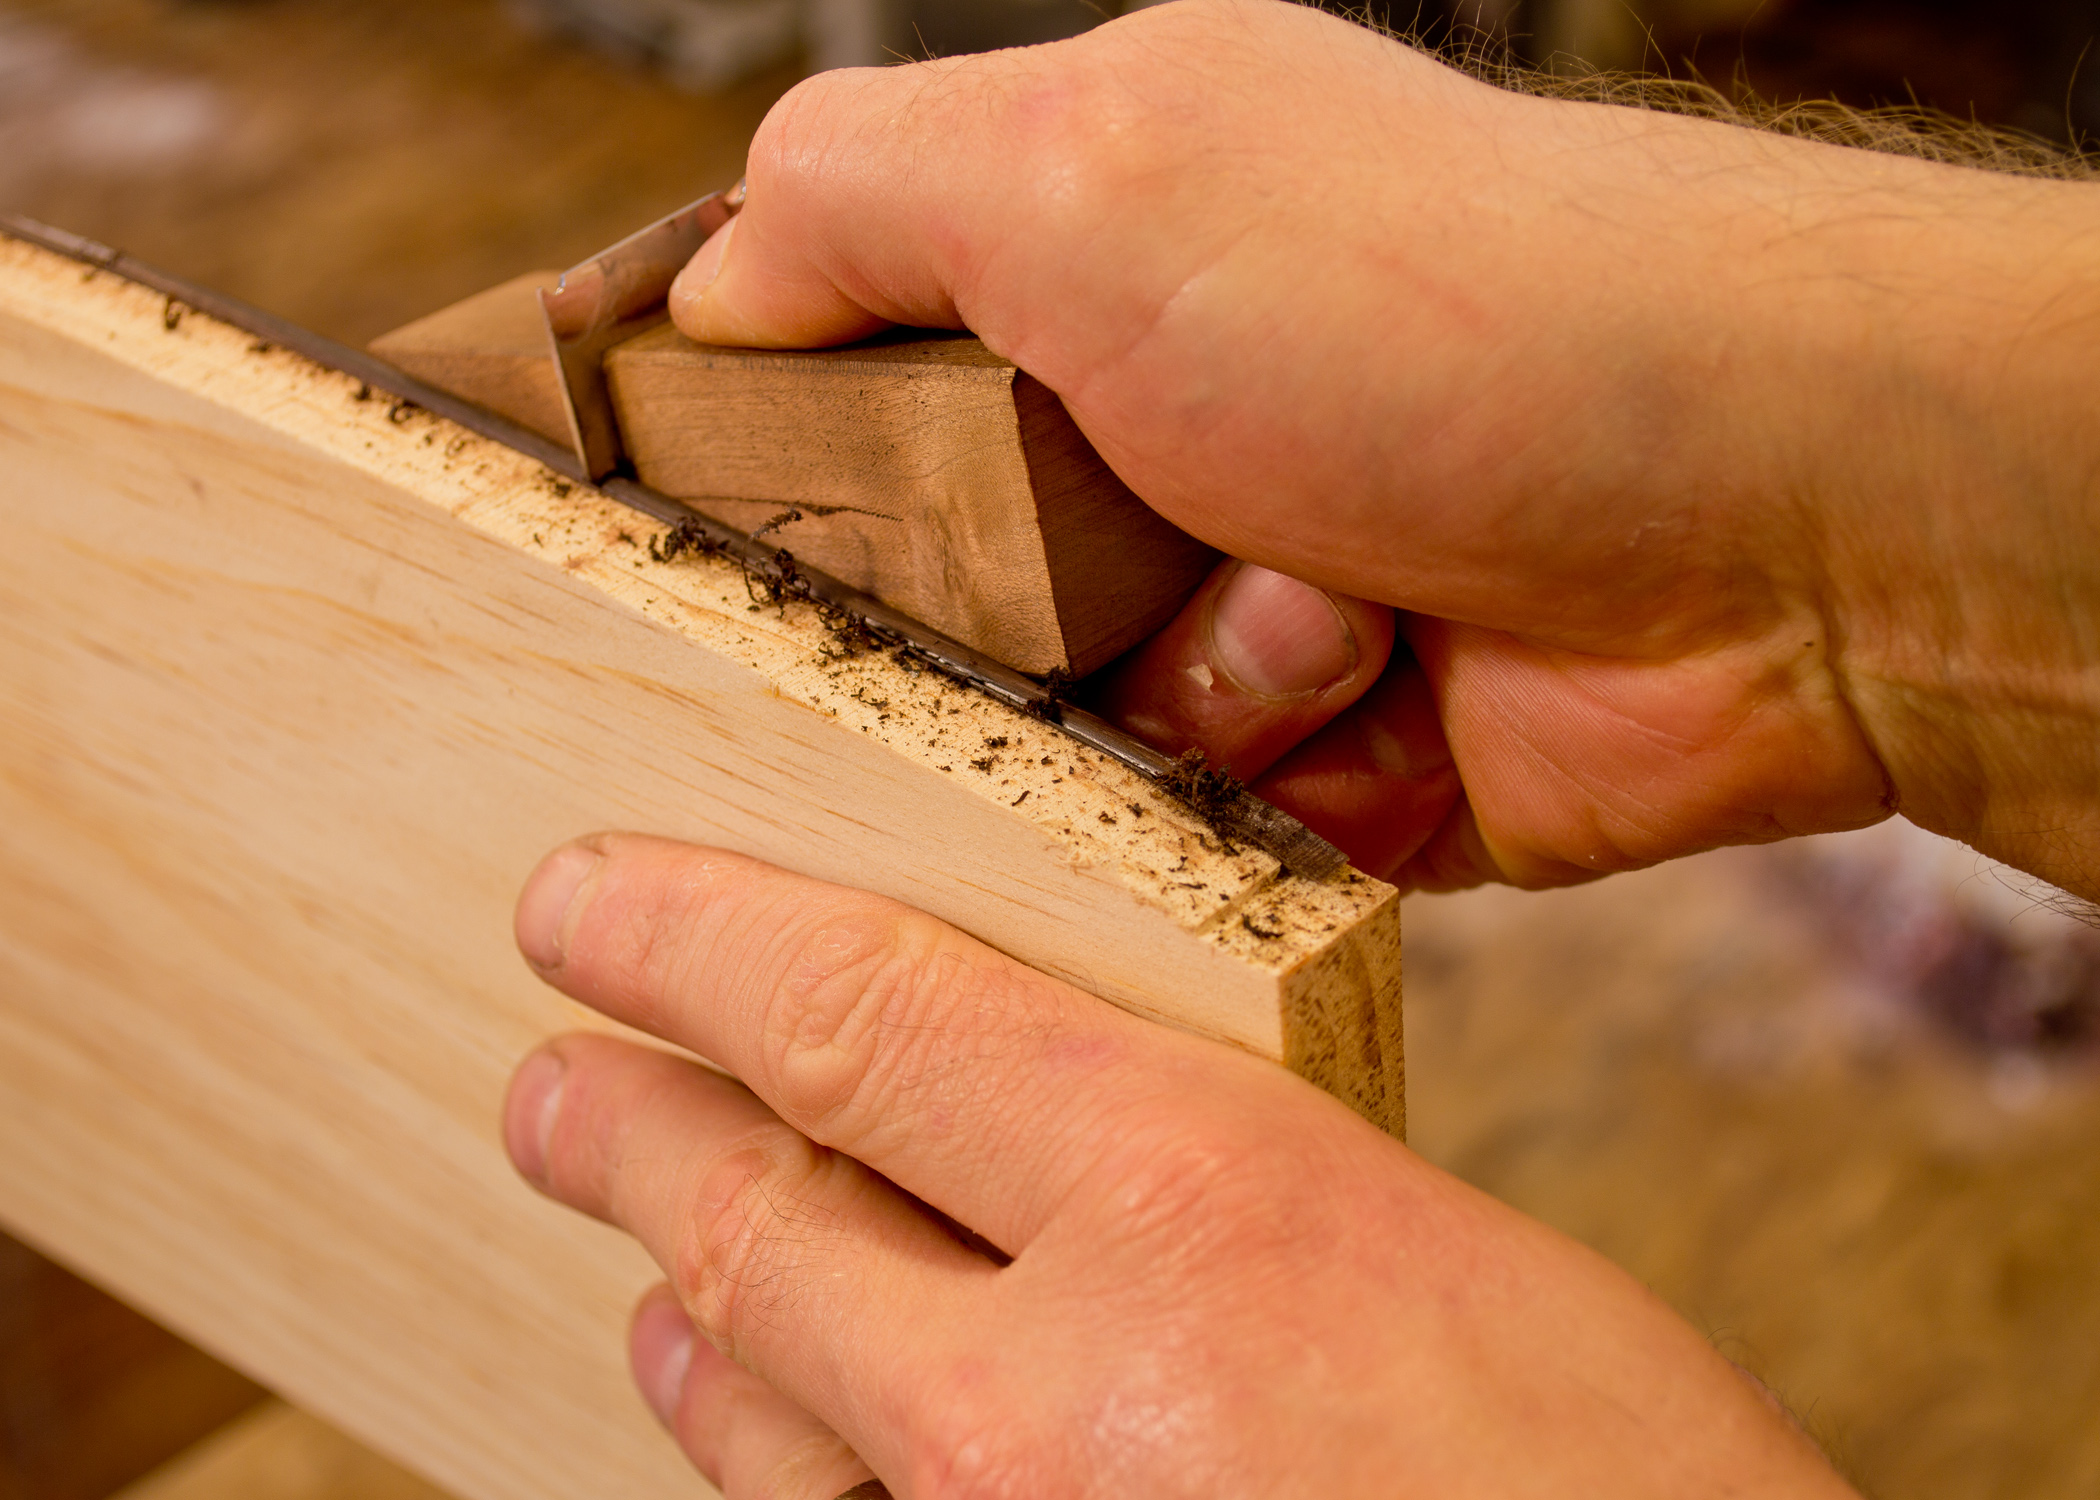
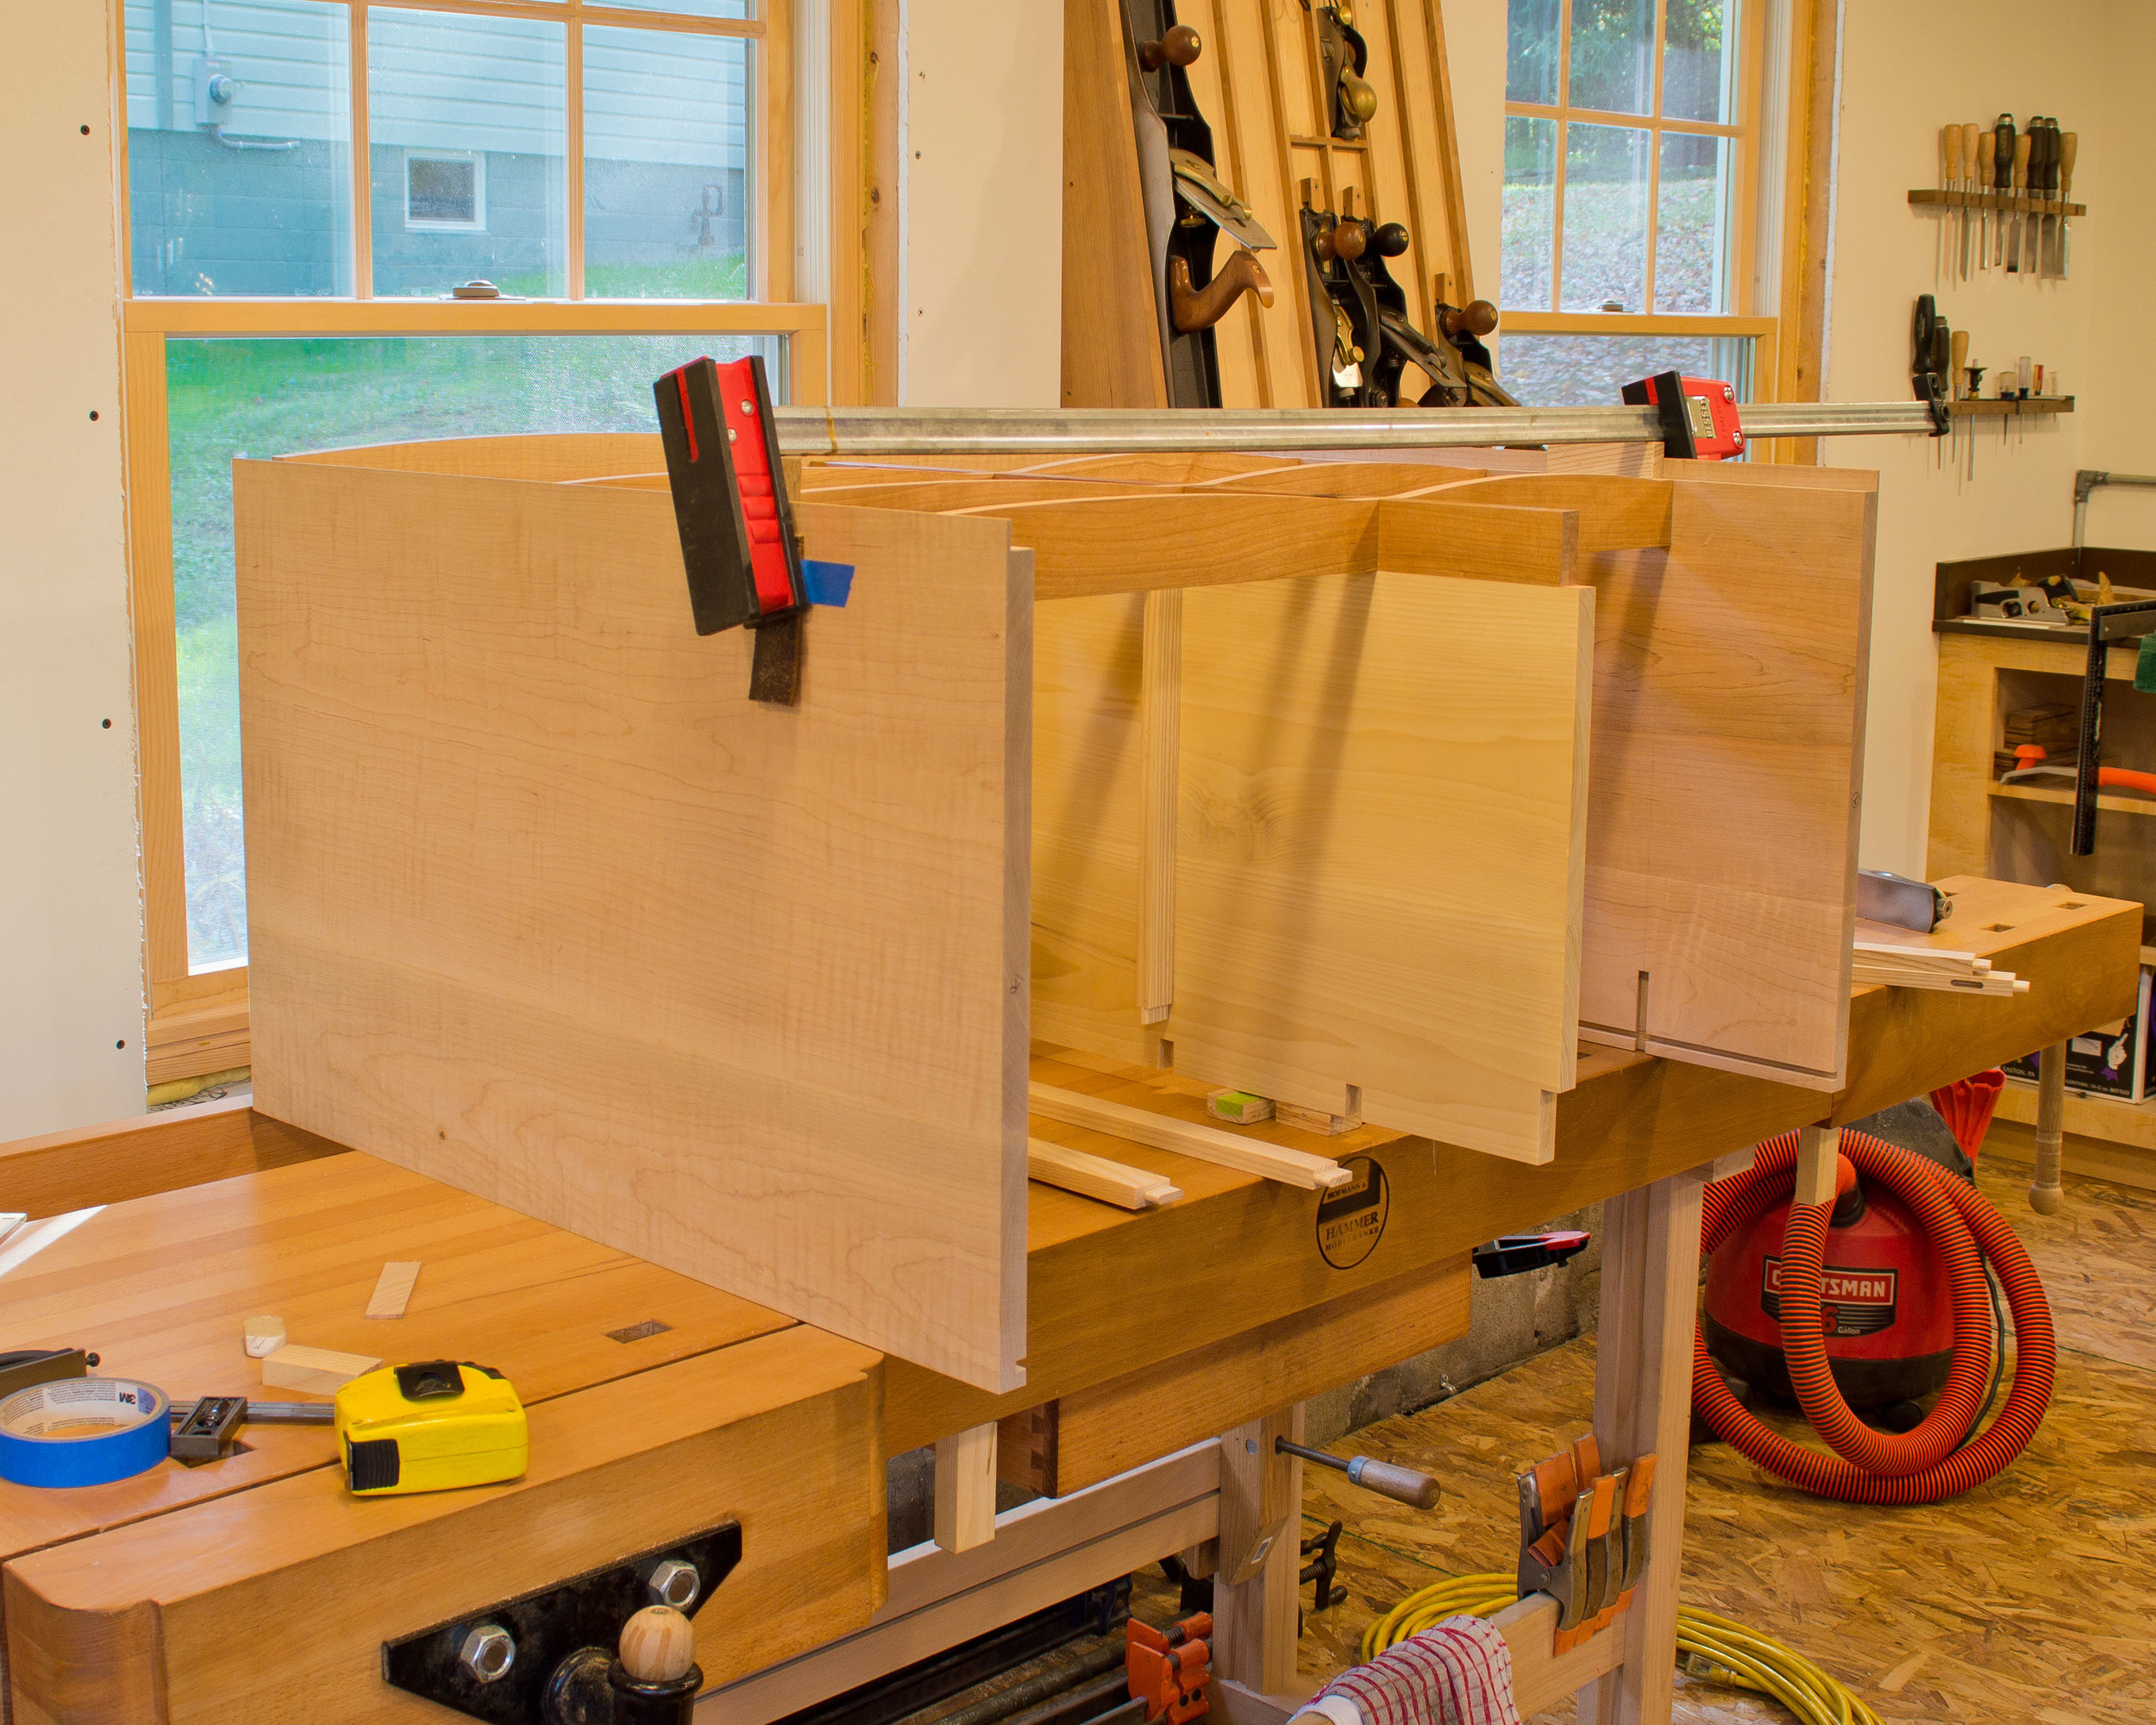
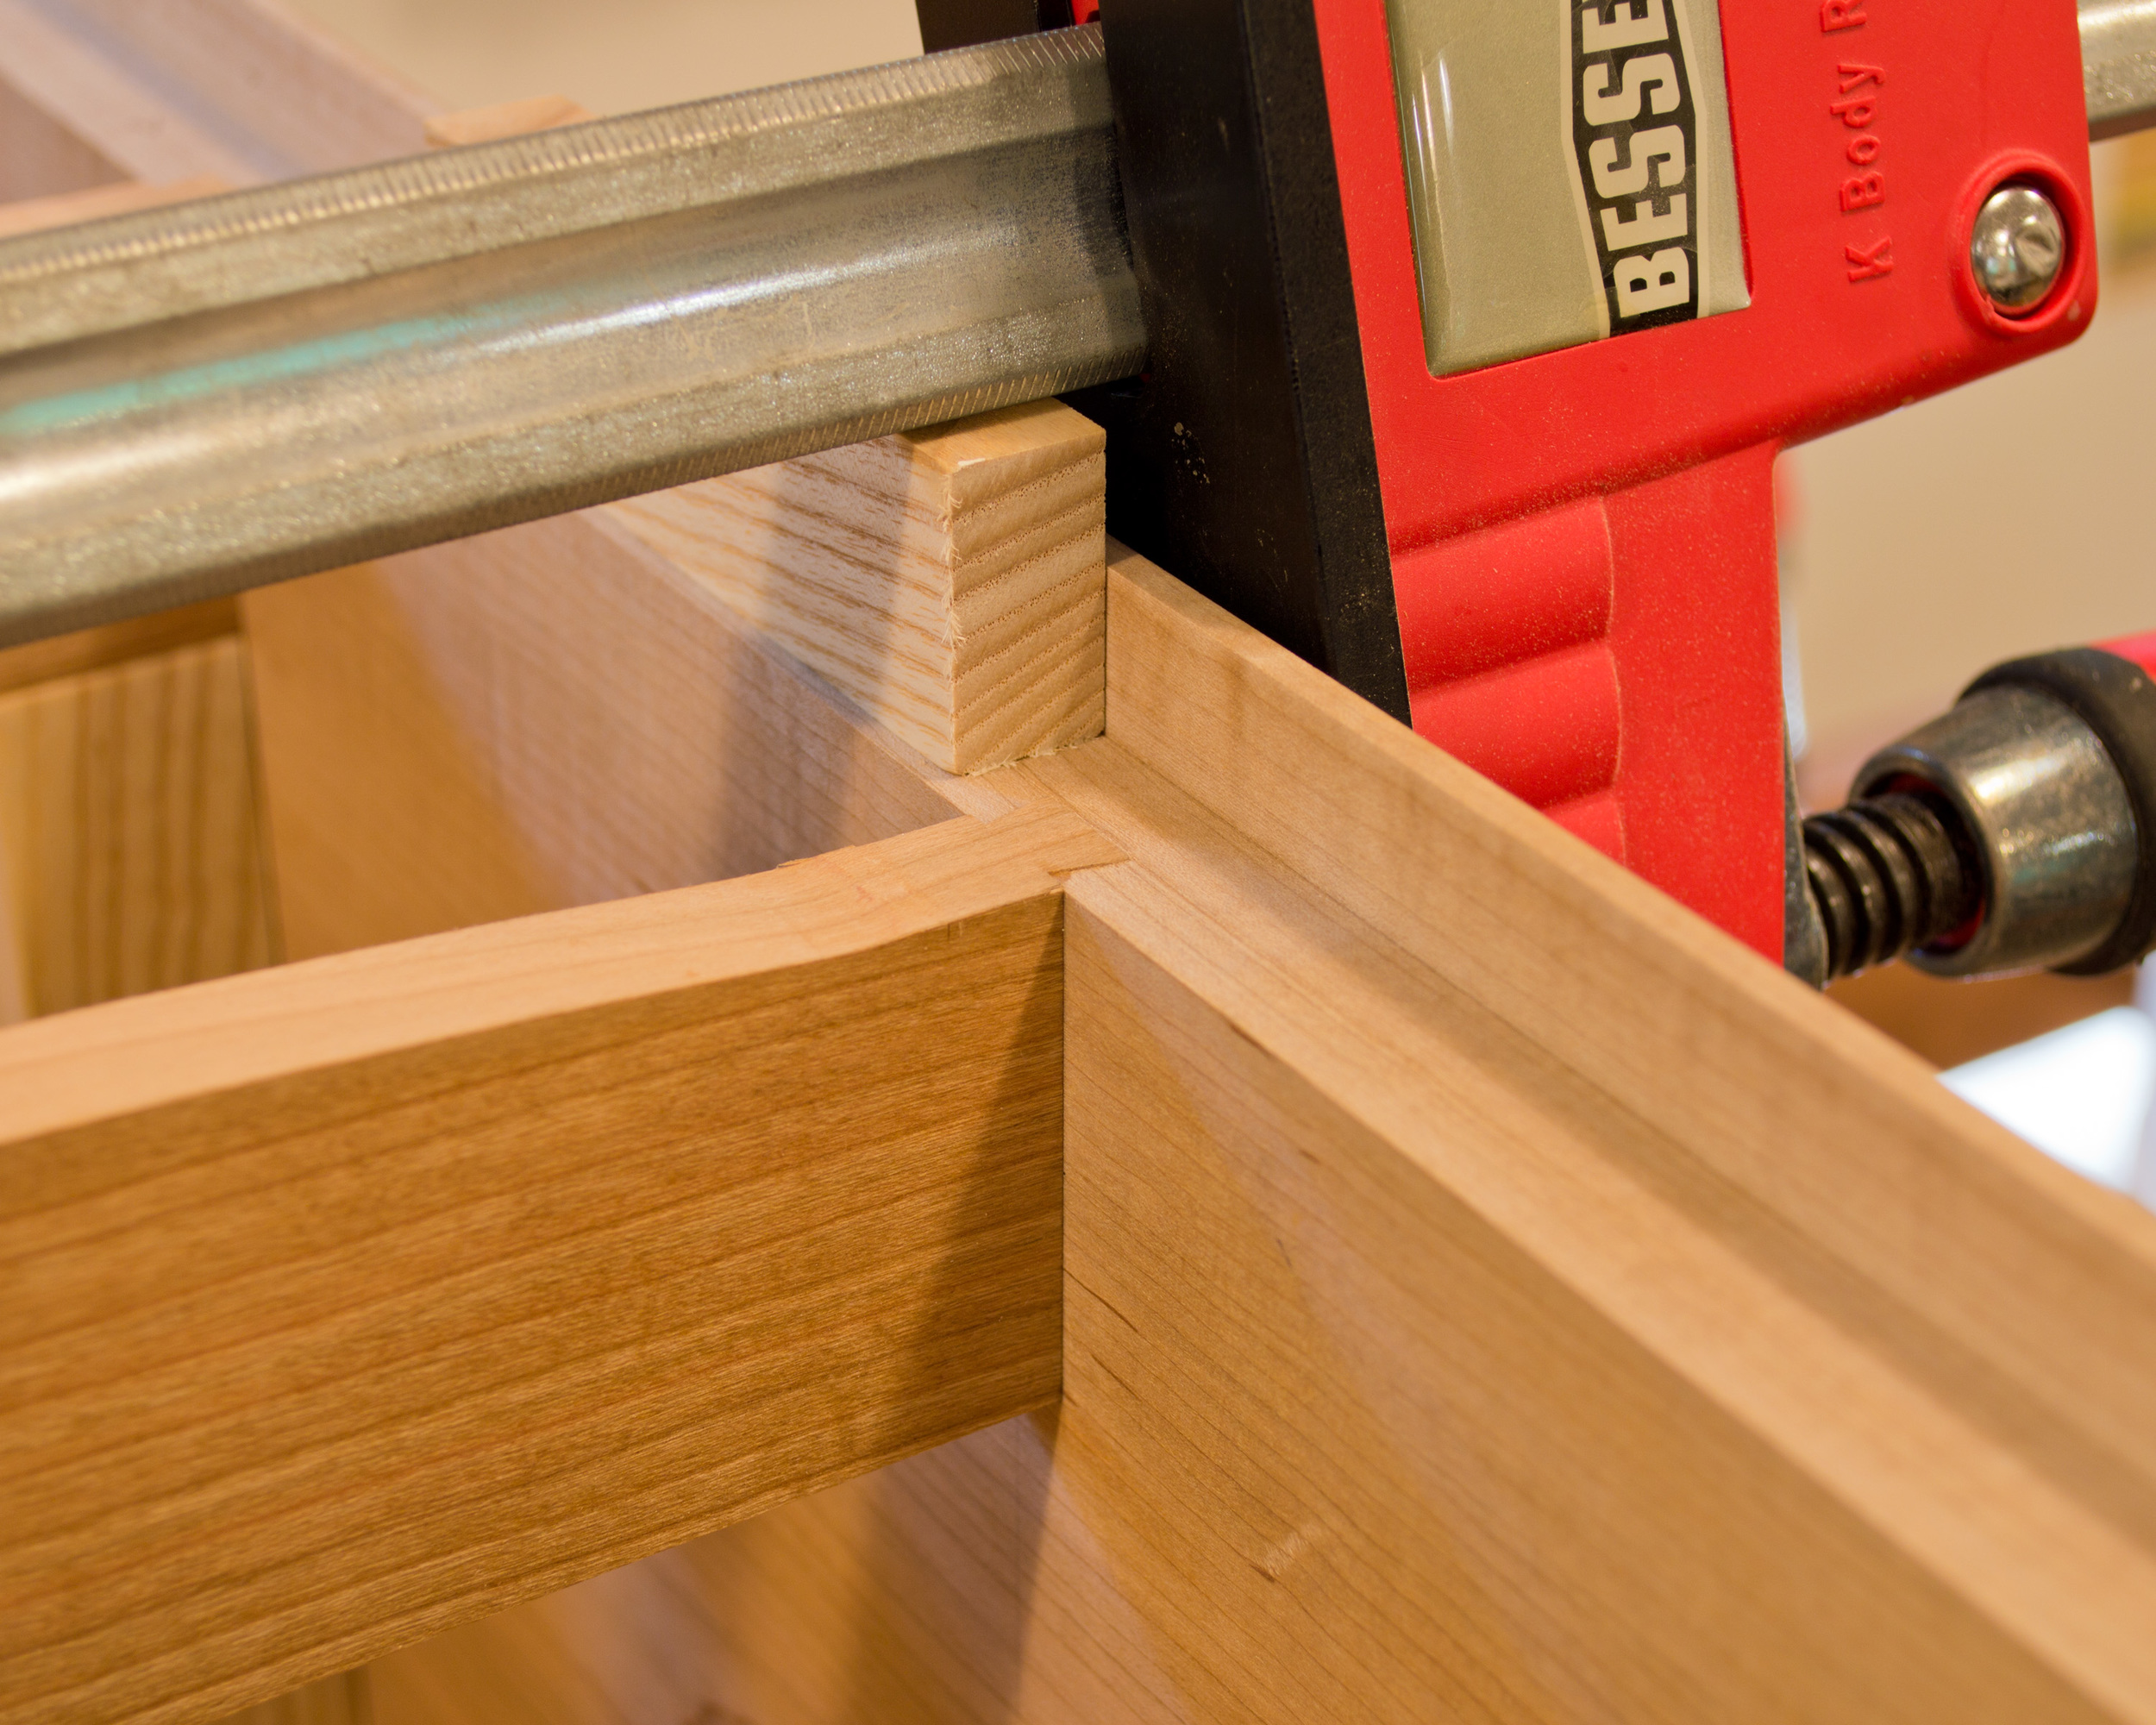
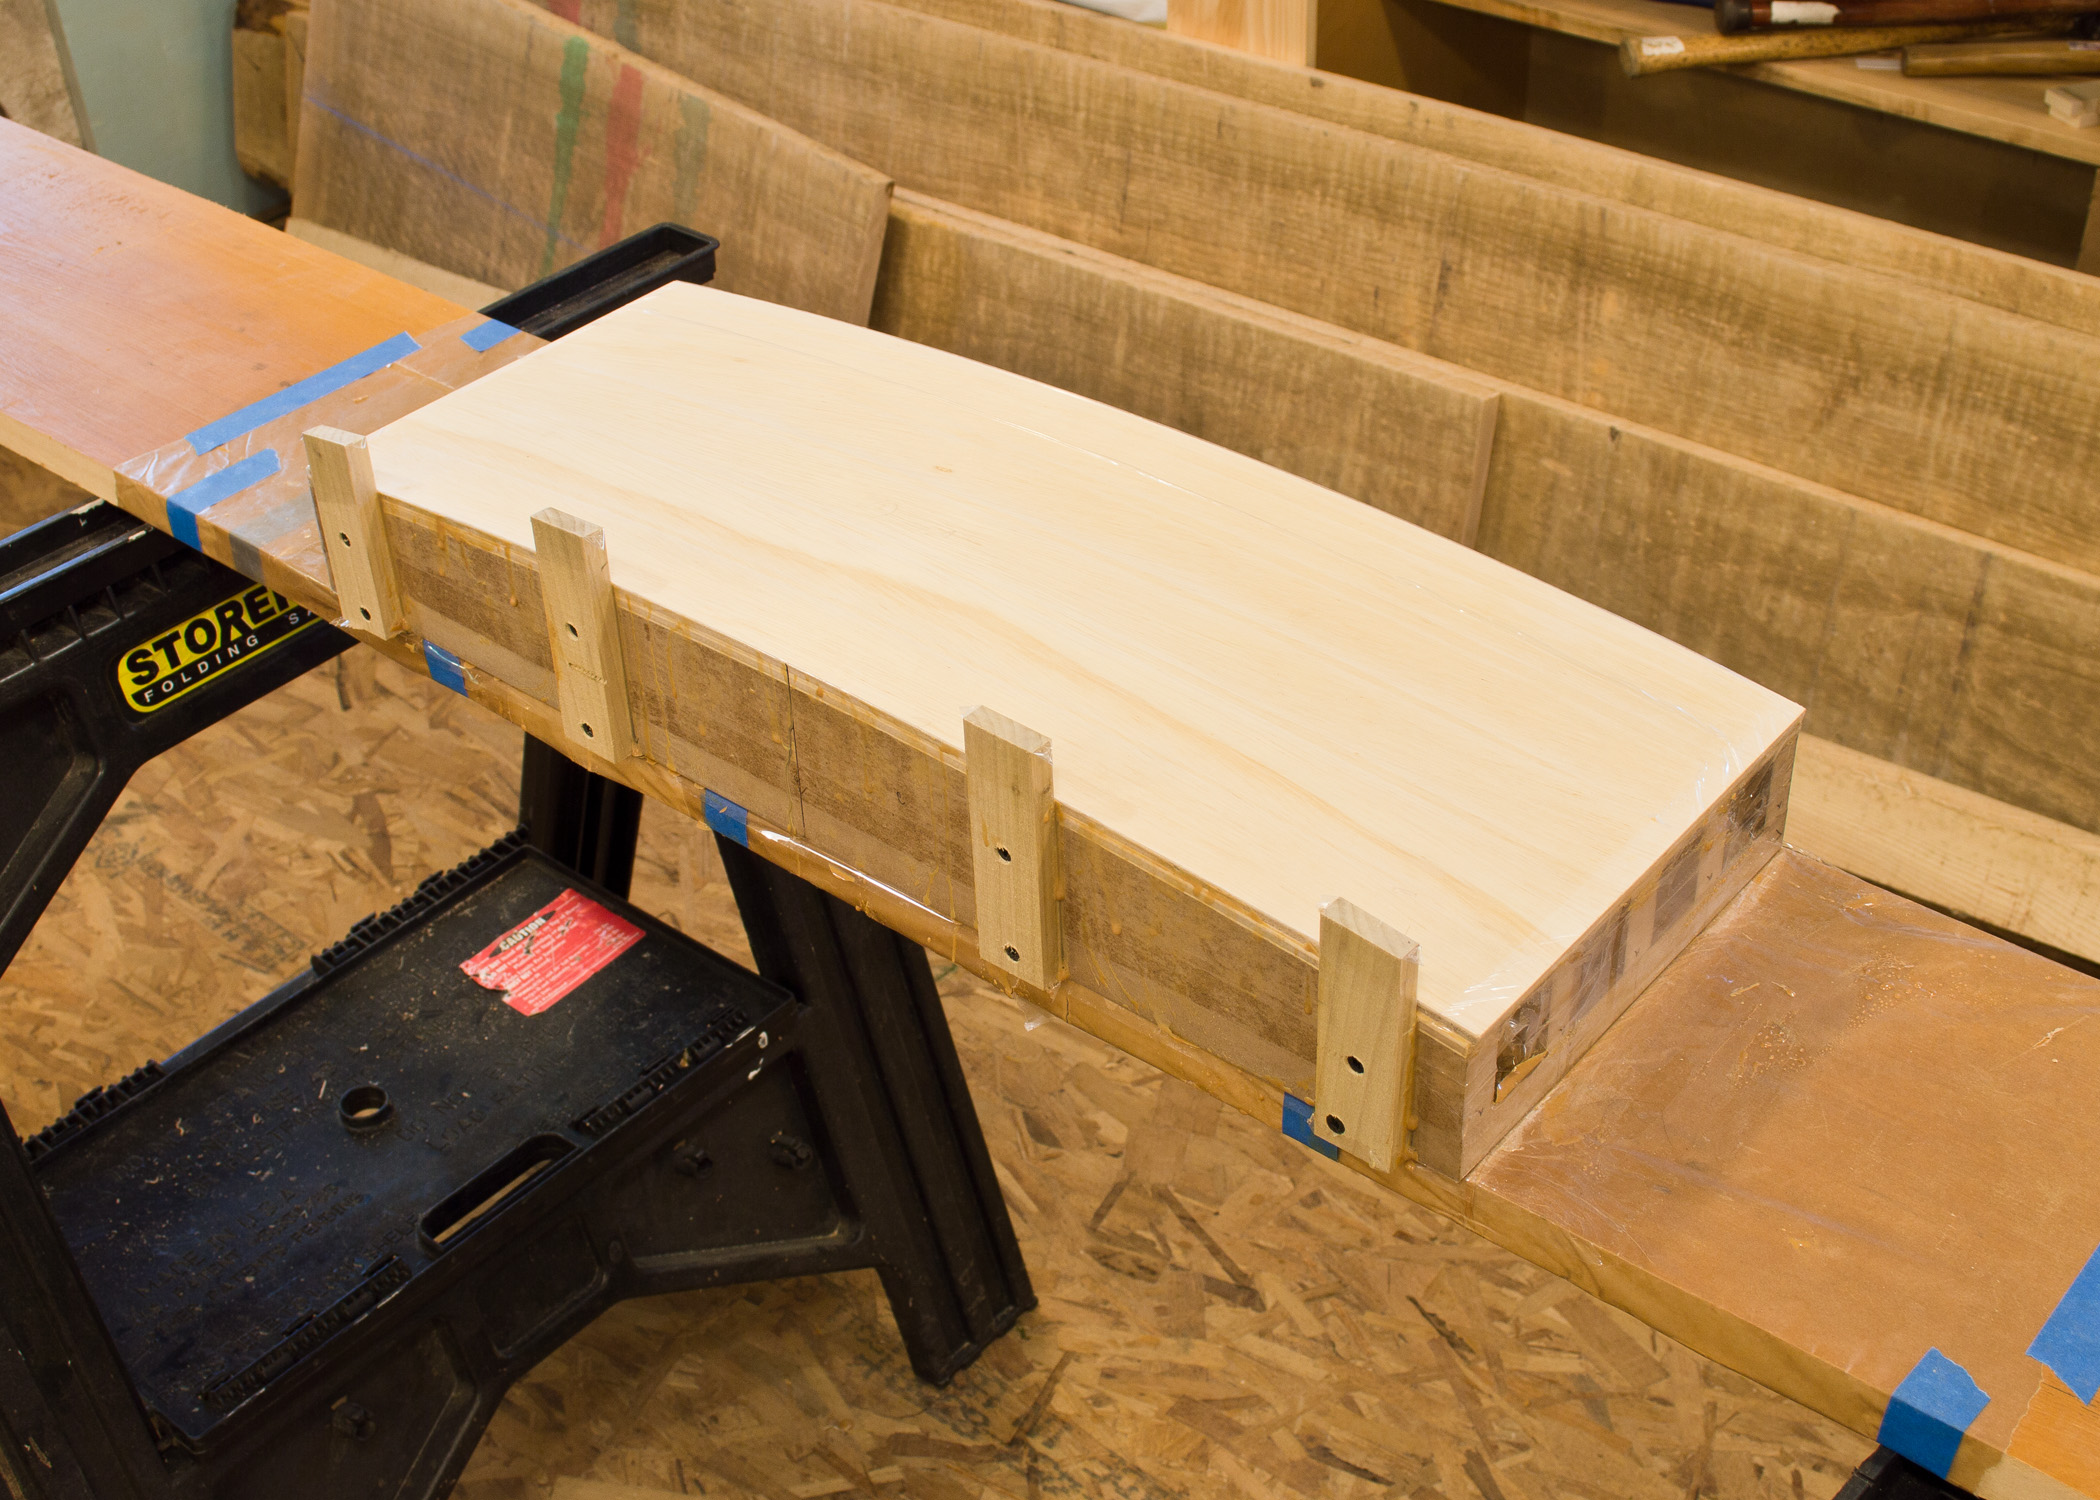
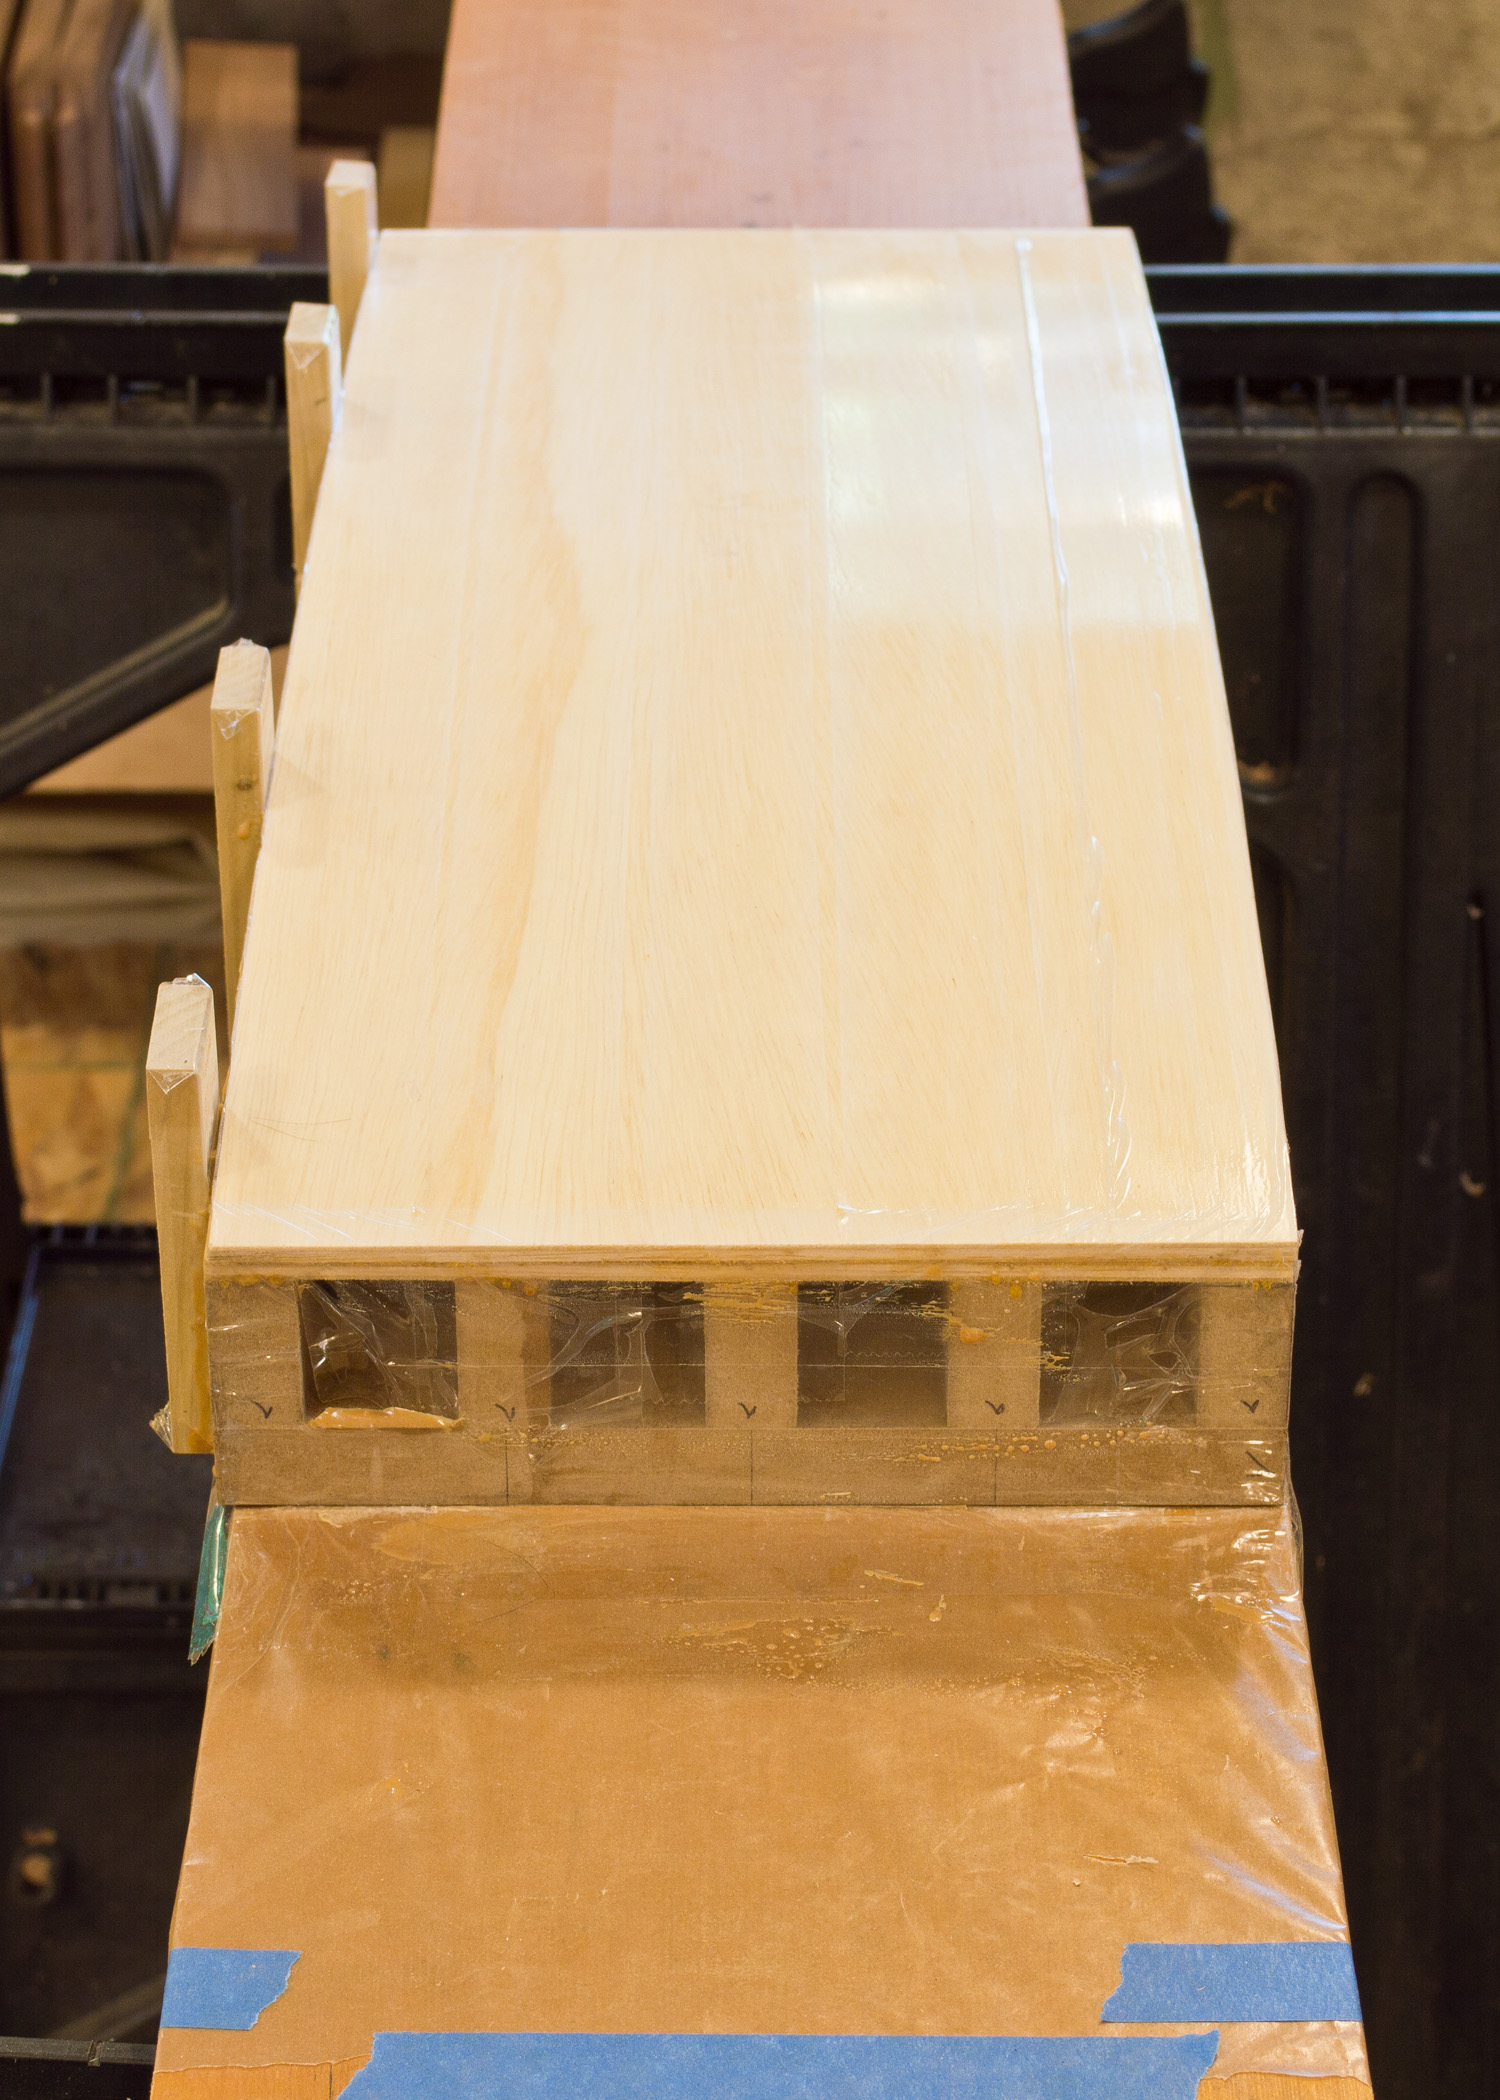
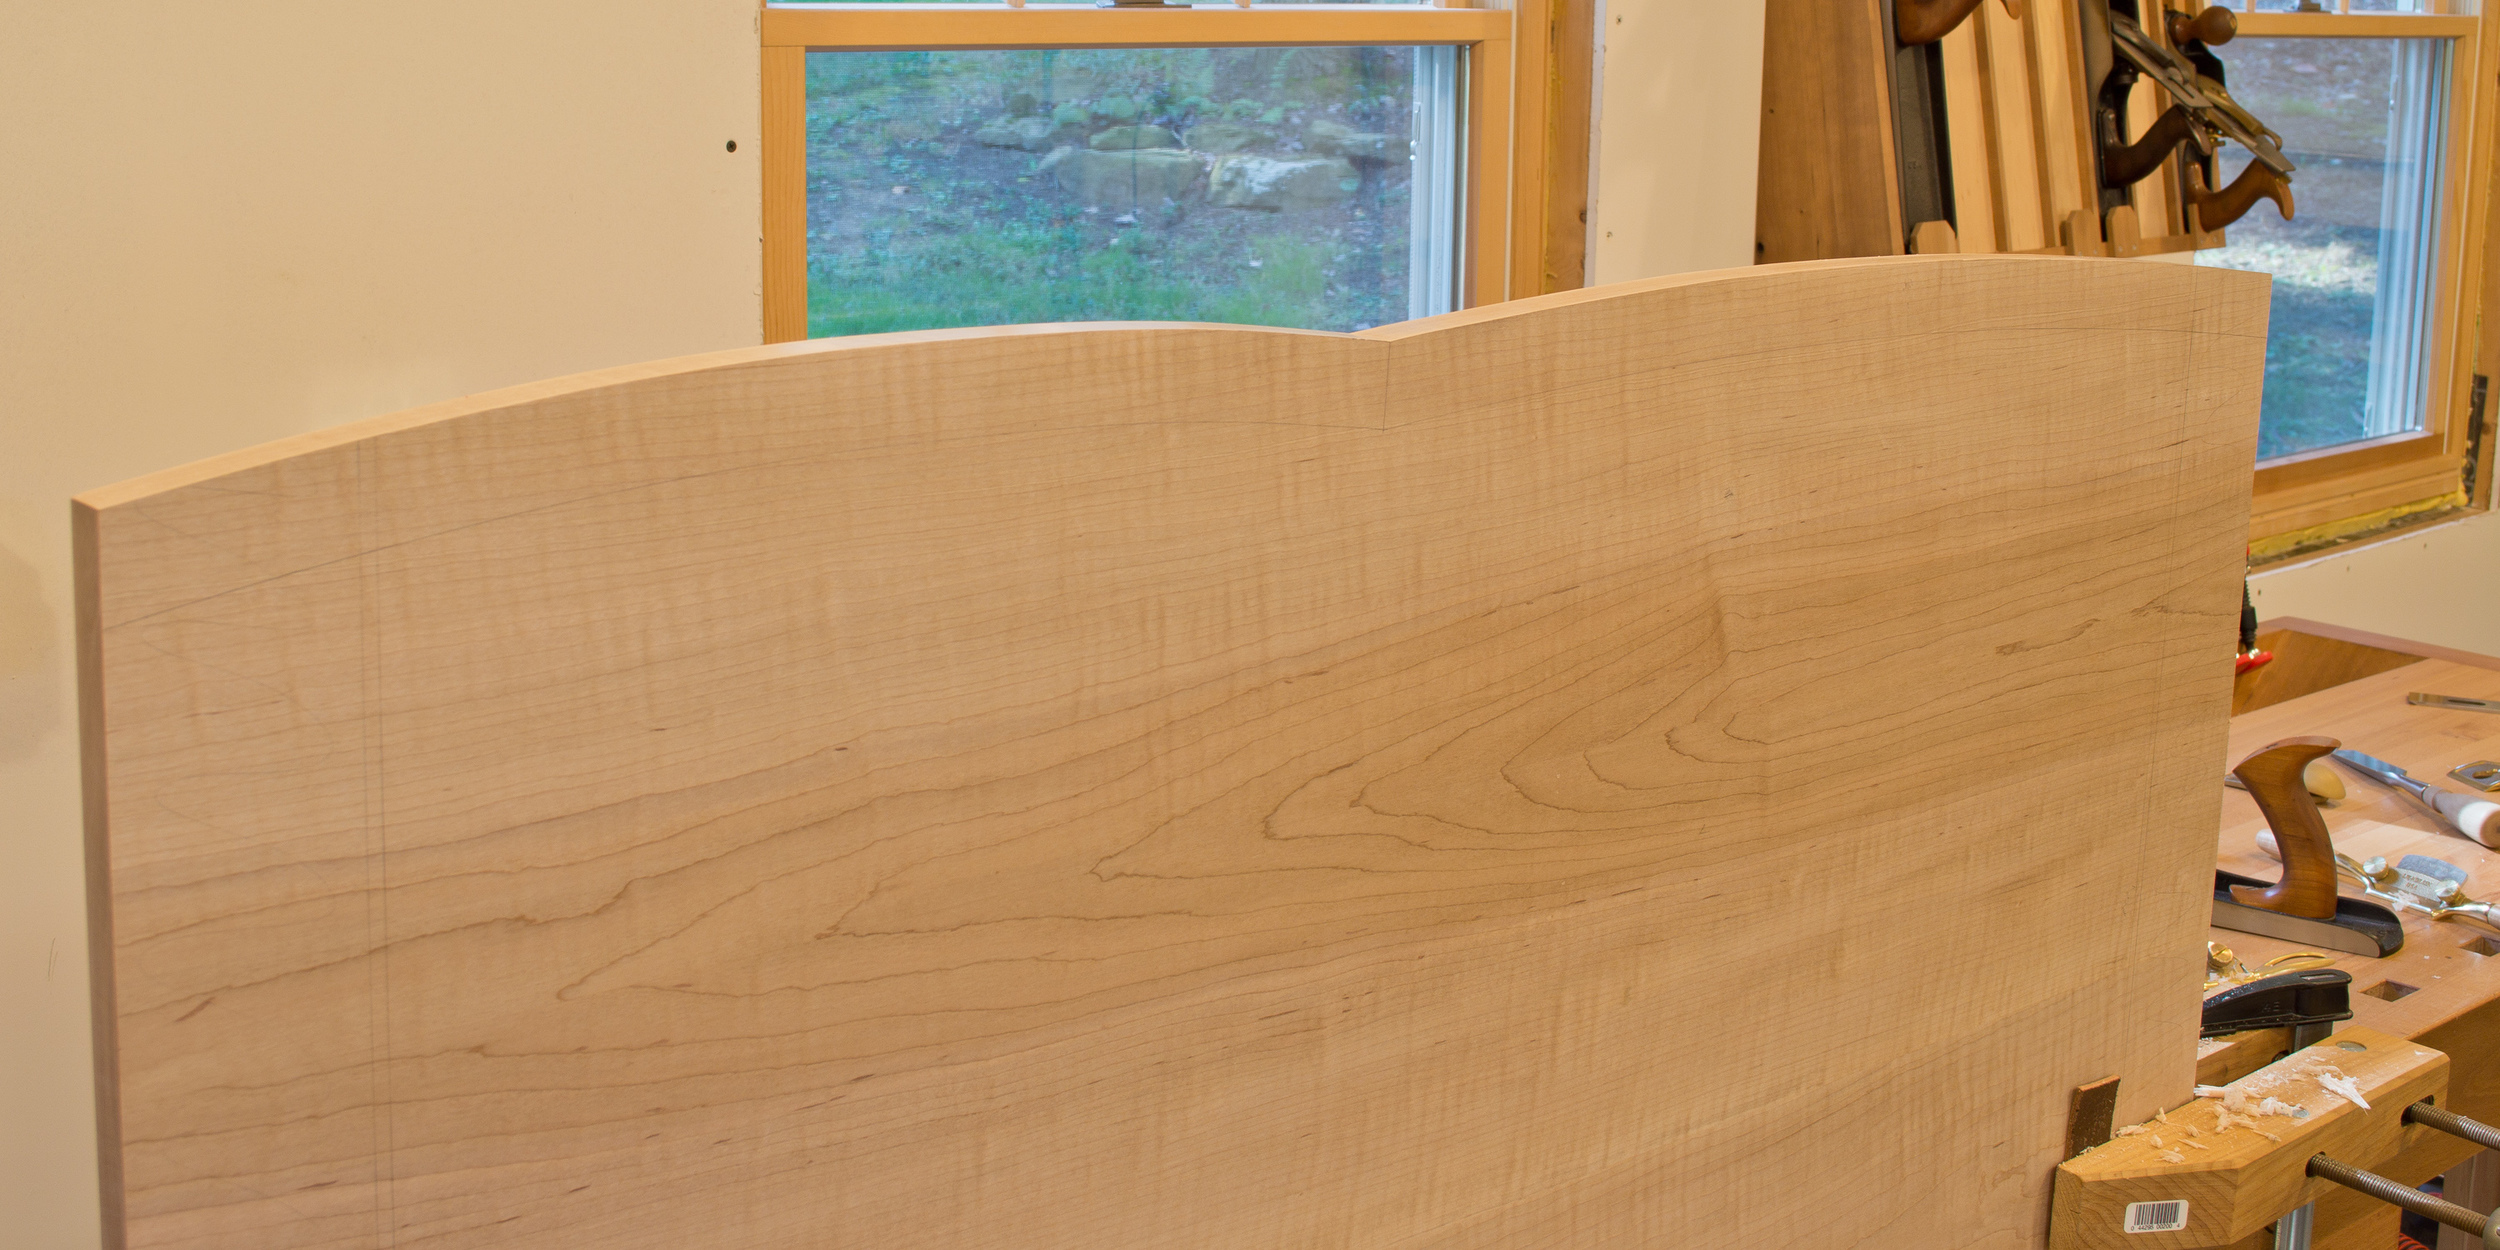
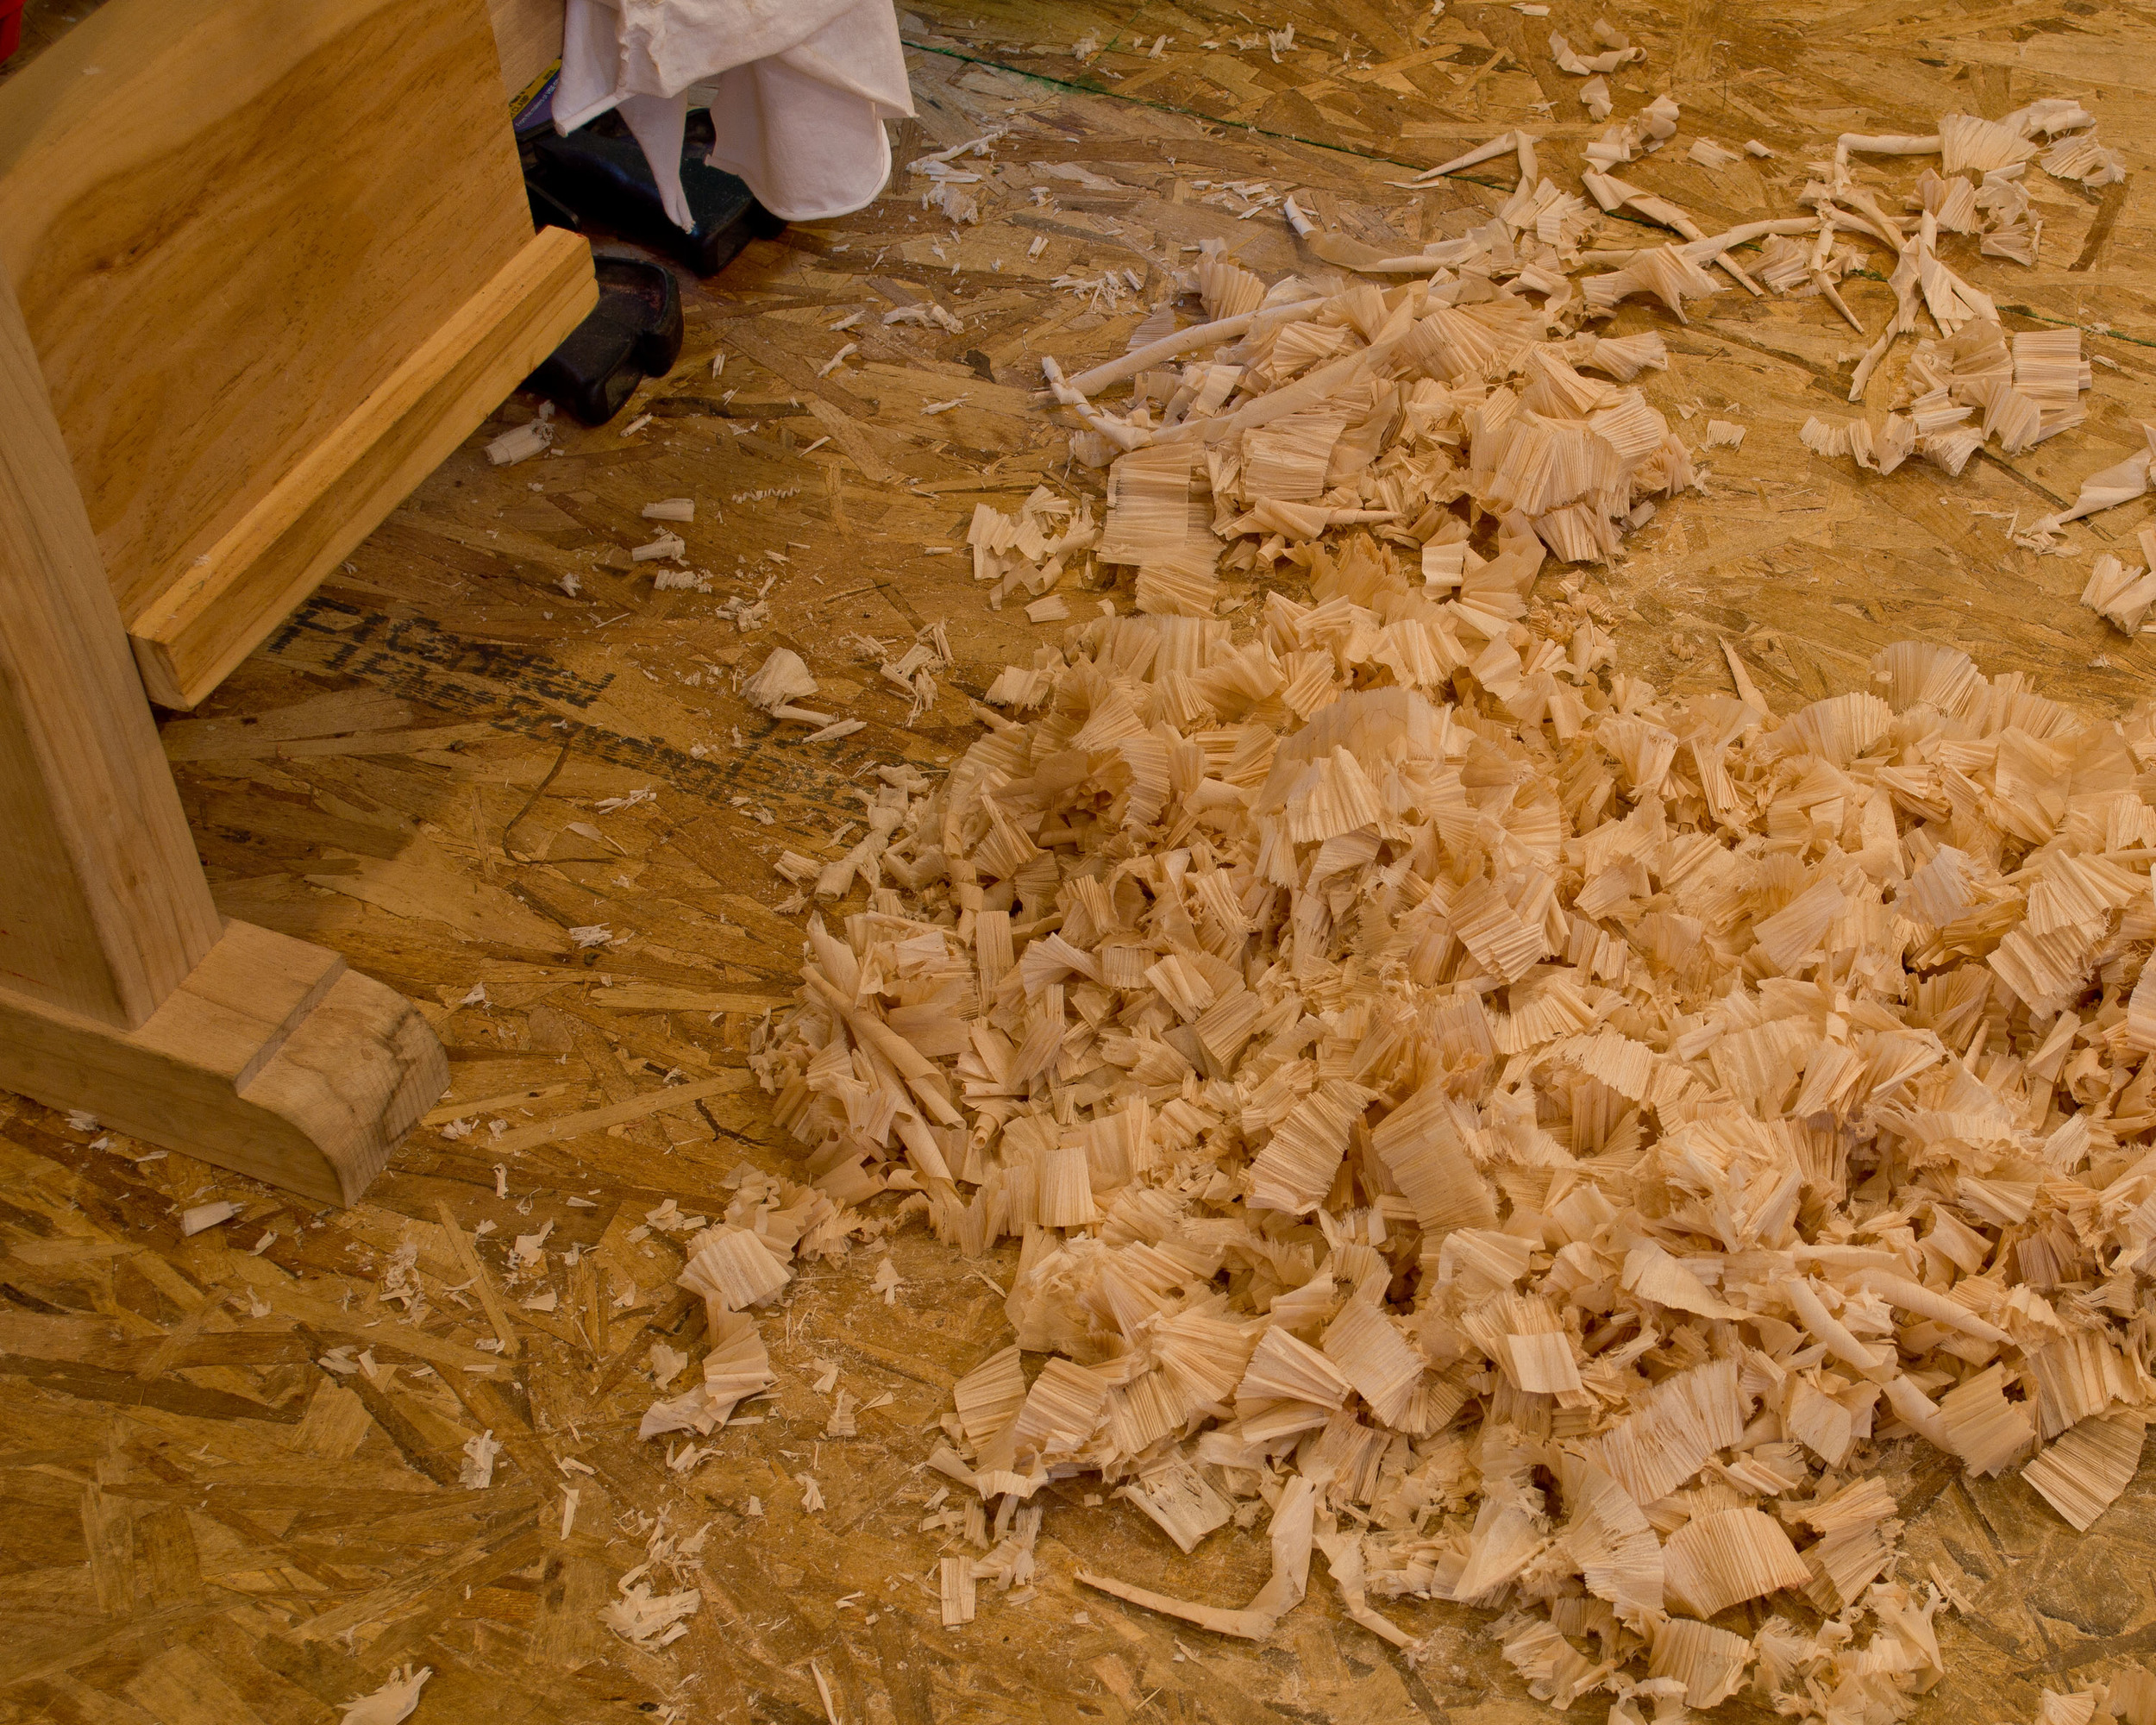
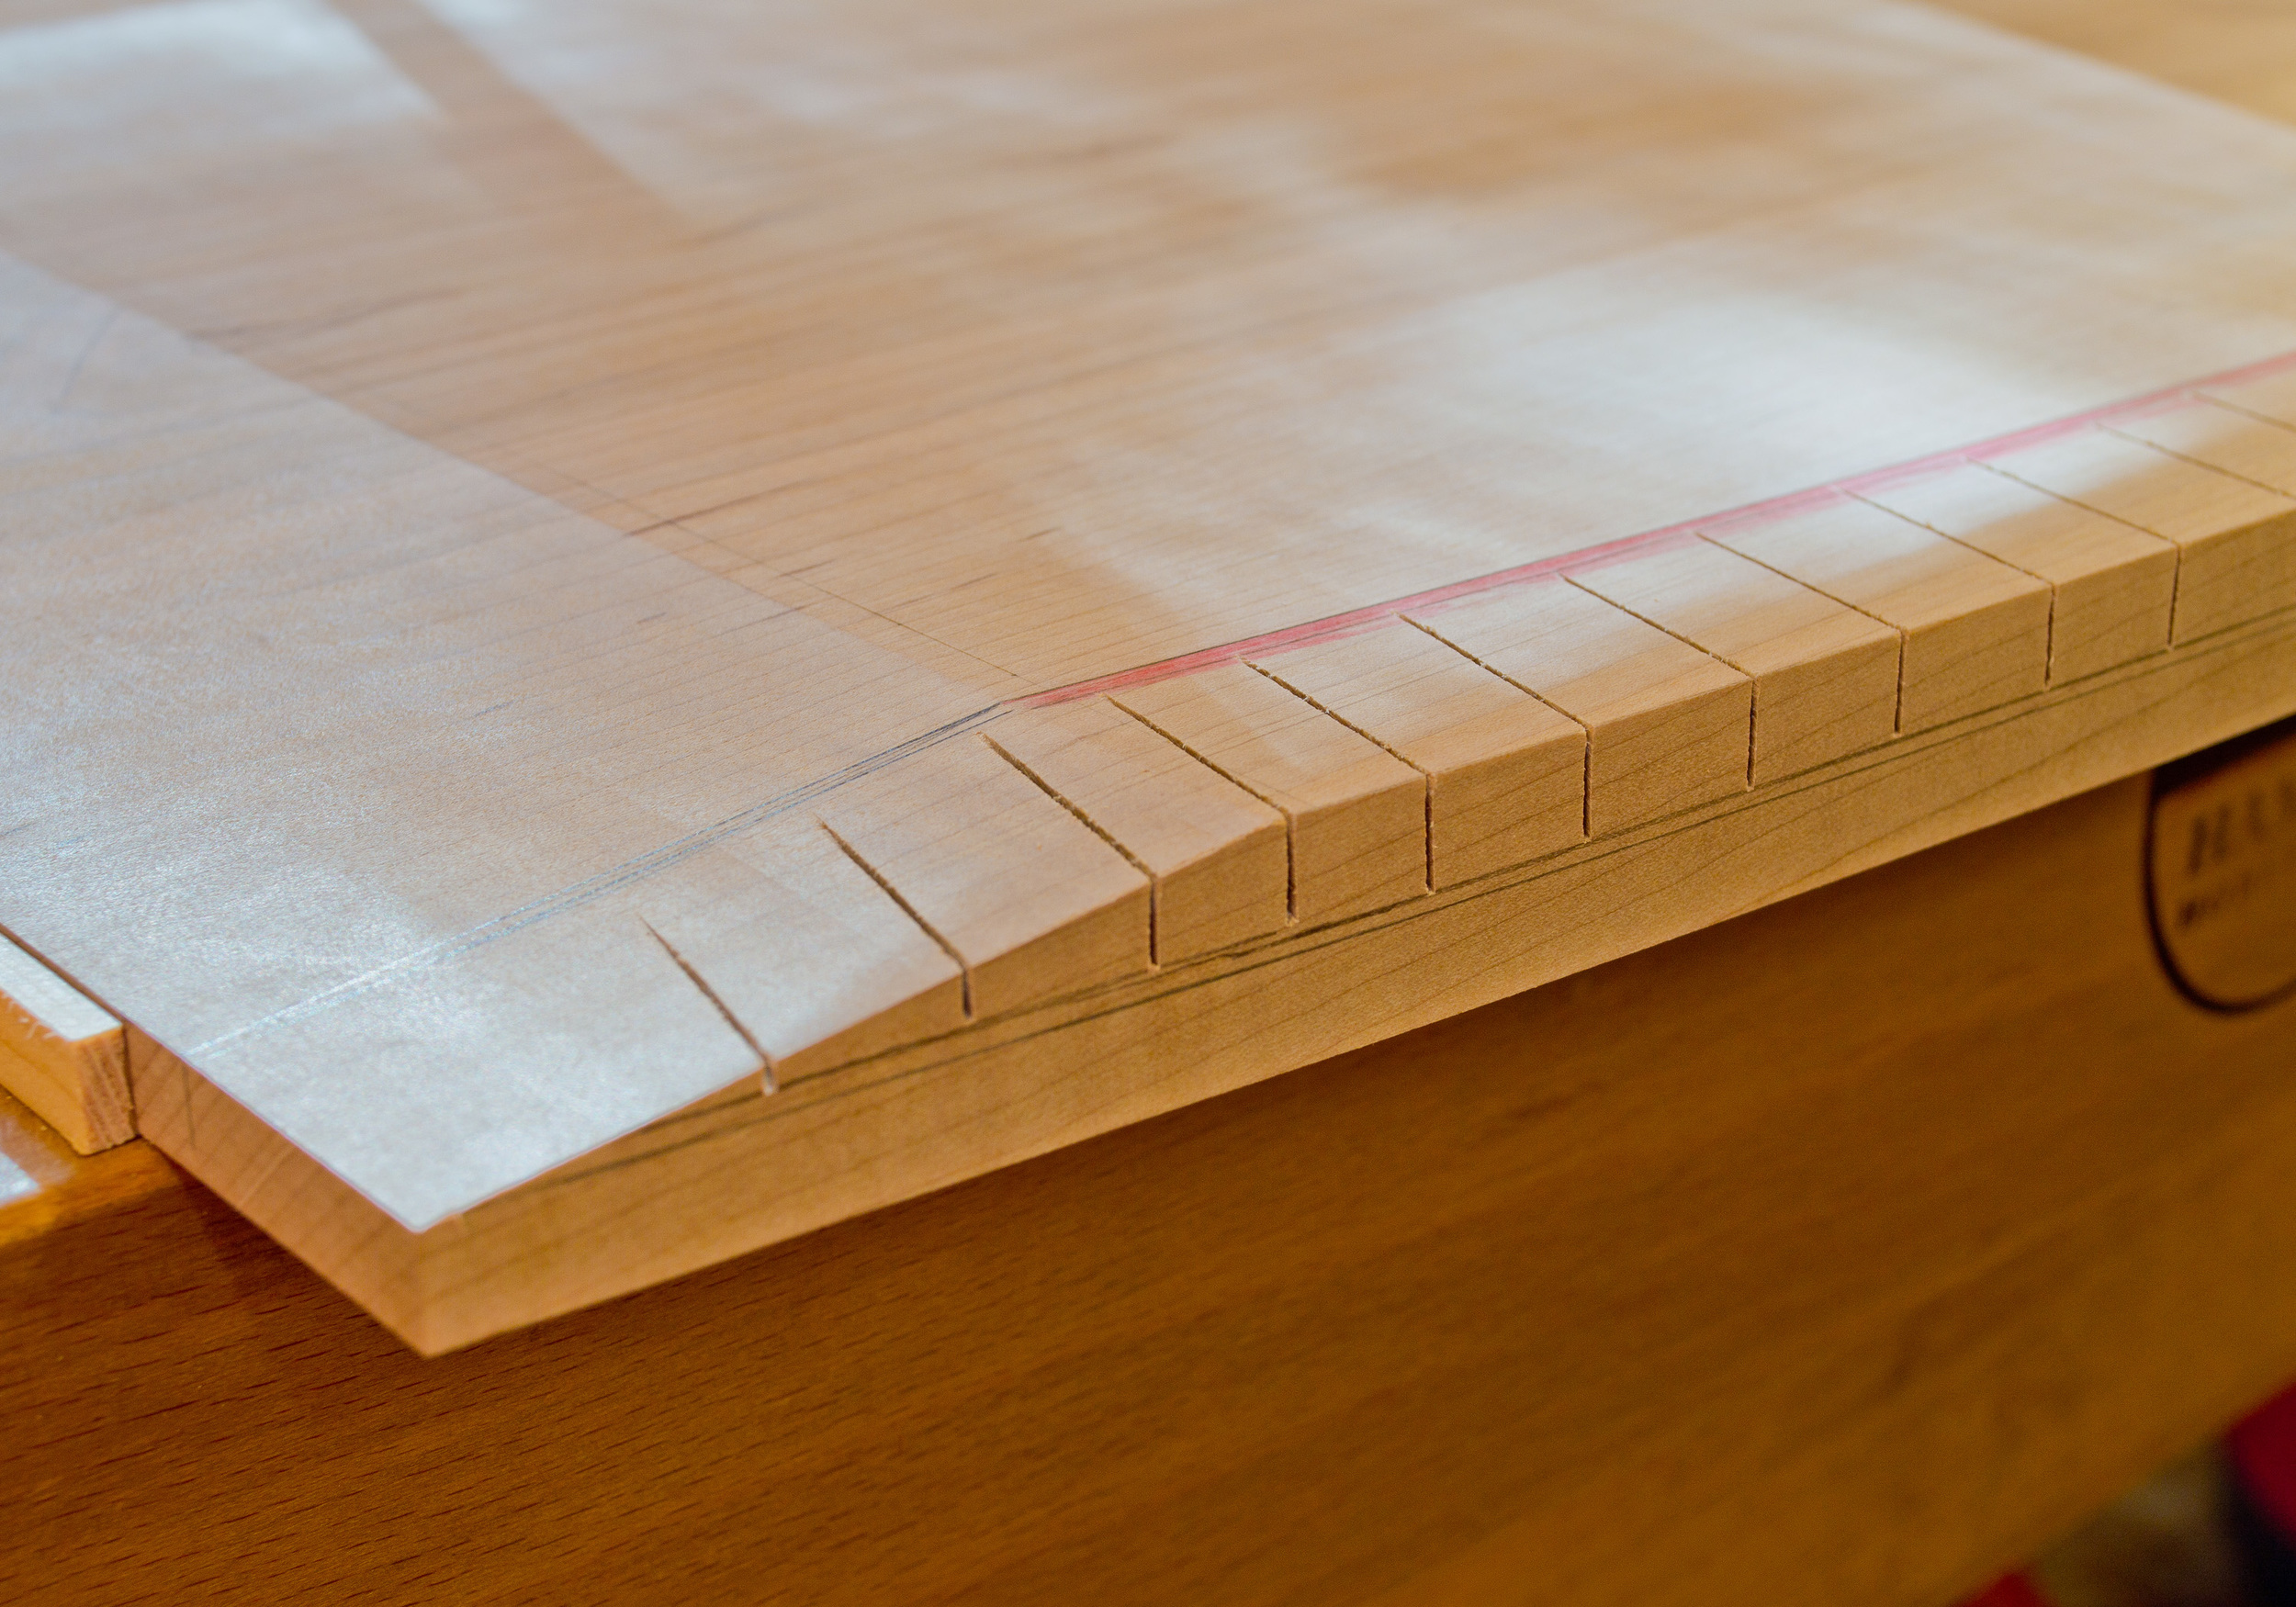
The top of this chest of drawers is a bit different in that the front edge has two curves which reflect the two curves in the drawer fronts and base.  The first two images below illustrate these curves.  Shaping the underbevels on the ends and back edge (the back edge is straight, no curves) is straightforward.  But shaping the under bevels on the two front curves required a slightly different approach.  If you skip ahead to the last 2 pictures (the first 8 show how I work a more typical bevel) I started by hand sawing down to my layout lines.  These angled saw kerfs define the material to be removed, and they act as a kind of "safety" as I use a chisel and mallet to remove the chunks in between the kerfs.  Without the kerfs, it would be fairly easy to remove too much material whether through an errant swing of the mallet or uncooperative grain.  Once the bulk of the material is removed with chisel and mallet, I switch to a drawknife, then to spokeshaves and files, continually refining the shape until I hit those layout lines.  Notice the progression of the tools used - roughing material away is done with tools suited for that task - a drawknife and mallet-propelled chisels (yes, chisels can do really fine work, but in this instance it was their brawn that I needed).  Then the switch to spokeshaves and files reflected the need for more precise final shaping.


Back to Bases

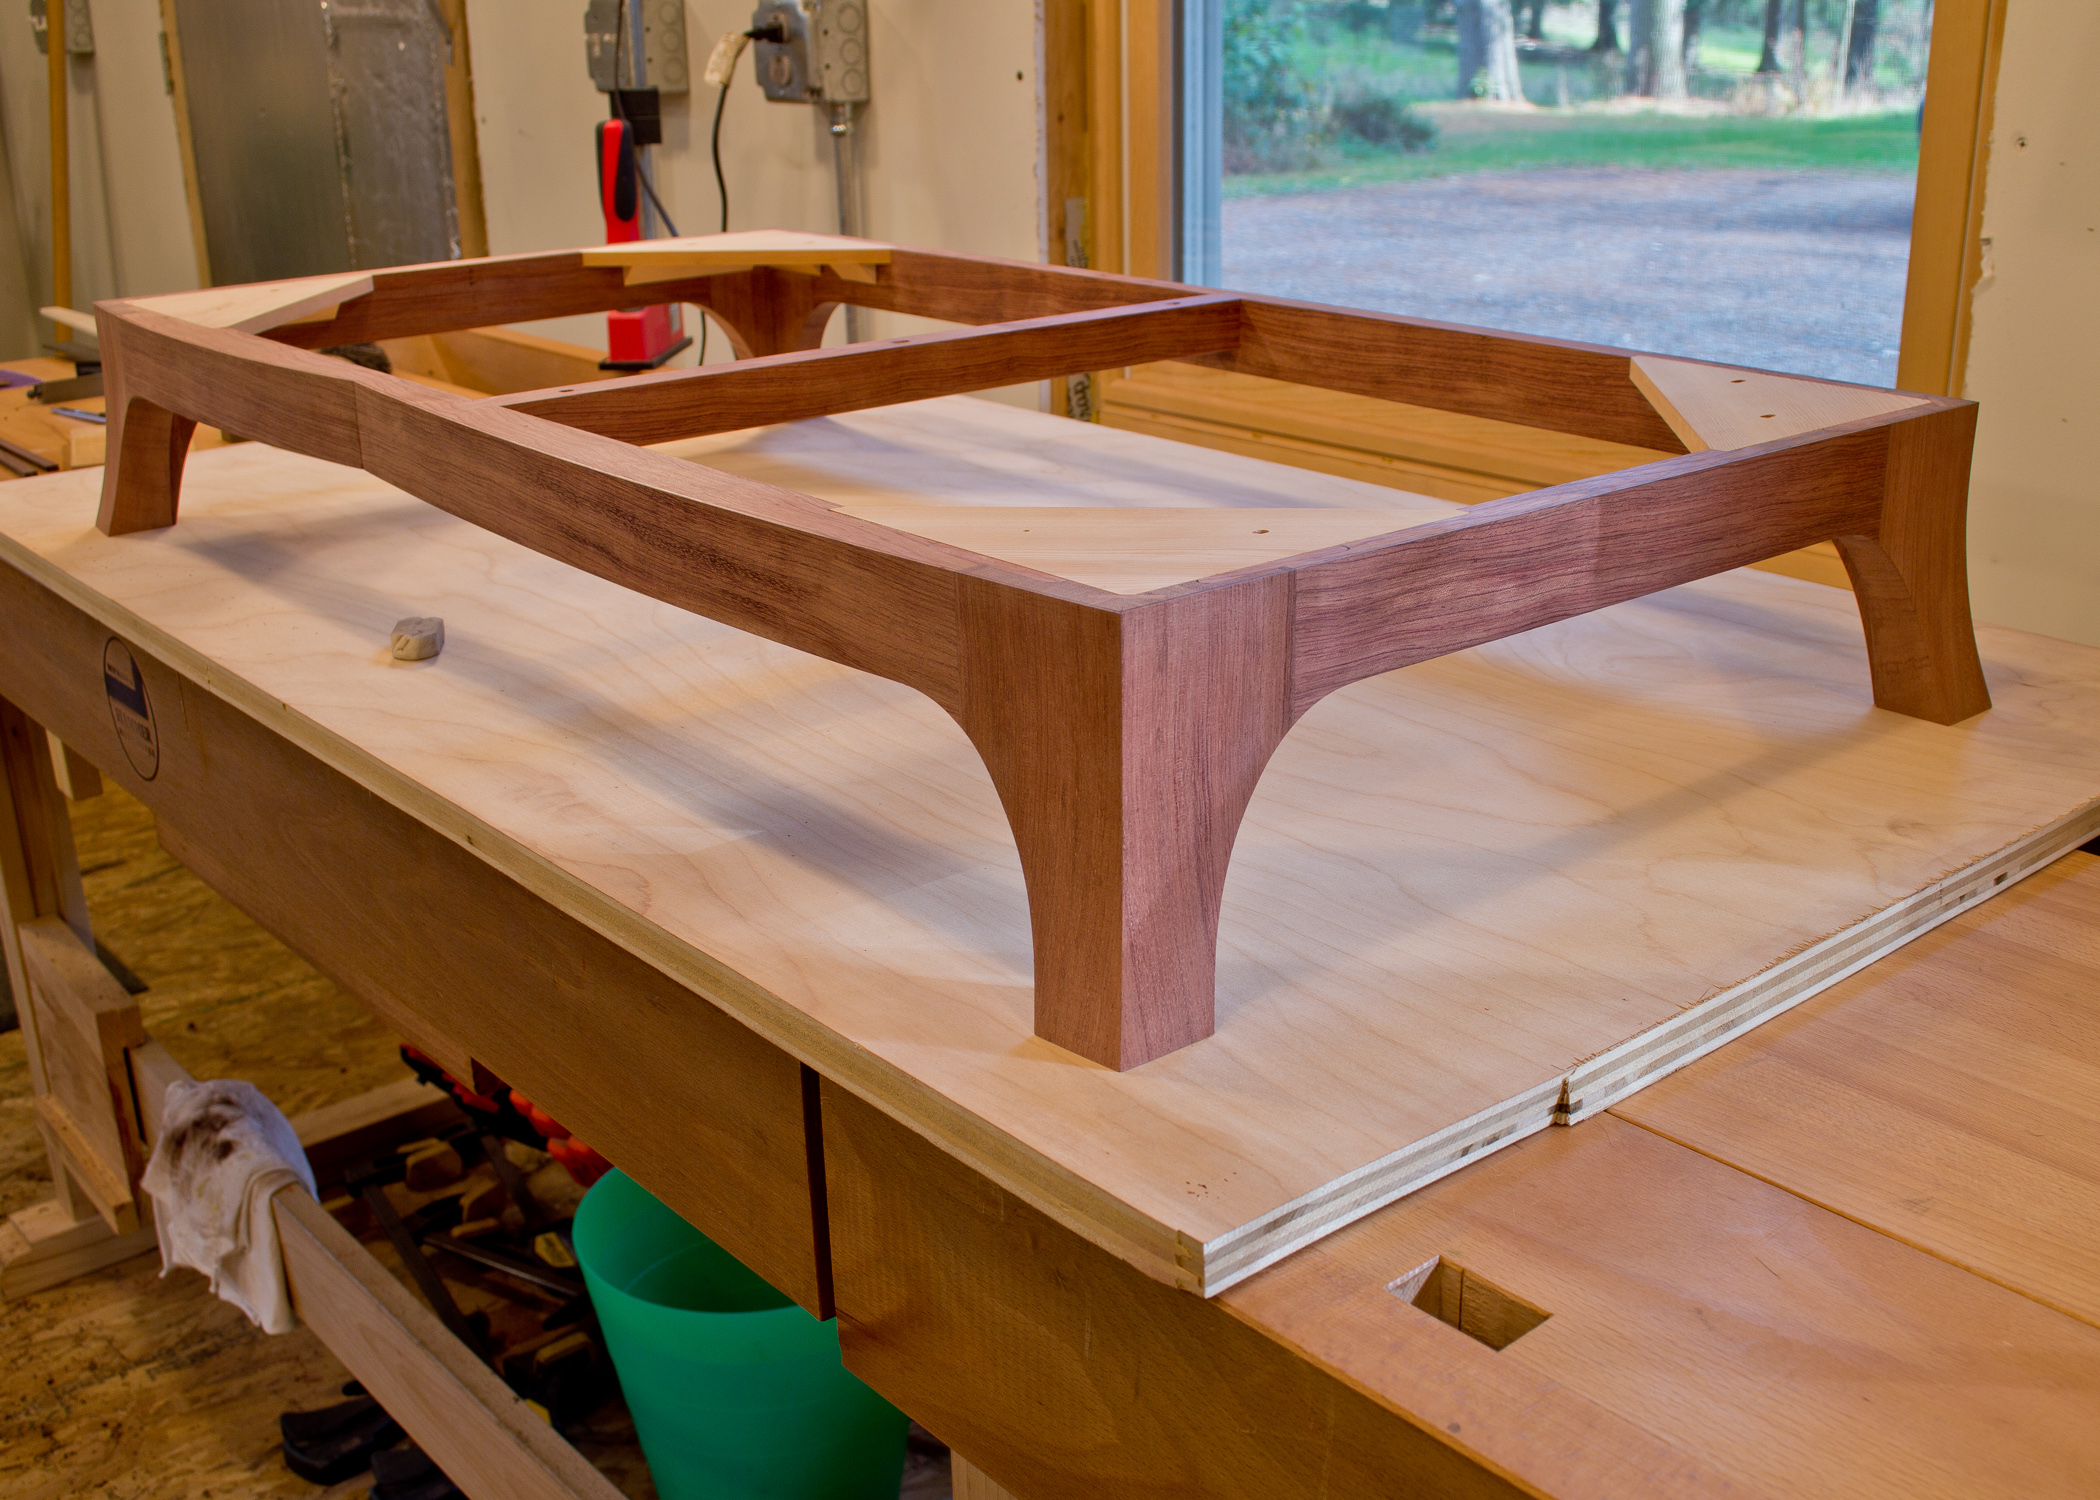
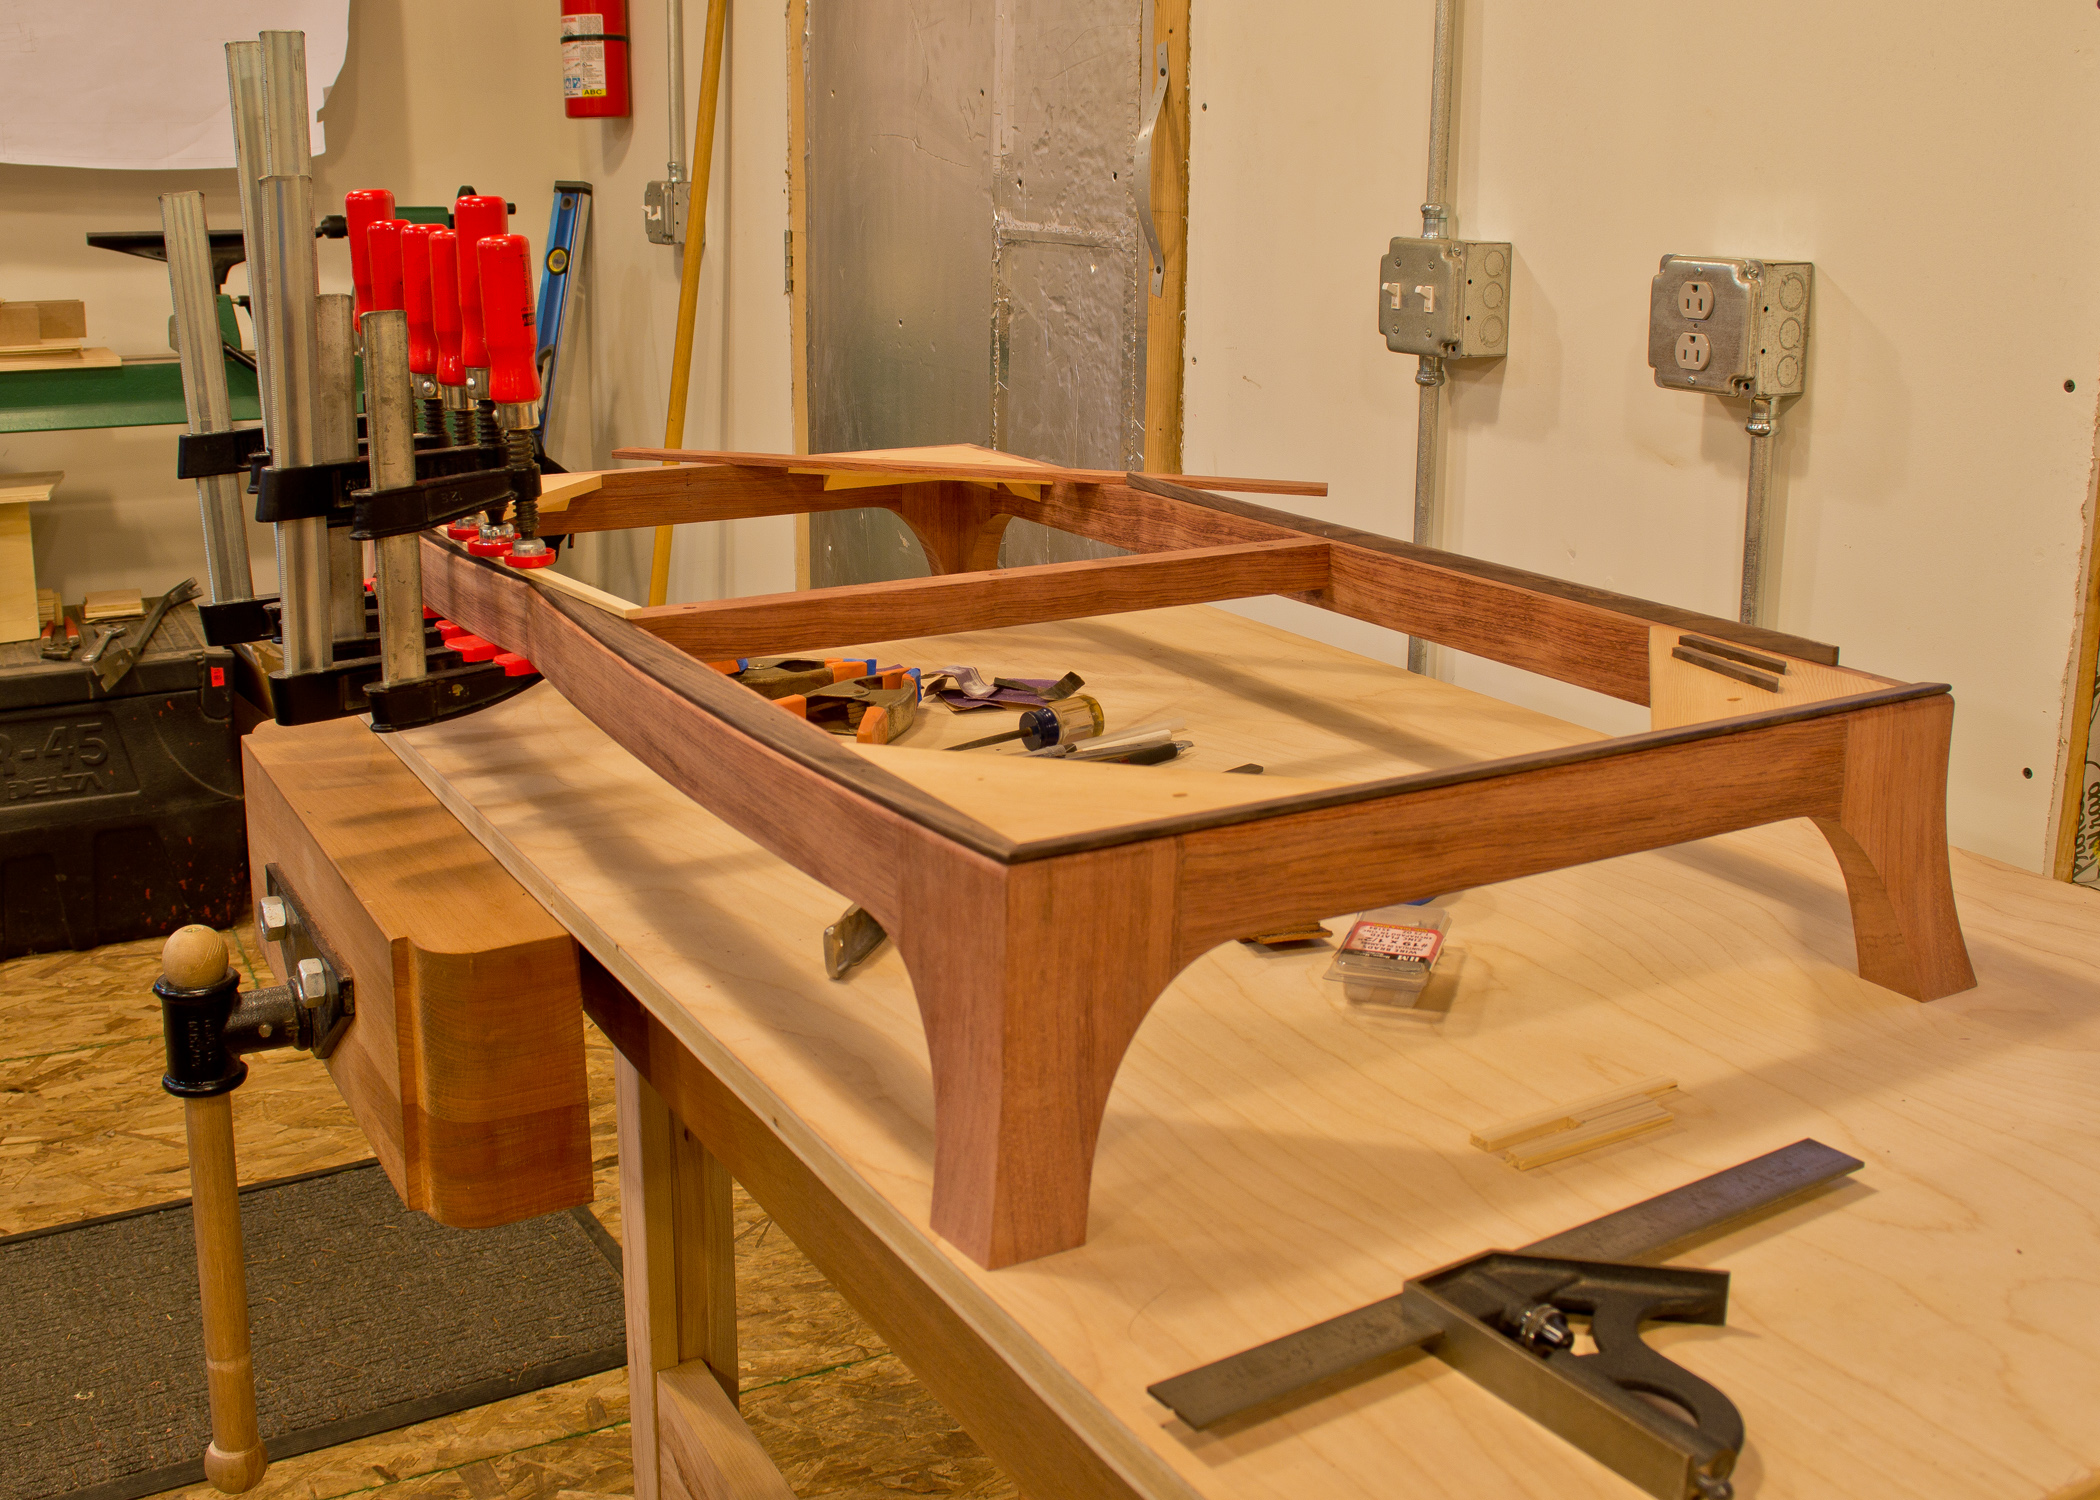
The chest of drawers is coming along swimmingly.  I have posted some images to illustrate how the base was made.  Unfortunately there were media blackouts during the process, so images of some steps are missing.  Many steps, actually.  And there wasn't really a media blackout.  I just forgot to take pictures.  I find that I really have to think about photographing the process, or else I get completely immersed in the work and forget to stop and take pictures.  Sometimes I also forget to stop and smell the roses.

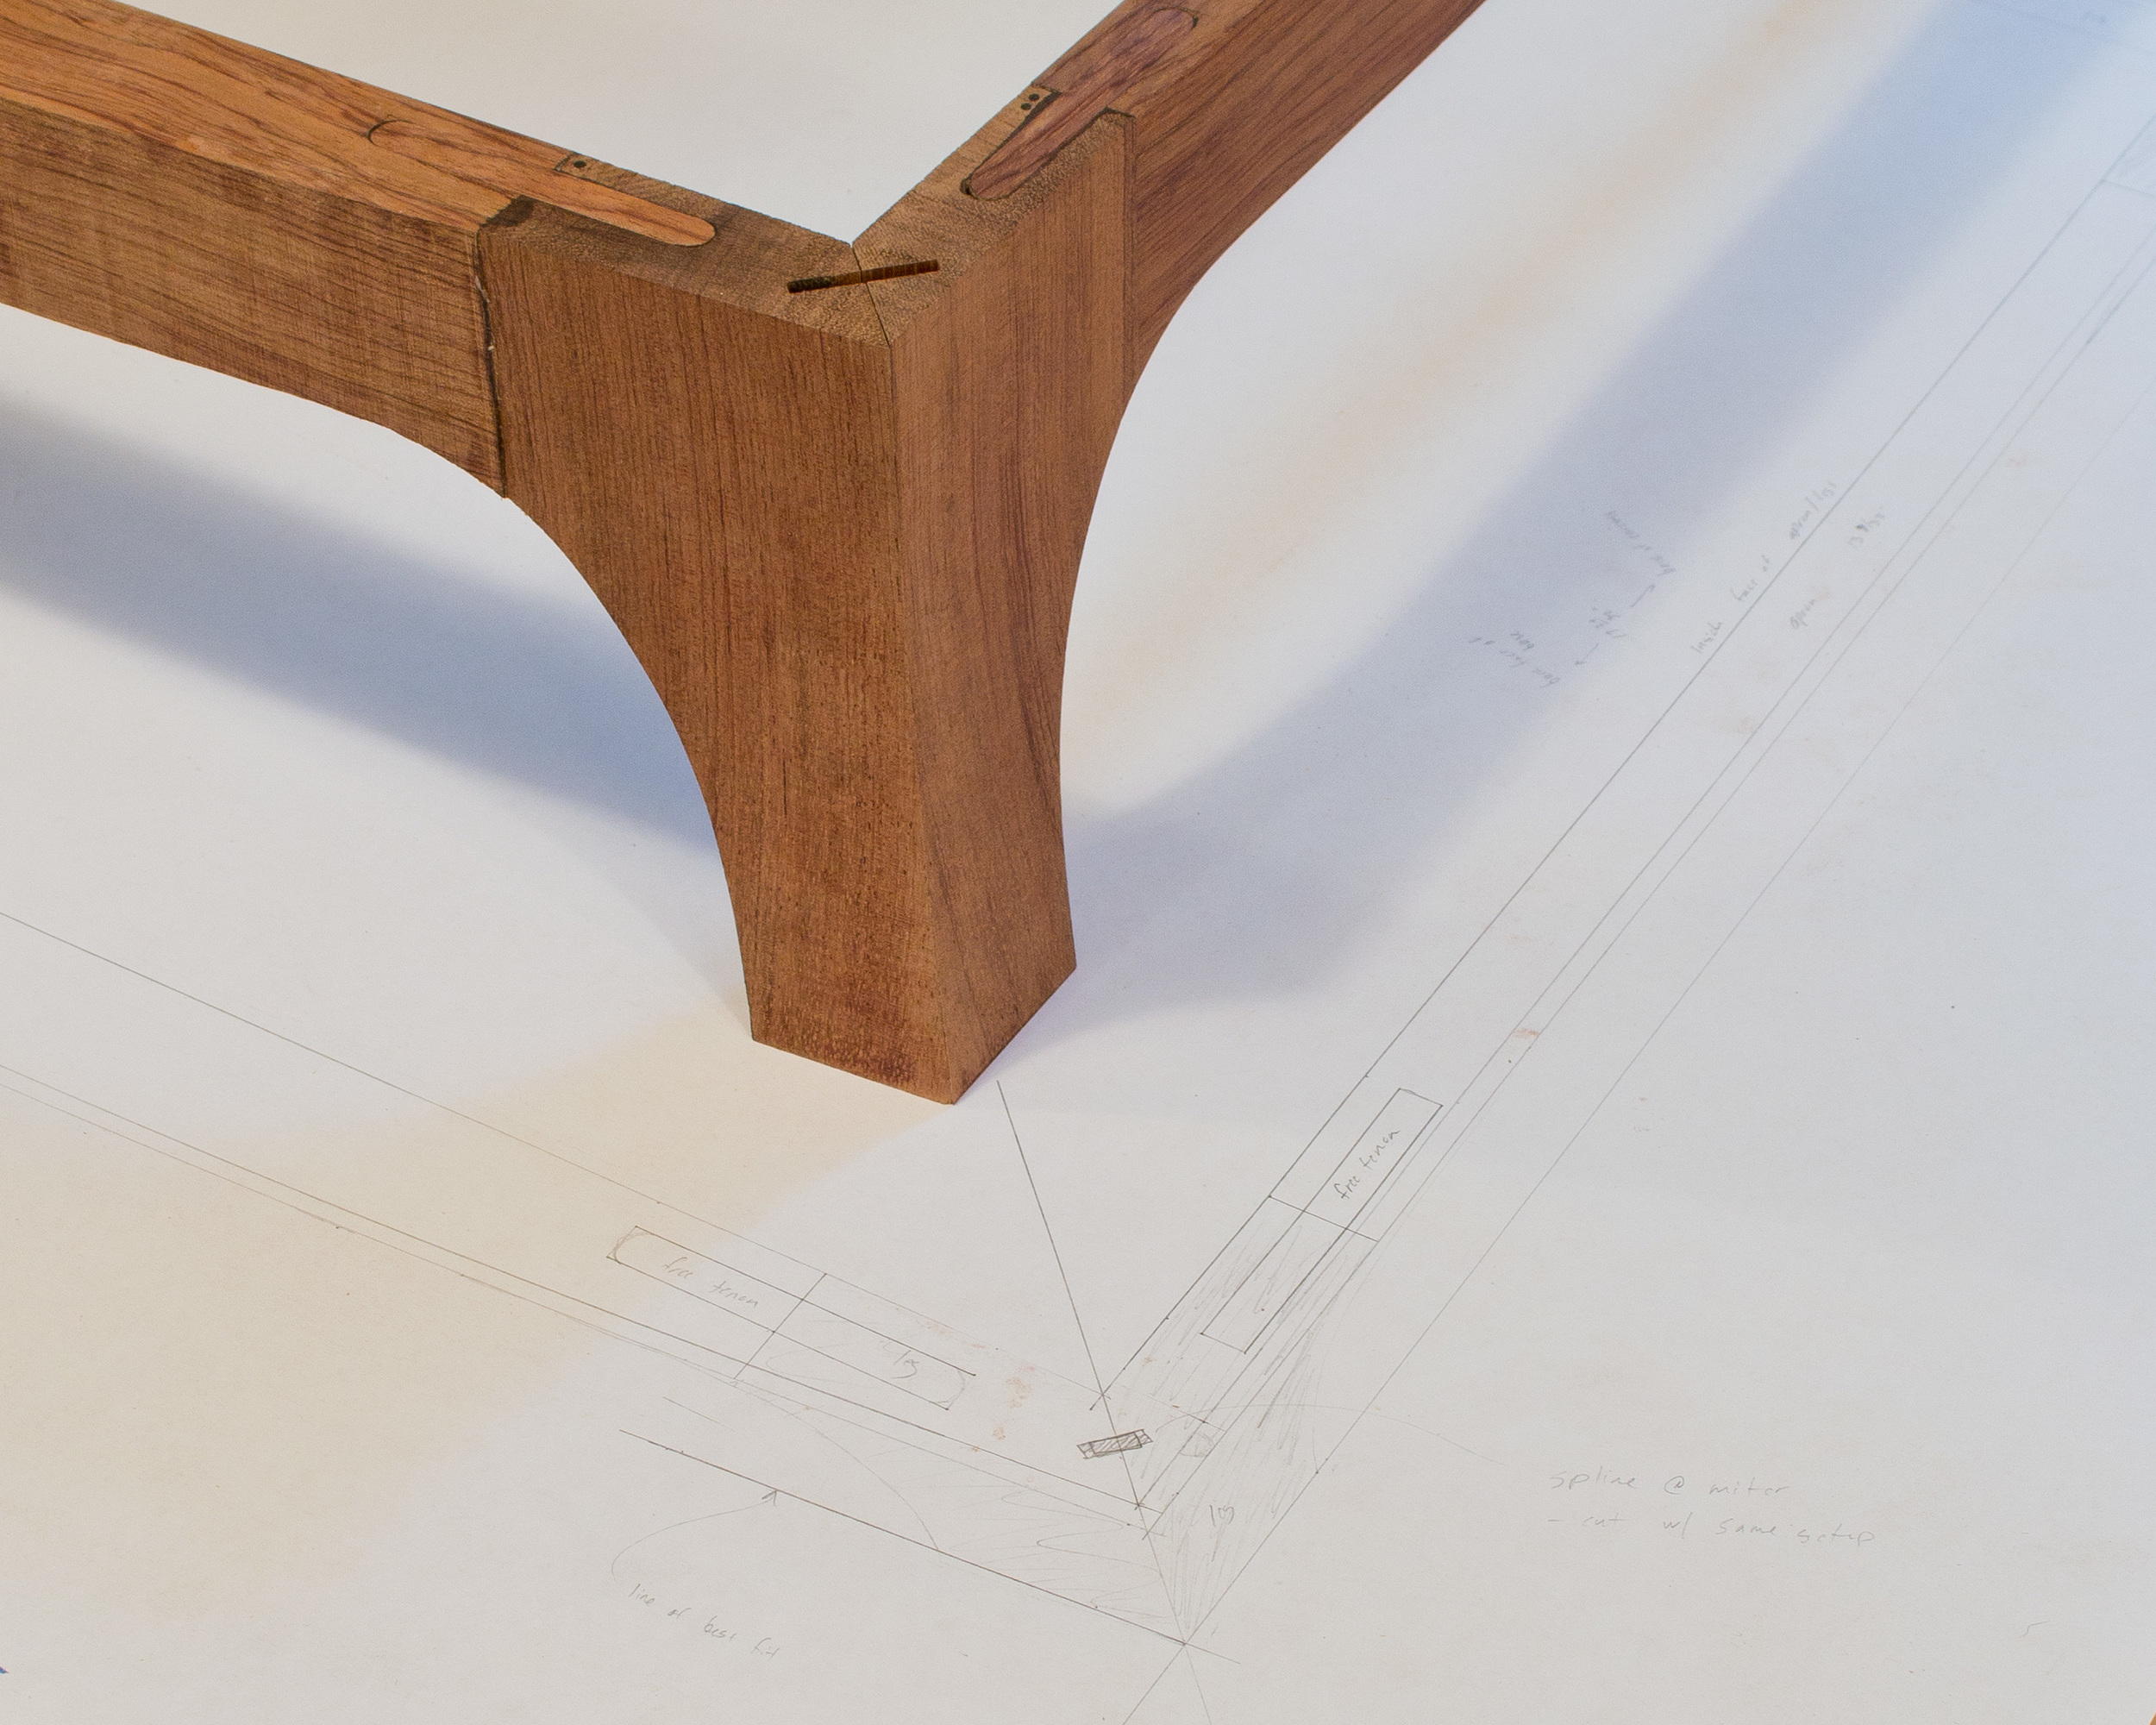
What I am able to show here is how making the base started with a full size drawing.  At this point, any existing drawings are pretty much useless as I have to work off the reality of the piece.  So I placed the case on a sheet of paper (from a discarded roll of plotter paper) and traced the outline. This gave me the footprint of the case, with no measuring, no transferring dimensions or angles. Pretty quick, simple, and accurate.  From there, I drew the footprint of the base, including the joinery to connect the aprons to the legs (free tenons) and the joinery to reinforce the miters (splines).  I could then use the drawing to determine the lengths of the aprons, location of mortises, etc.

What I didn't provide photographic evidence of is the process of creating the bubinga base.  In a nutshell, I did as much work to the legs and aprons as I could when they were still rectangular parts - milling to size, routing mortises, cutting miters, roughing out the flare in the legs.  Then I glued together the leg-apron-leg sub-assemblies and cut the curves where legs meet aprons. Then it was a lot of shaping with rasps, files, and spokeshaves to fair the aprons into the legs. Then assembly of the the entire base (the splined miters), adding gussets and glue blocks, a bit more shaping of the legs to refine the miters, and shaping of the top edge of the base, where it transitions into the bead.  From there, I think the photos can take over.


A Finely Constructed Case

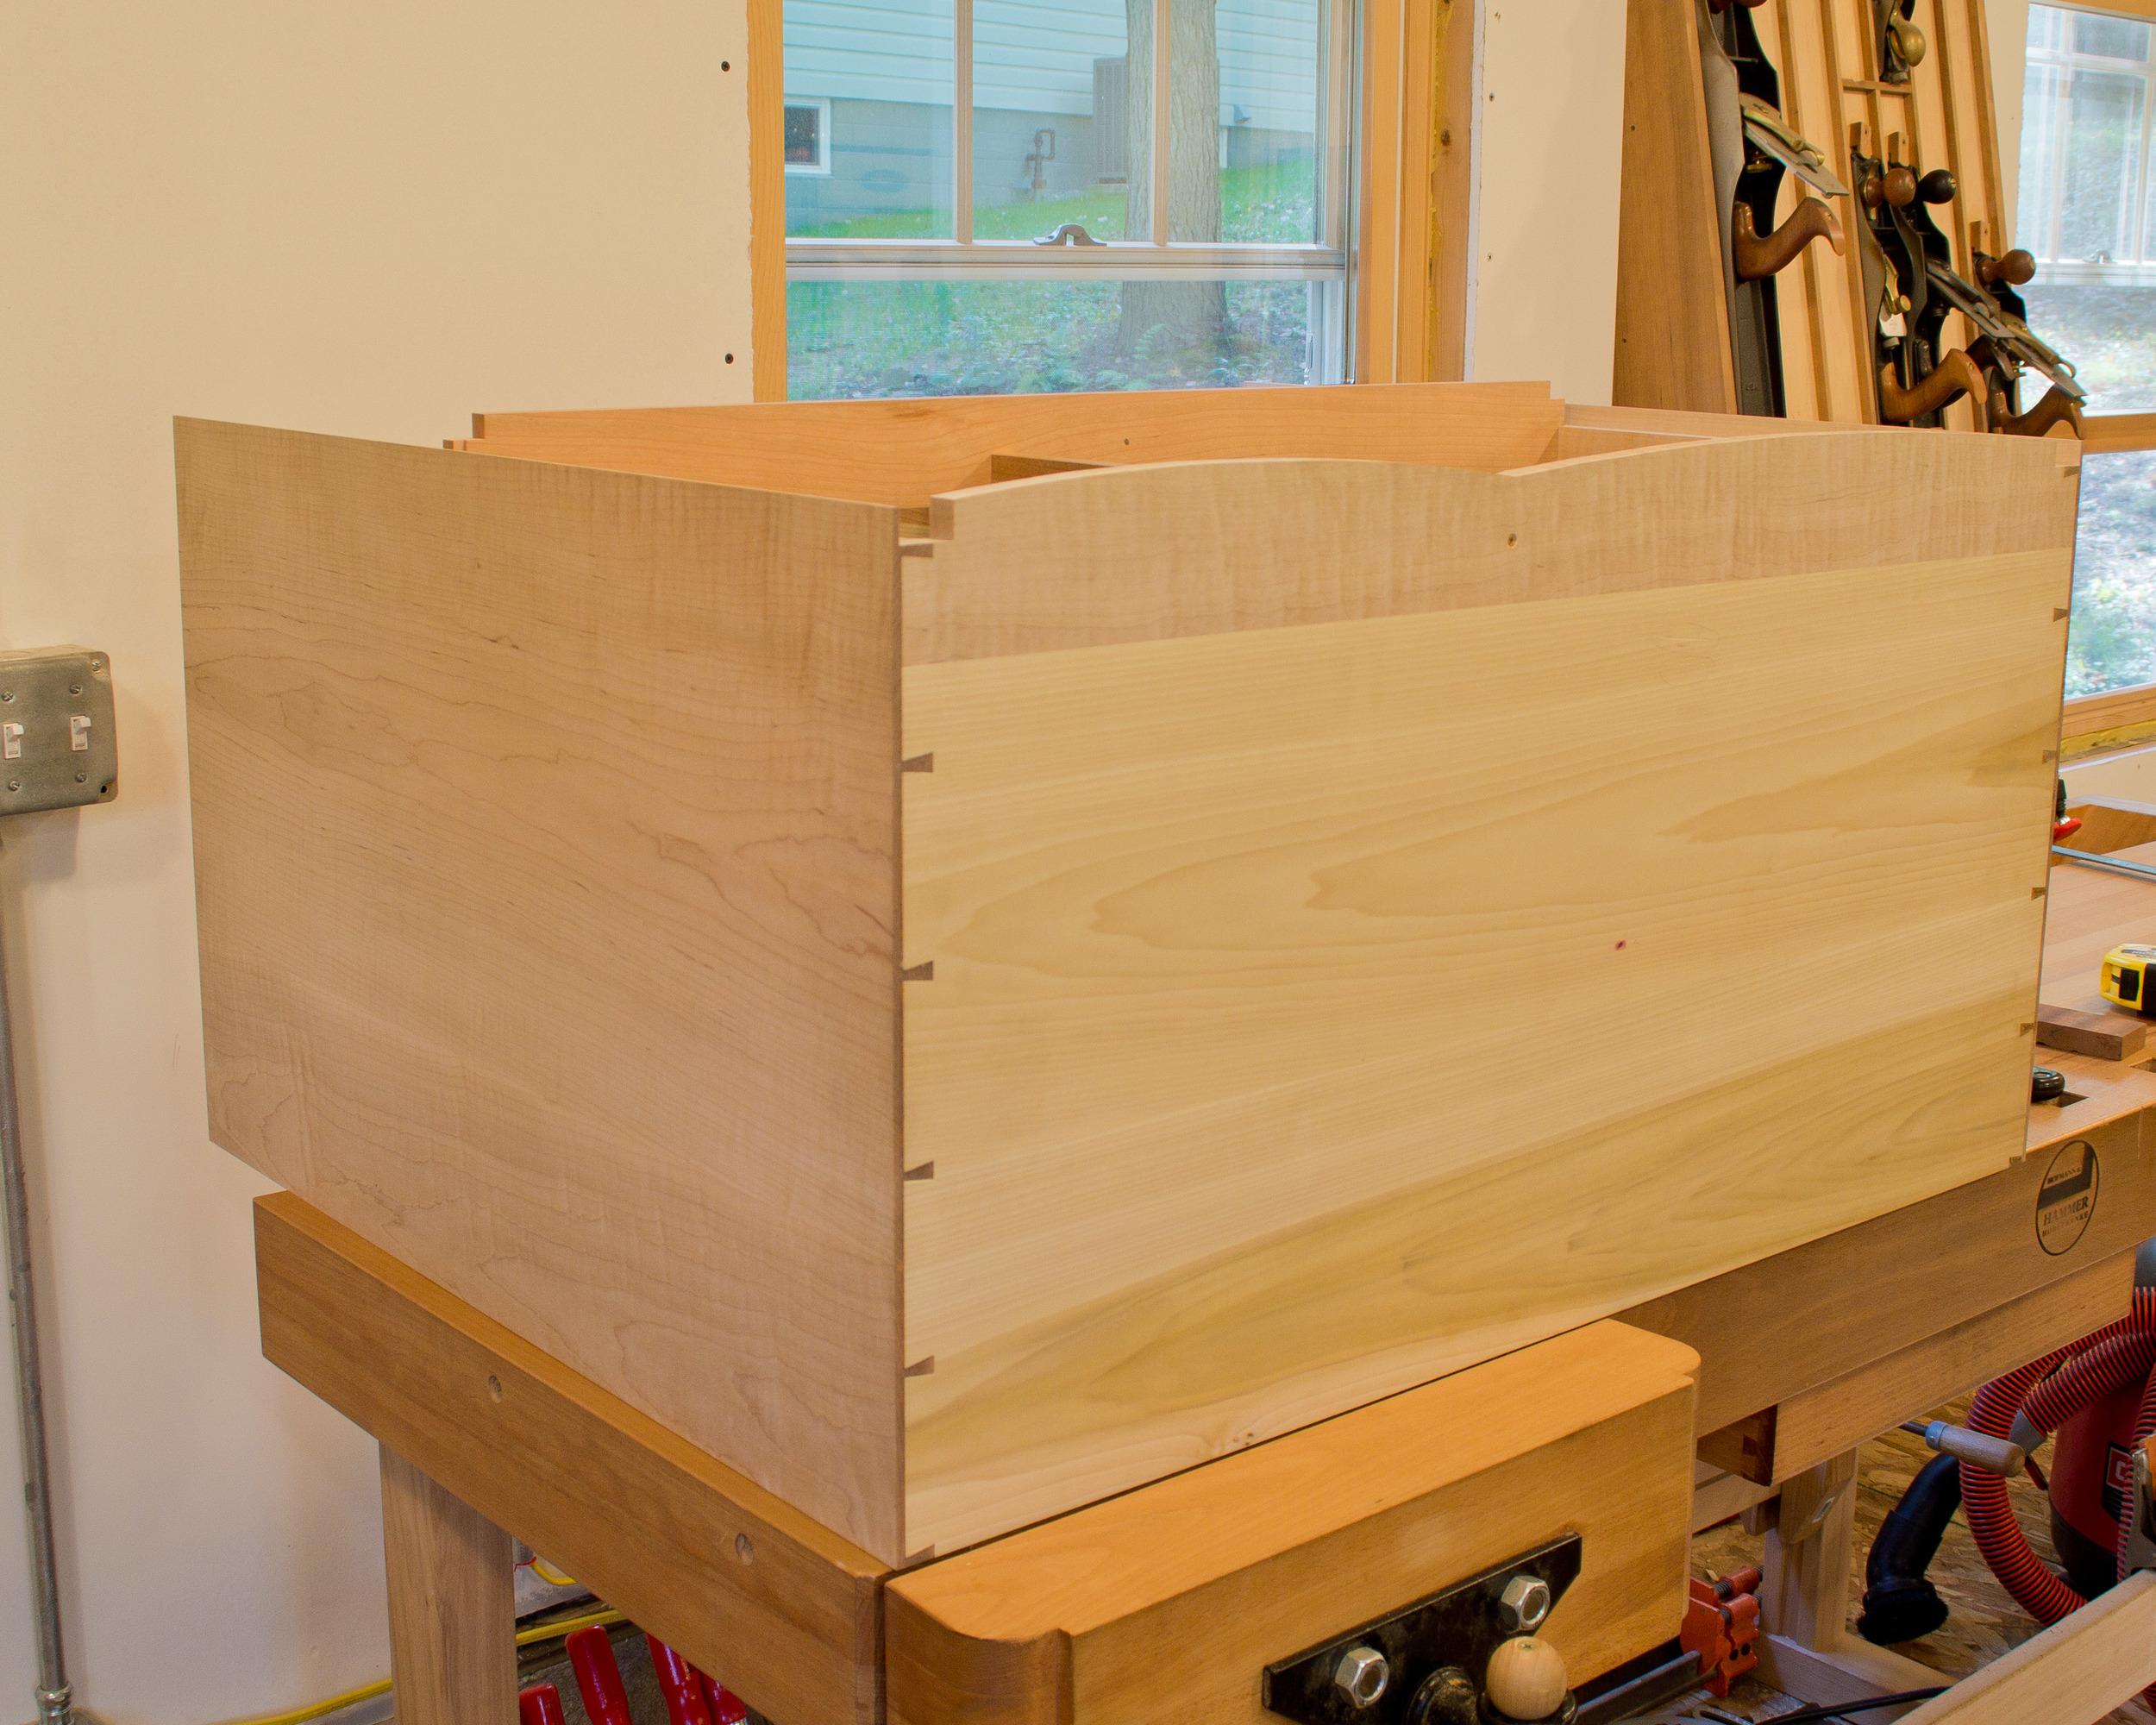
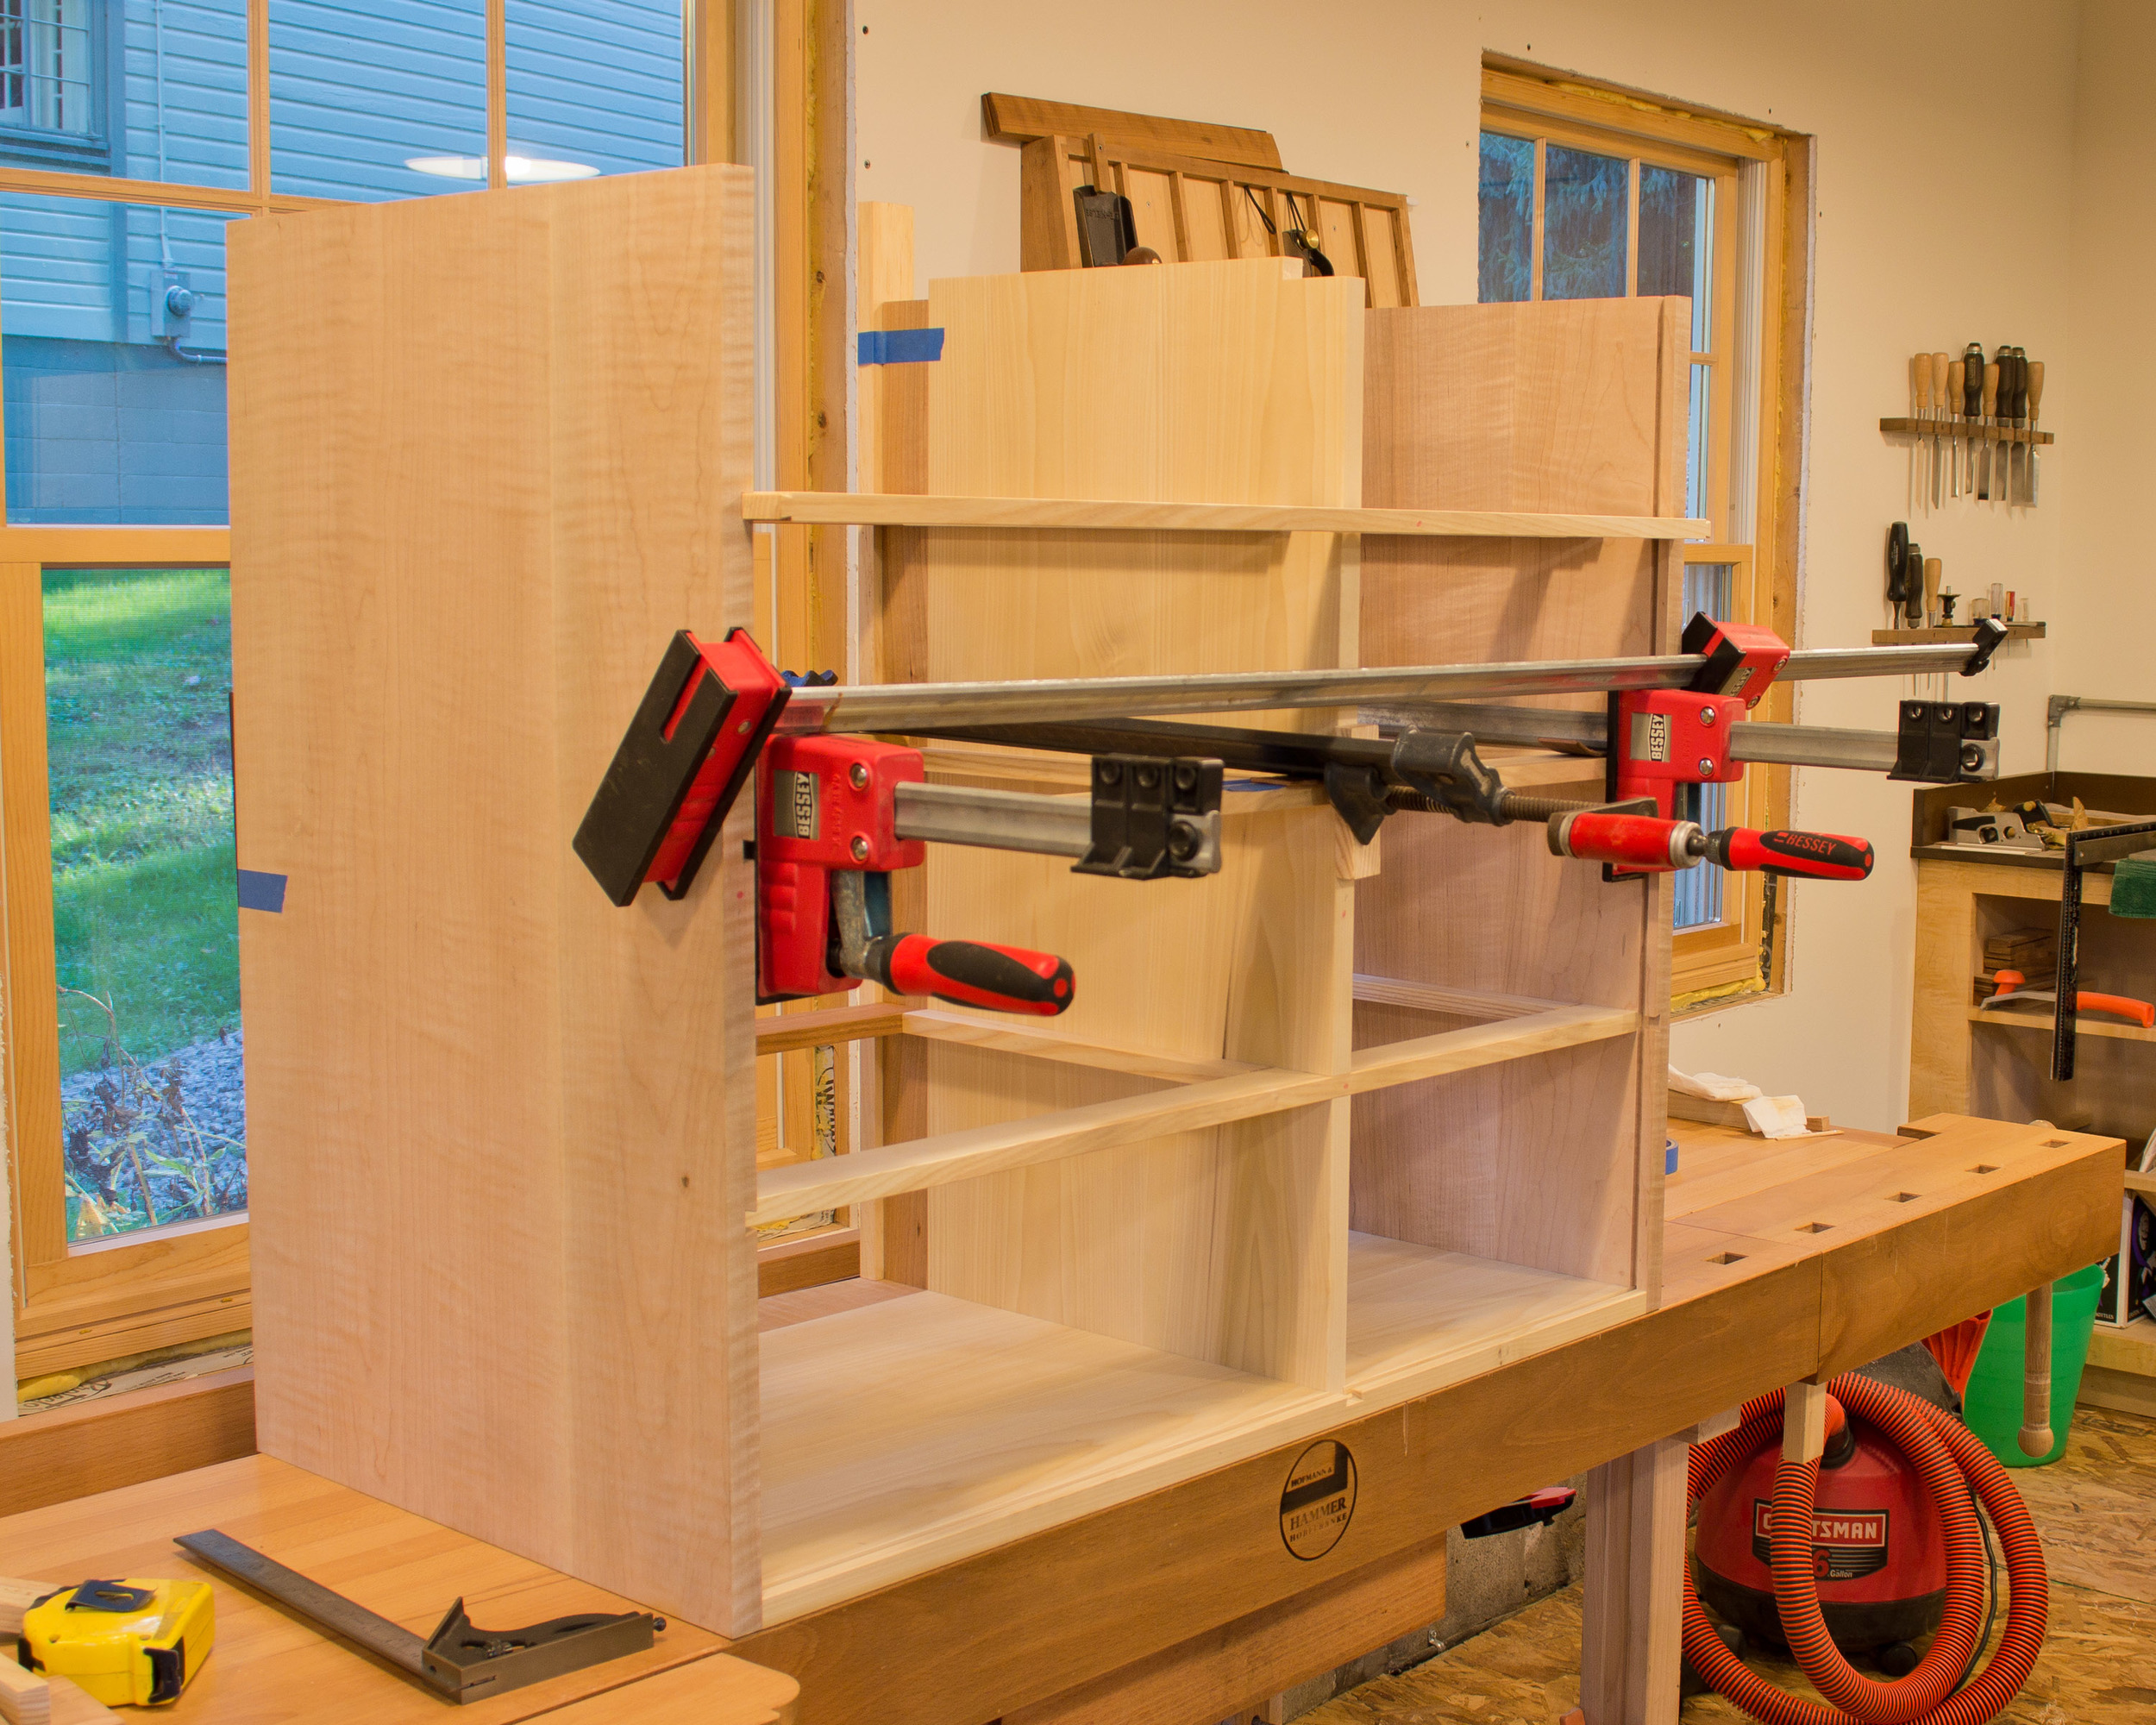
The chest of drawers is starting to take shape as I begin to take the individual parts and assemble them to create the case.  Up until now each part represented a lot of work – milling, sizing to dimension, joinery, more joinery, smoothing, fitting – but hadn’t yet been assembled into something recognizable.

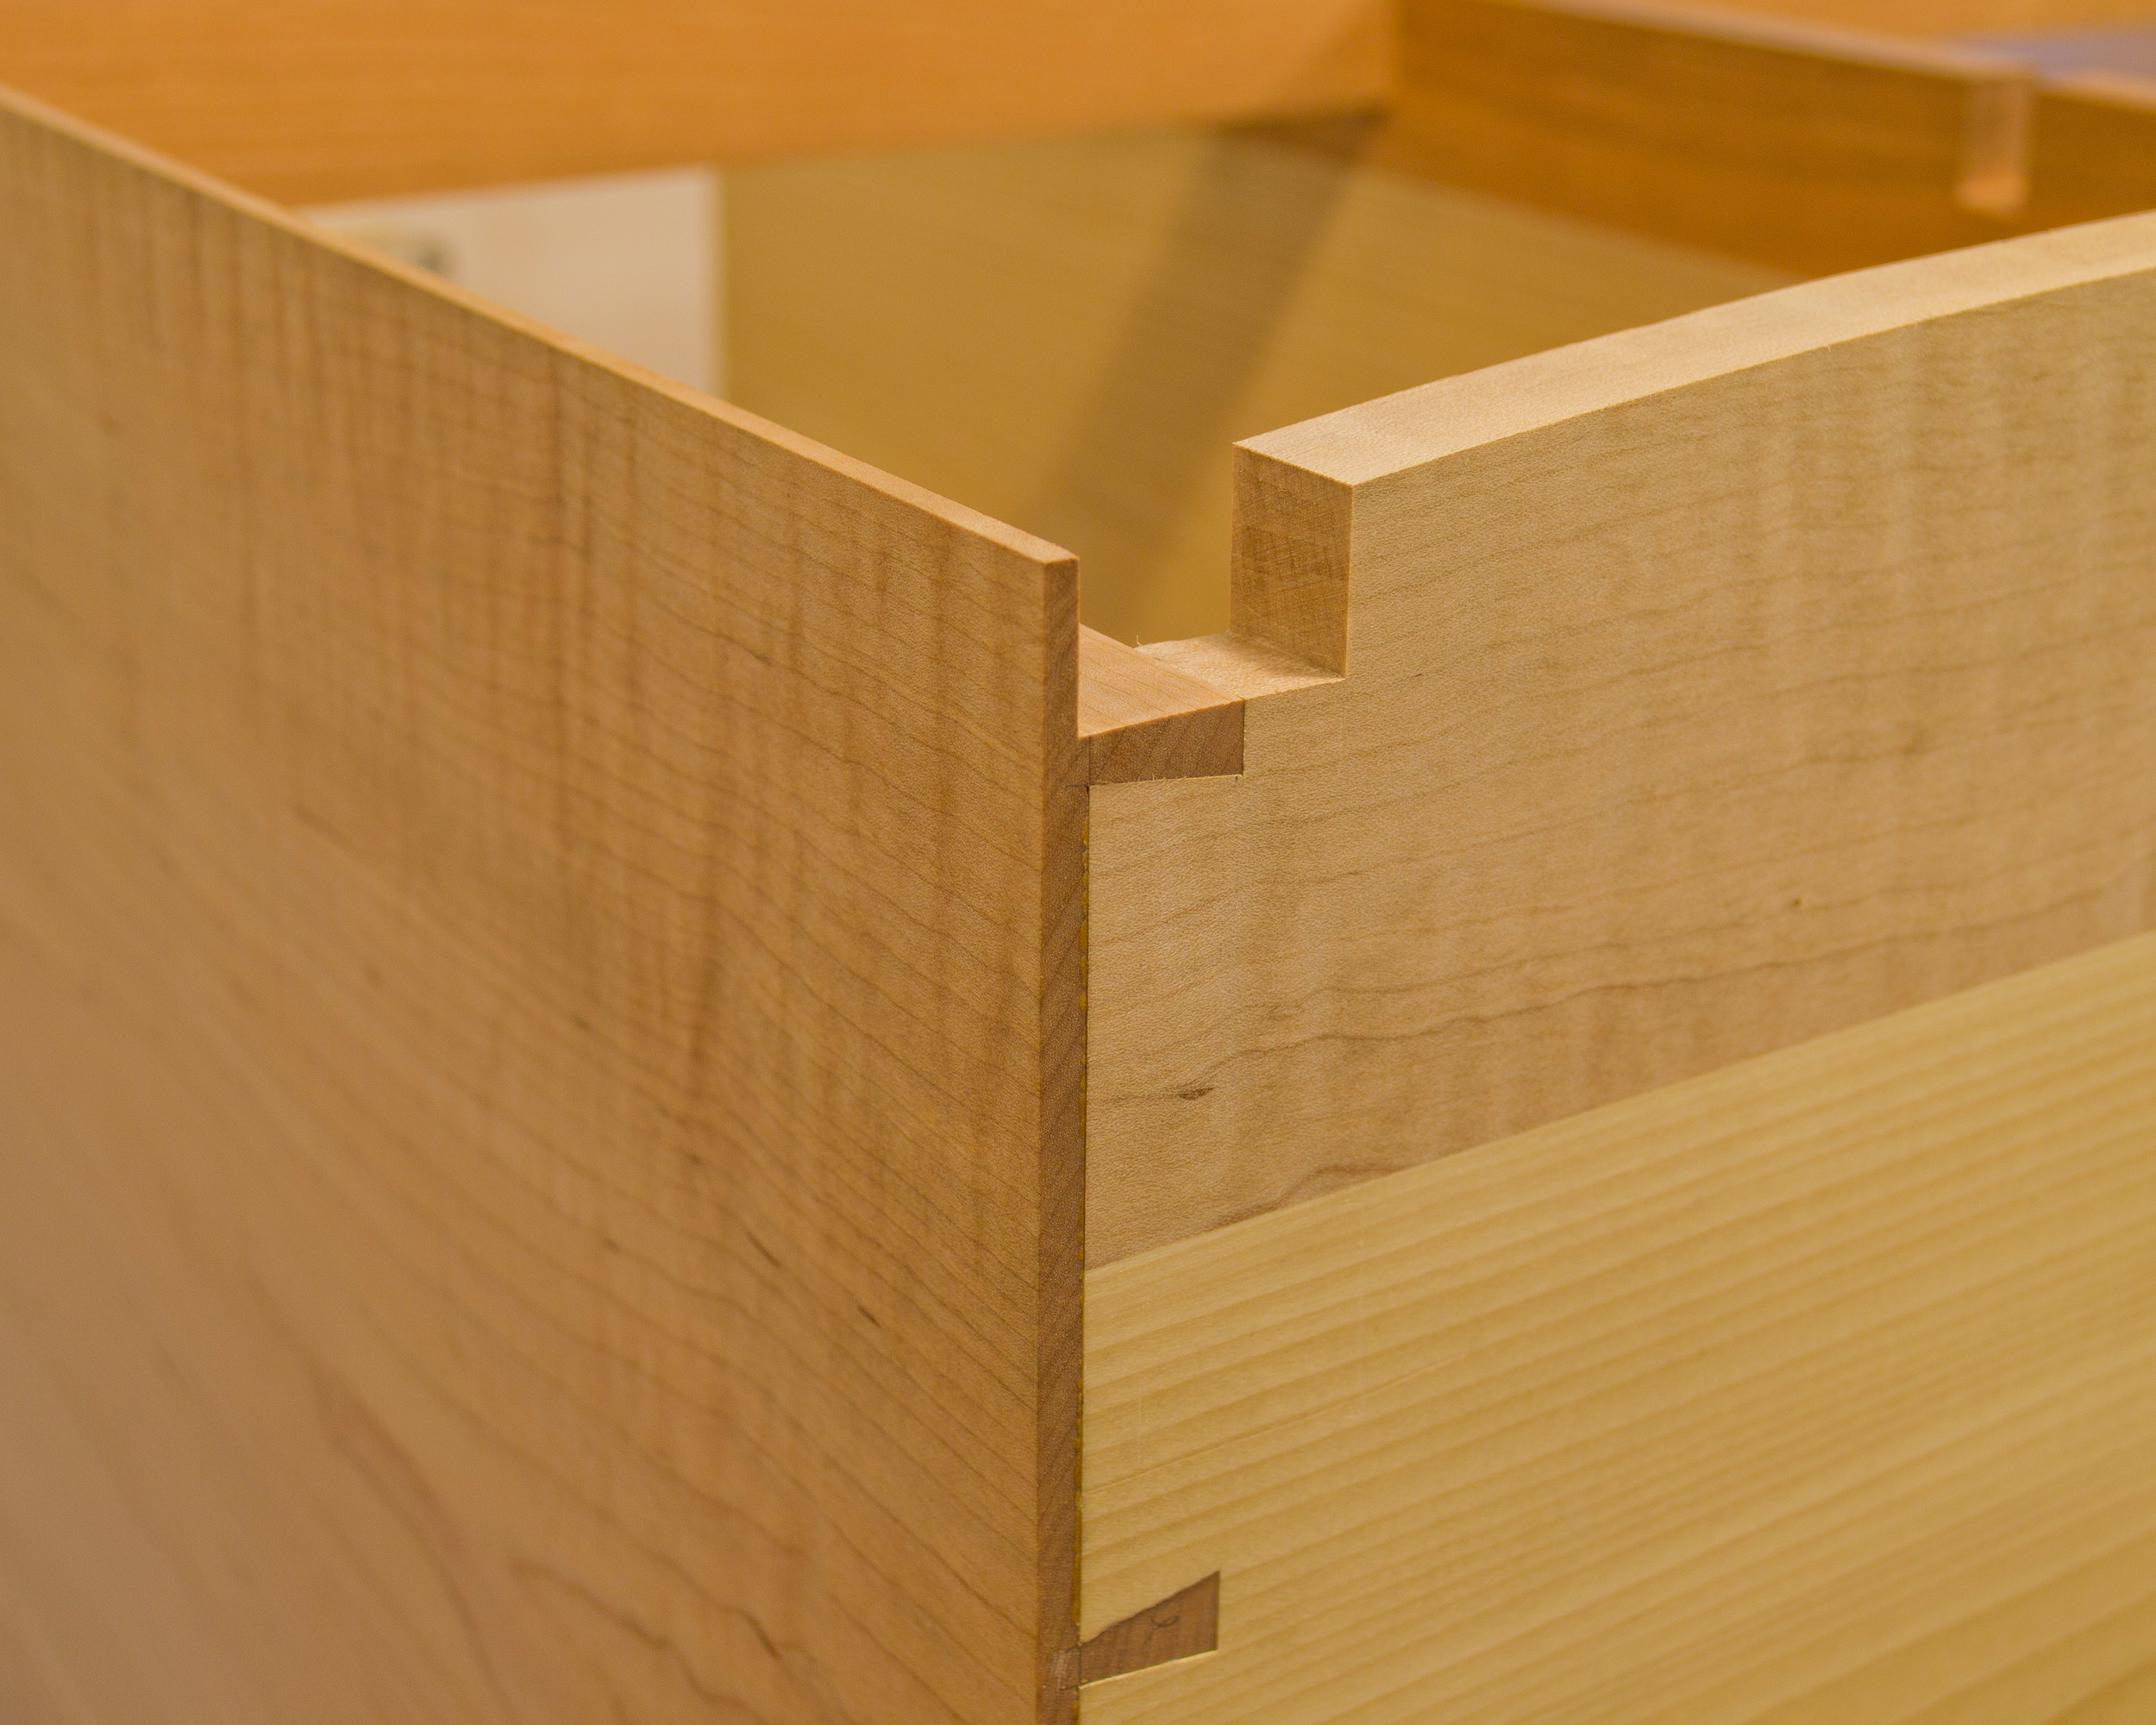
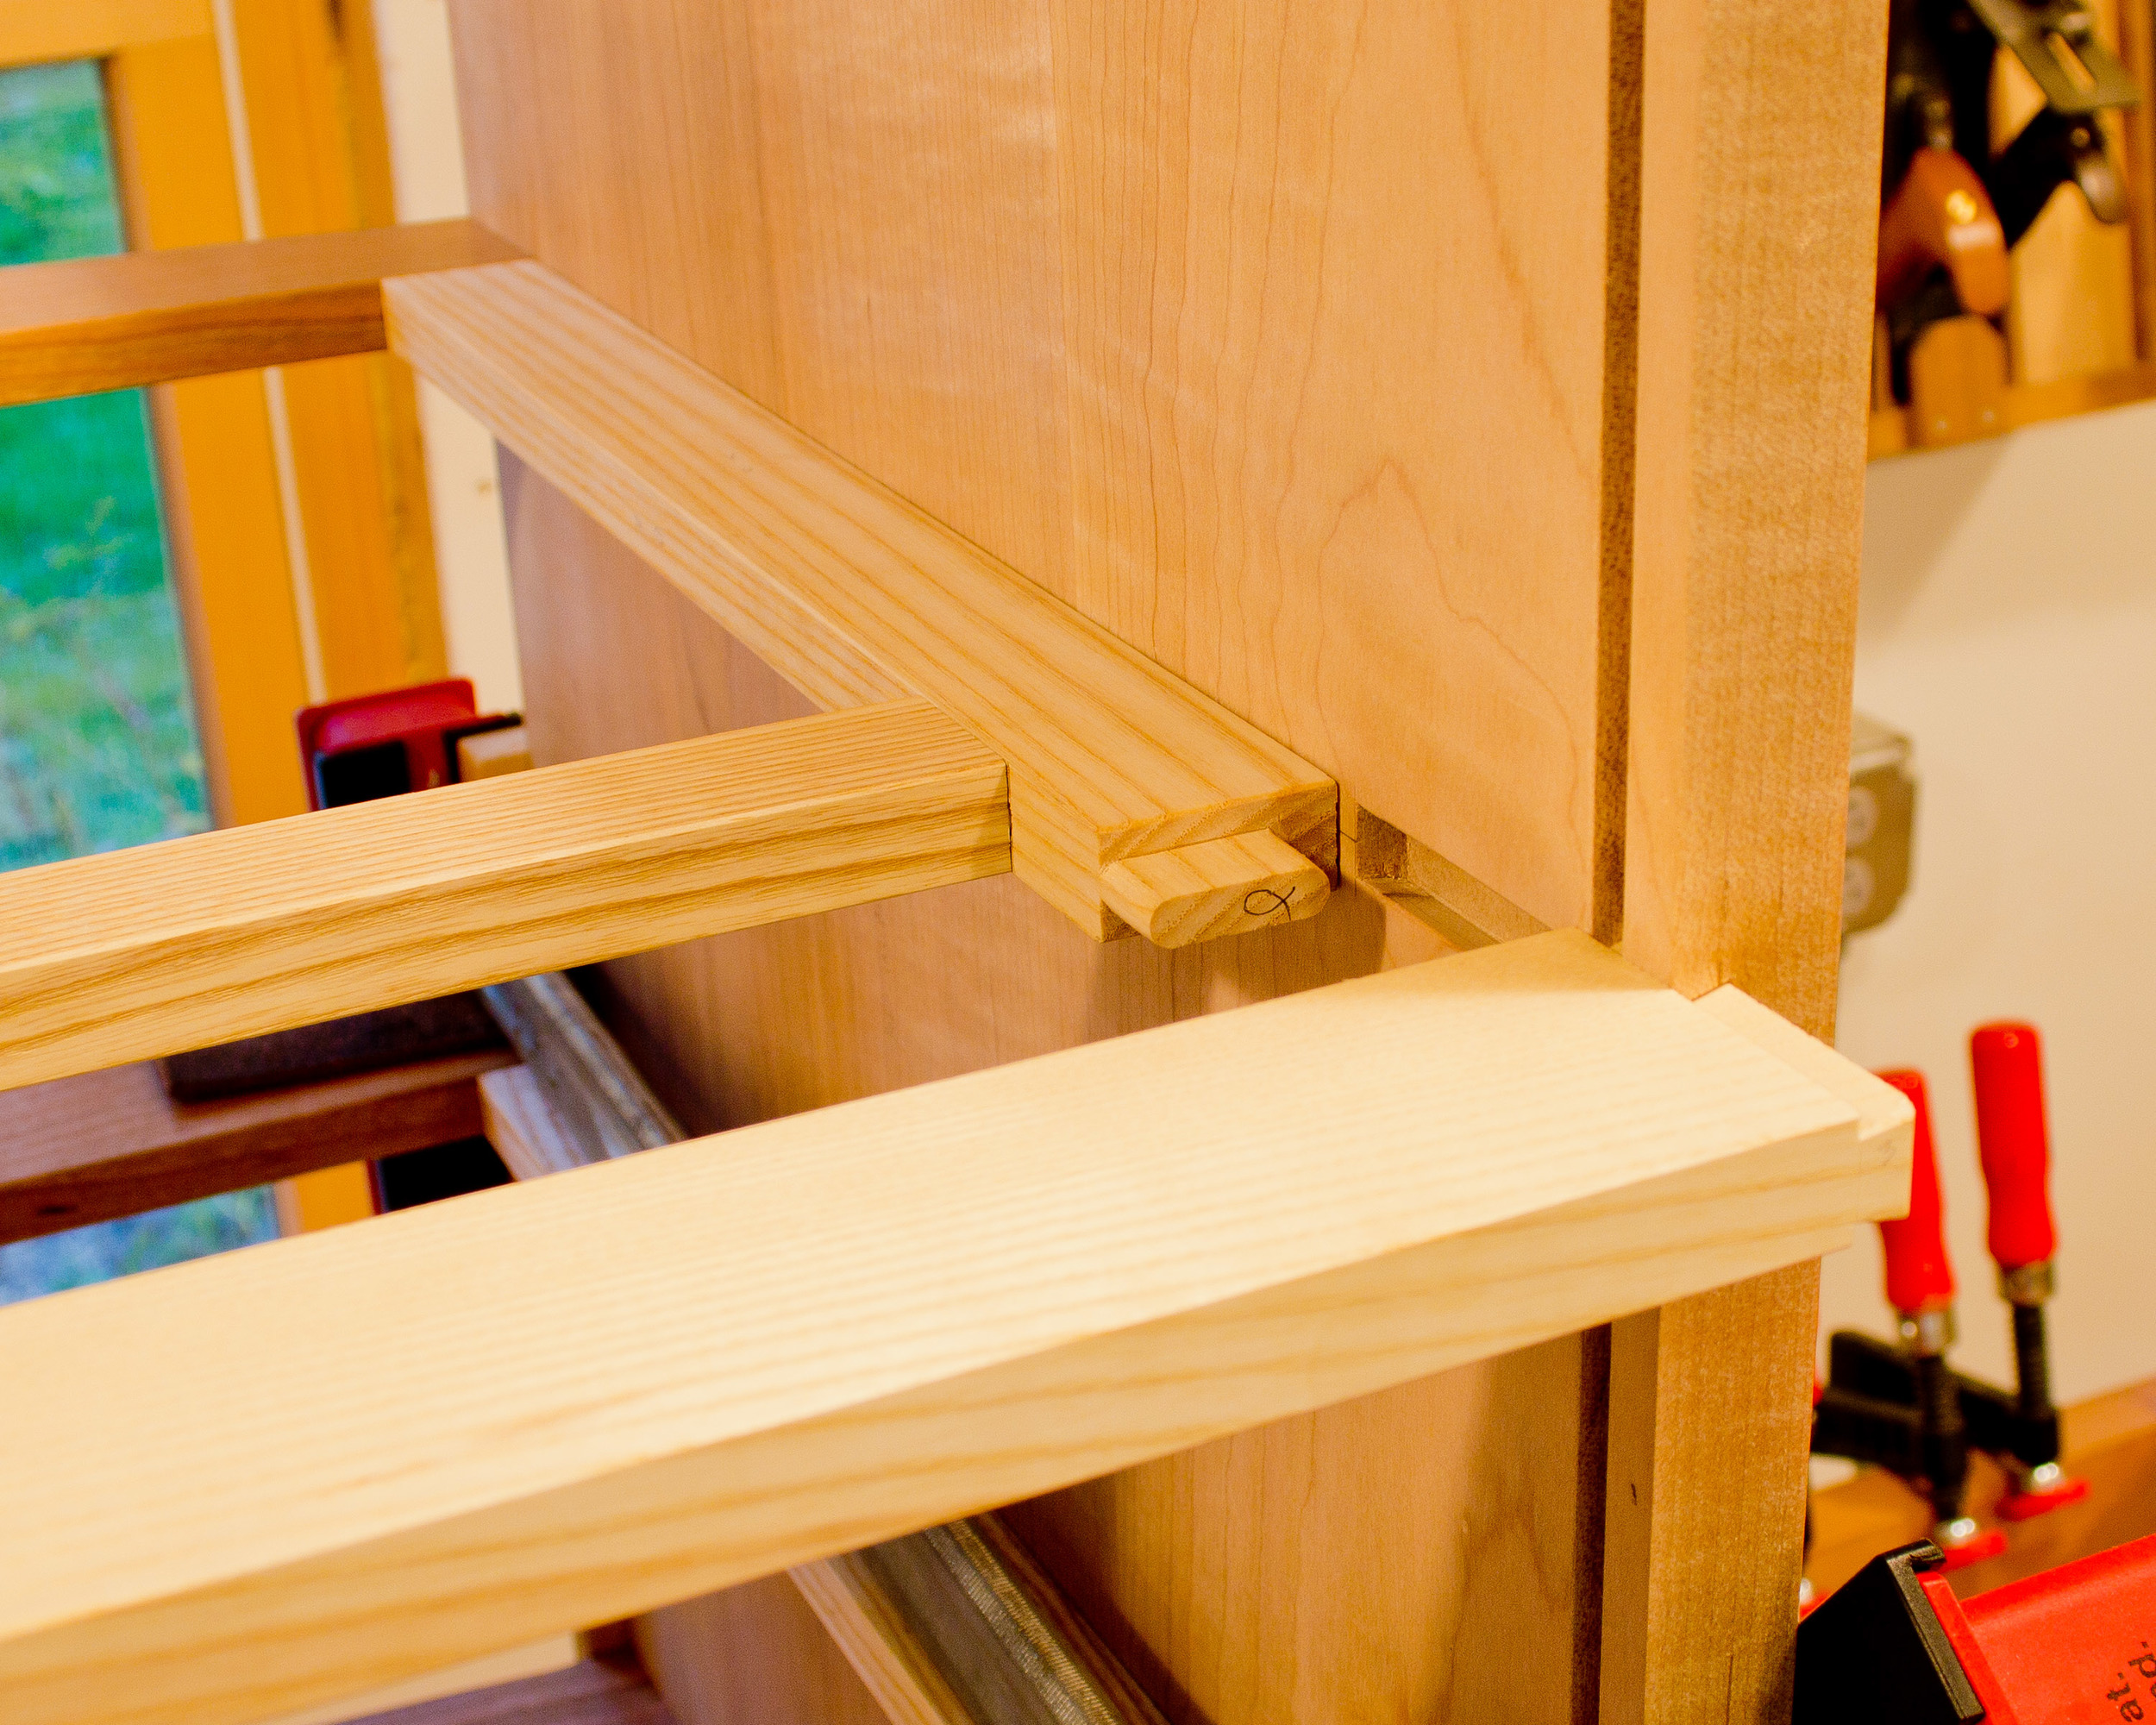
I always design and build case pieces with wood-to-wood joinery, and this piece is no exception.  The sides join to the bottom with hand cut, half-blind dovetails. The off-center vertical divider joins to the bottom with a tapered sliding dovetail.  Horizontal dividers join to the case sides with sliding dovetails and to the vertical divider with half-laps. The benefit of all of this tight-fitting joinery is a case that will be more than adequate to resist the loads it will see over the span of its life – no bowed sides or sagging dividers. And that’s extremely important because a case that is not rigid will lead to drawers that don’t slide in and out sweetly. And what’s the point in a chest of drawers you can’t use?


Curvy Drawers

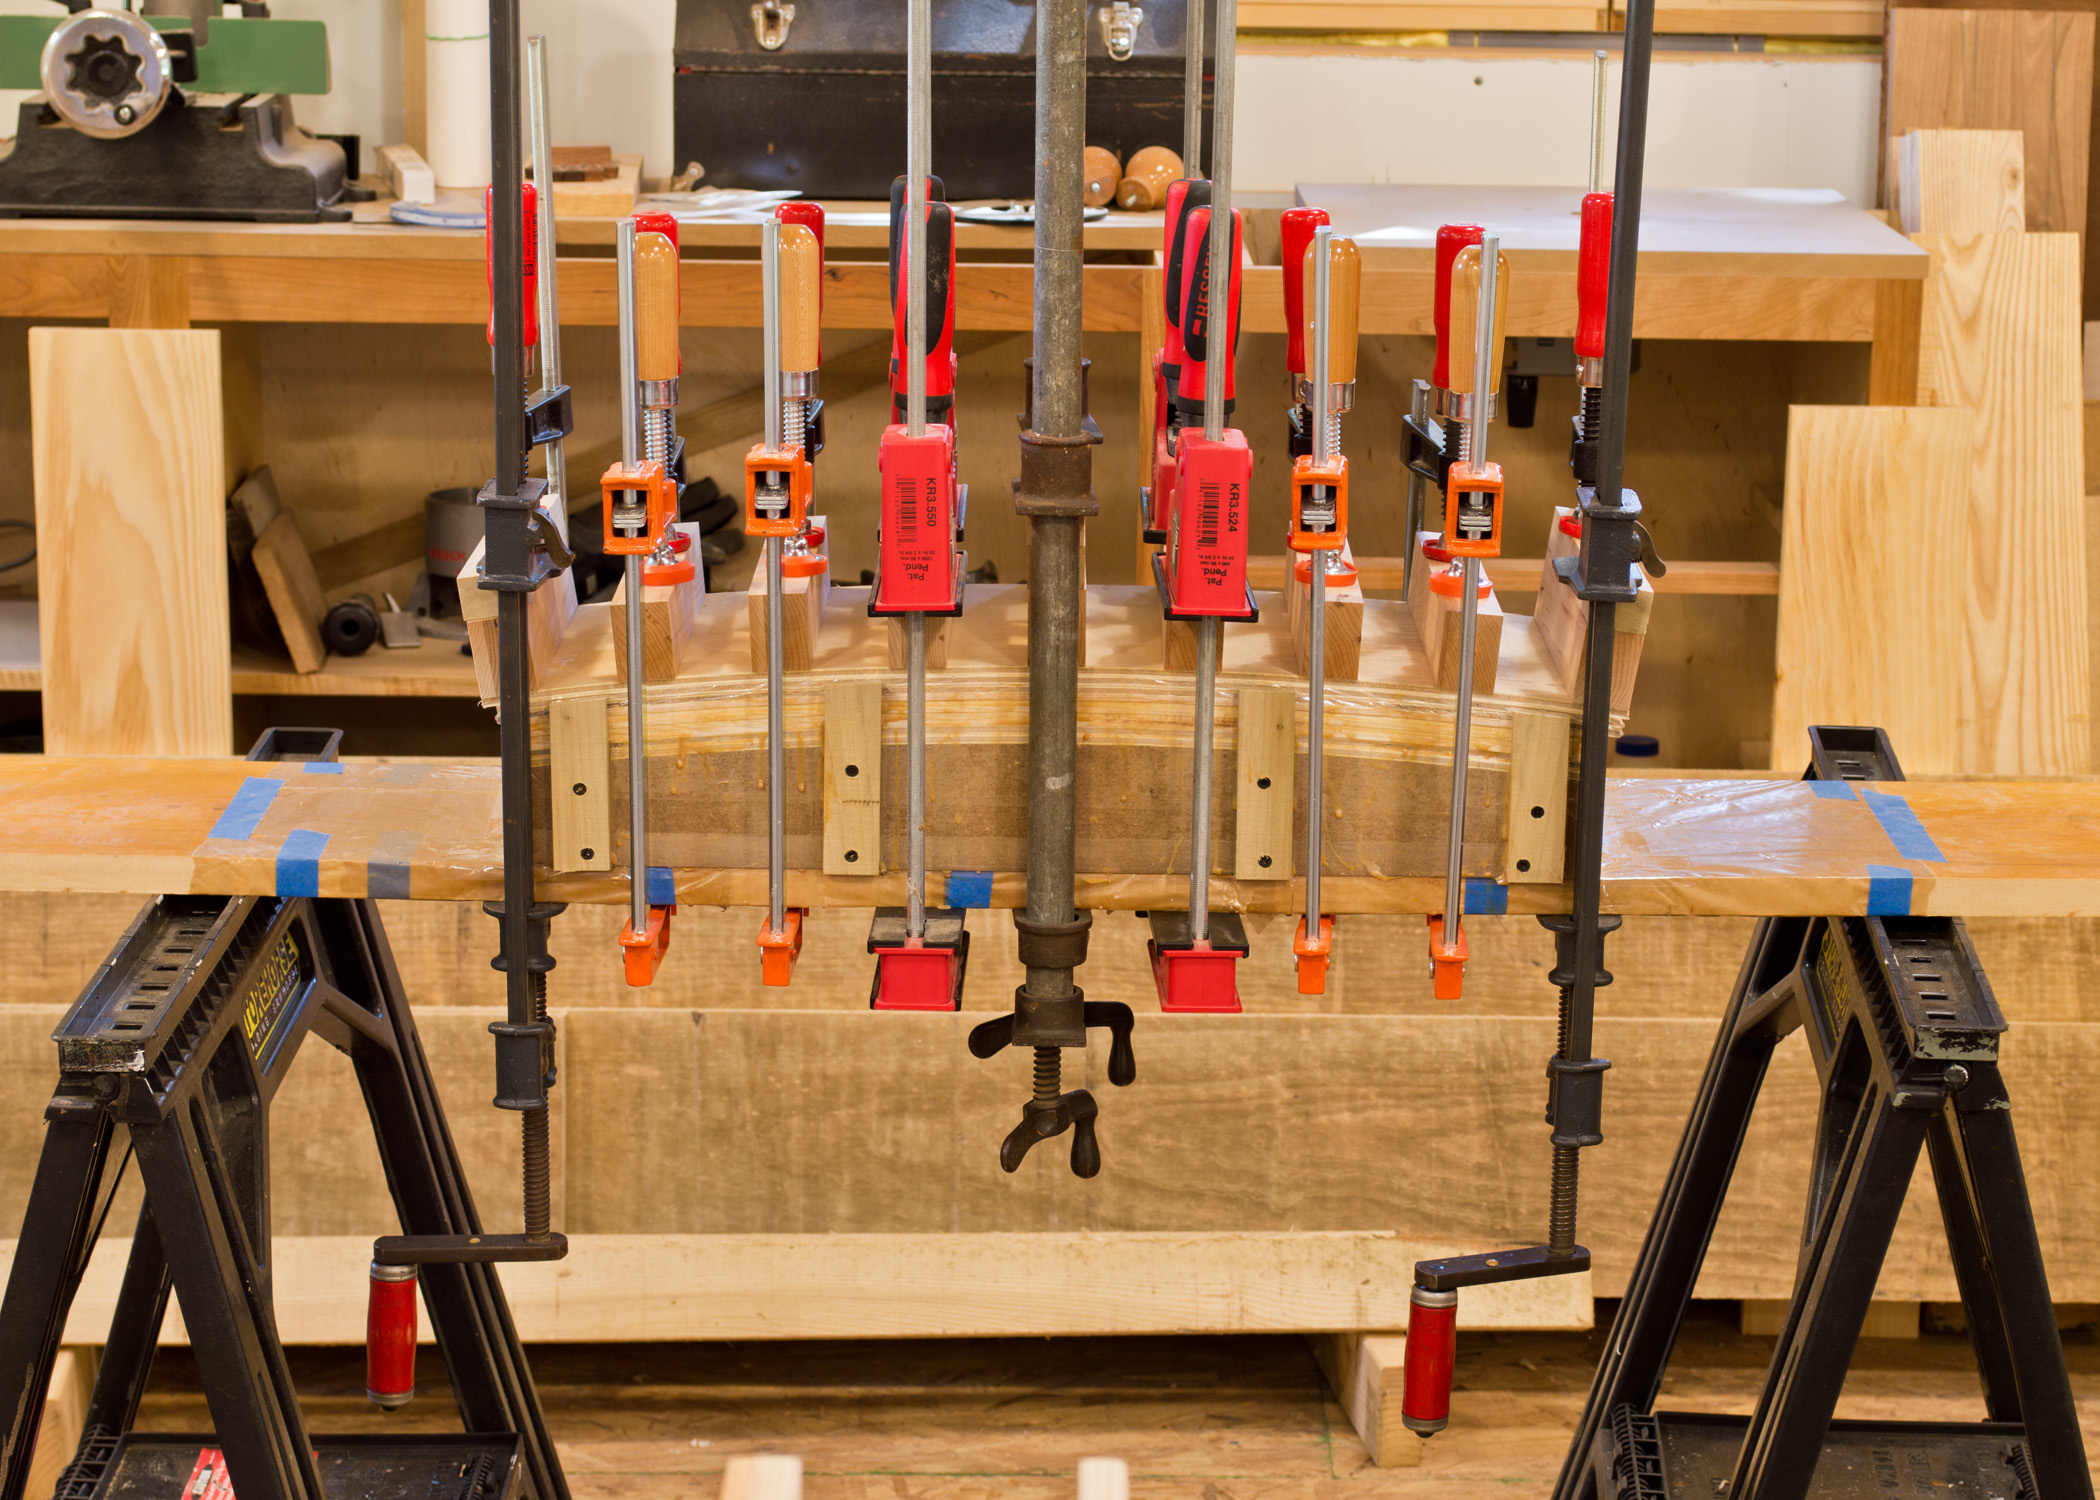
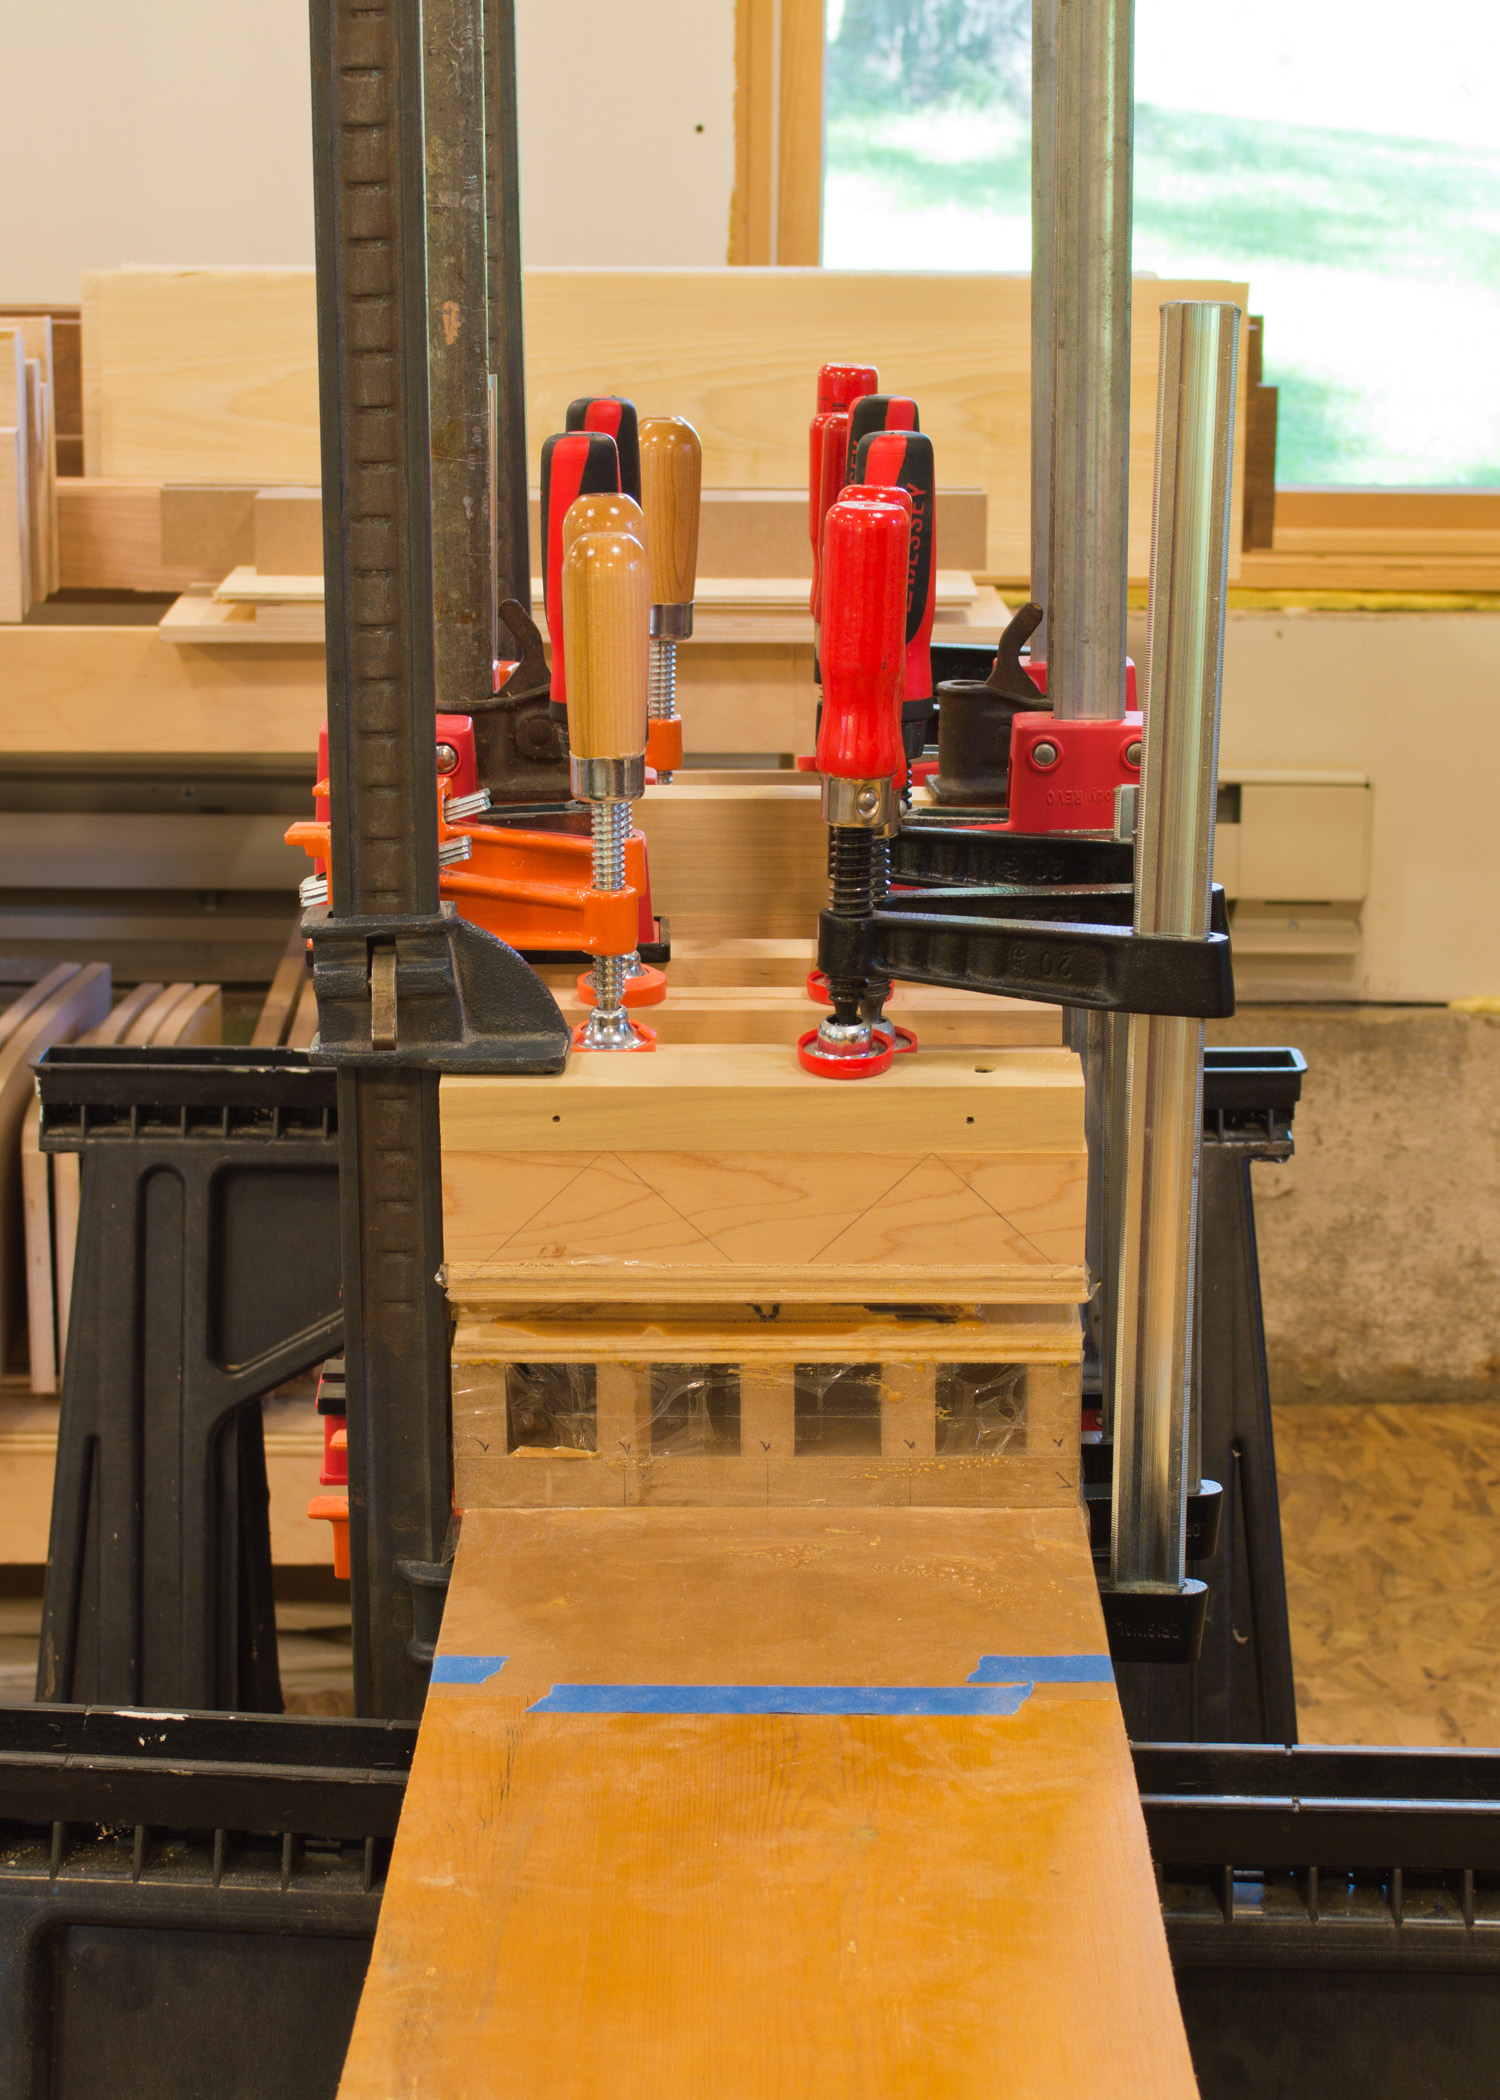
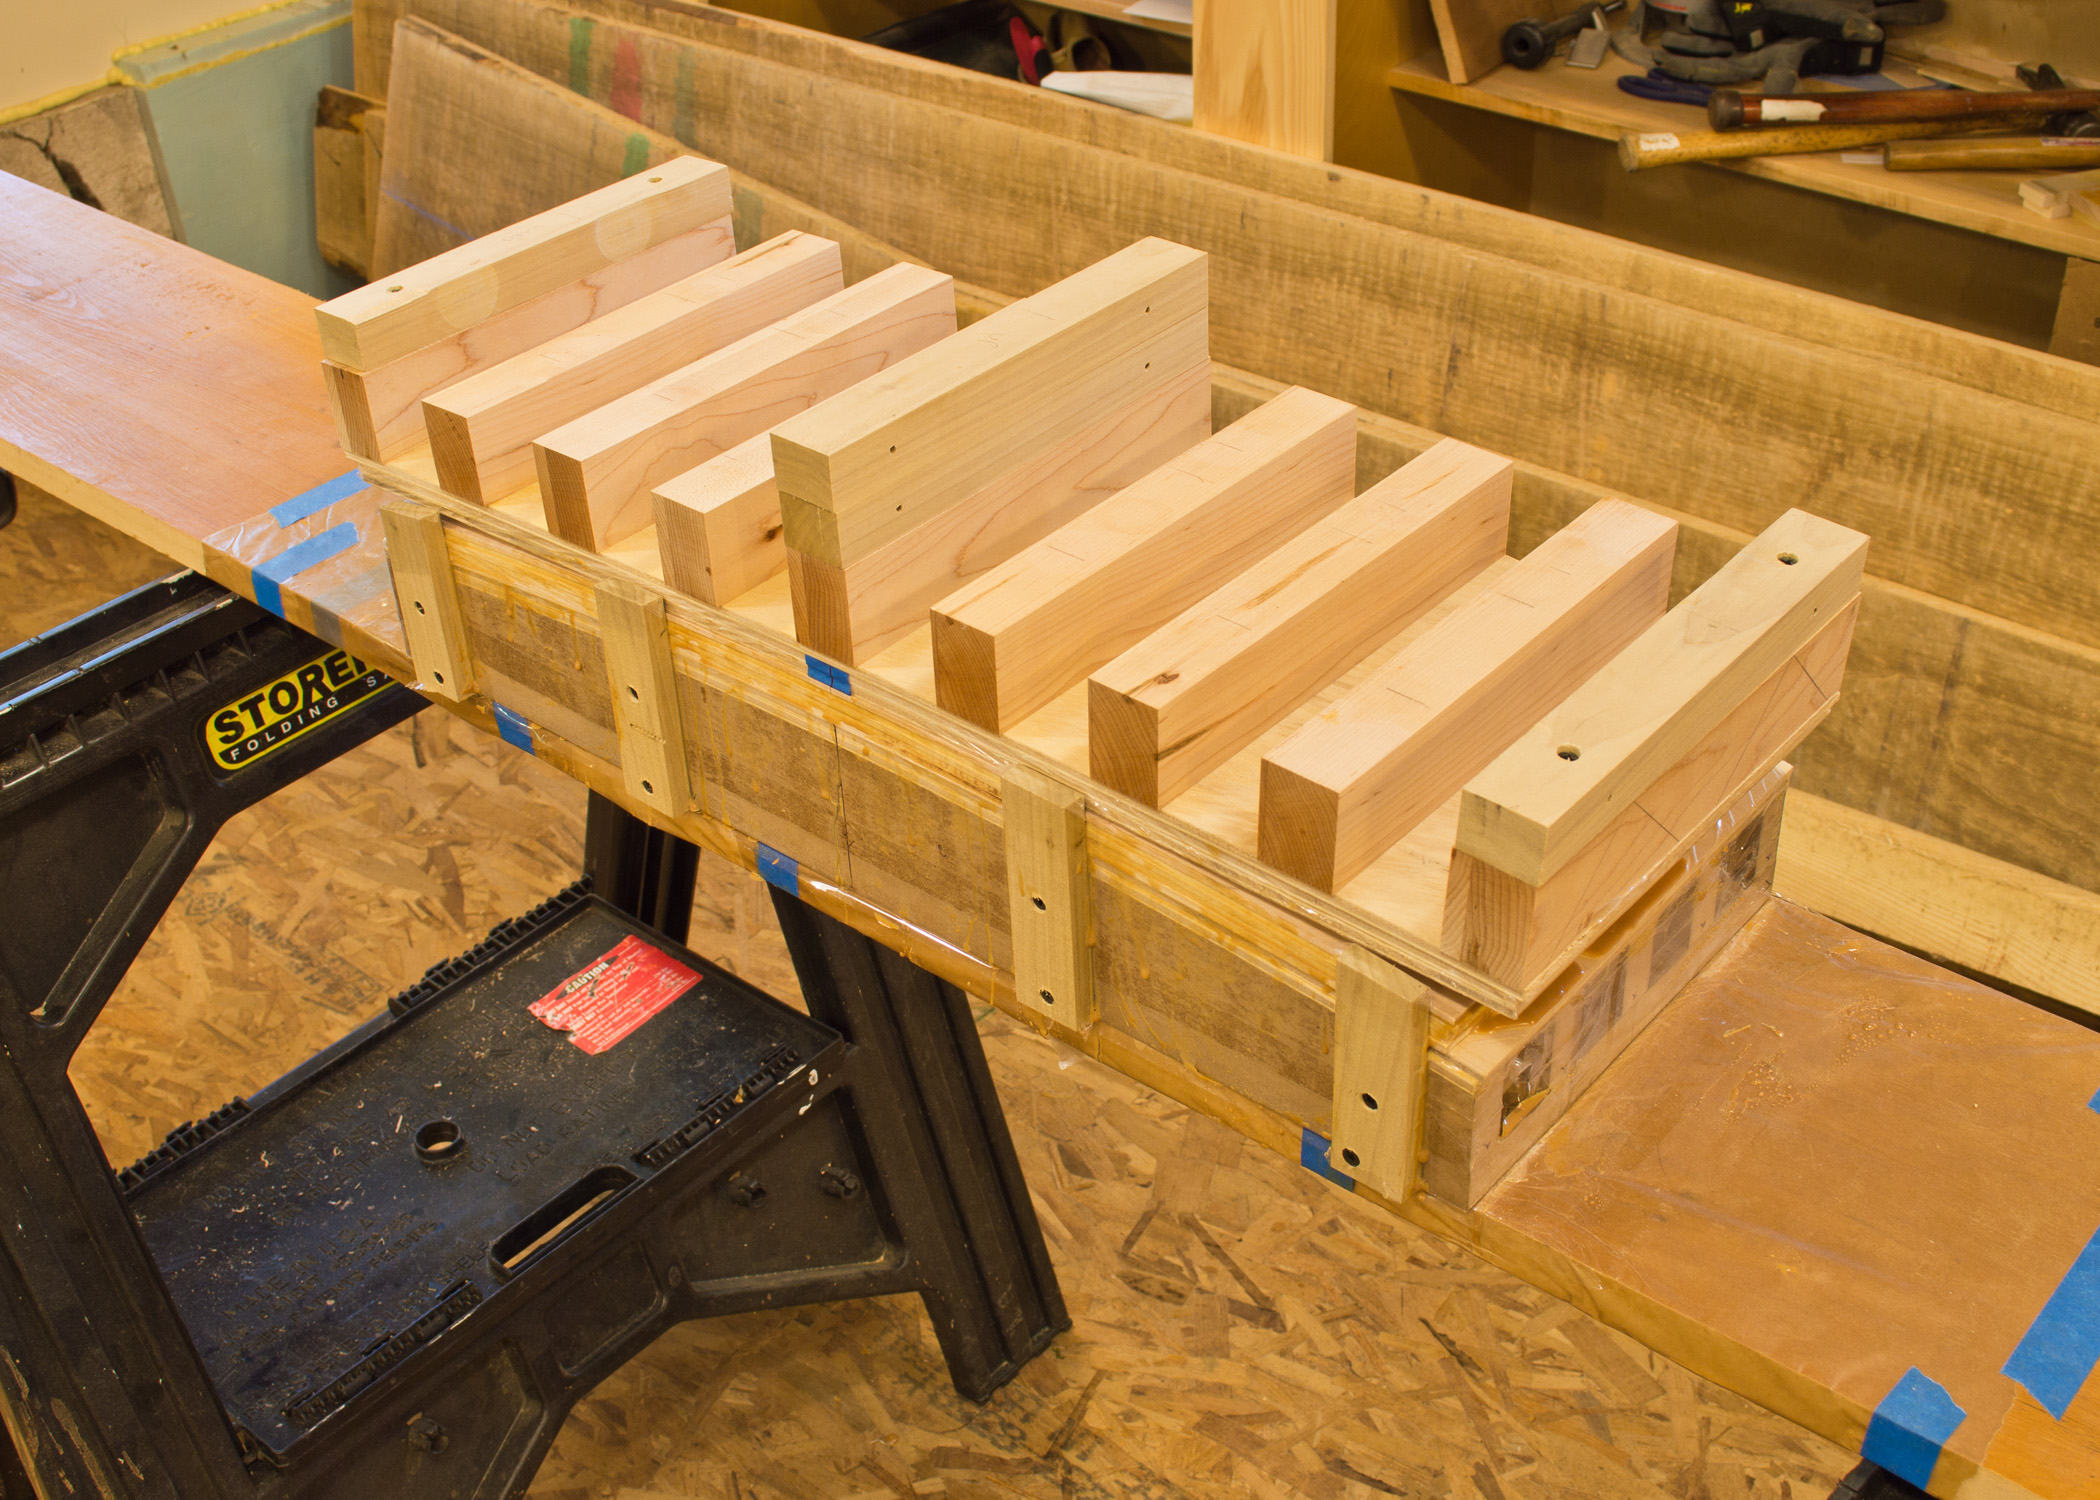
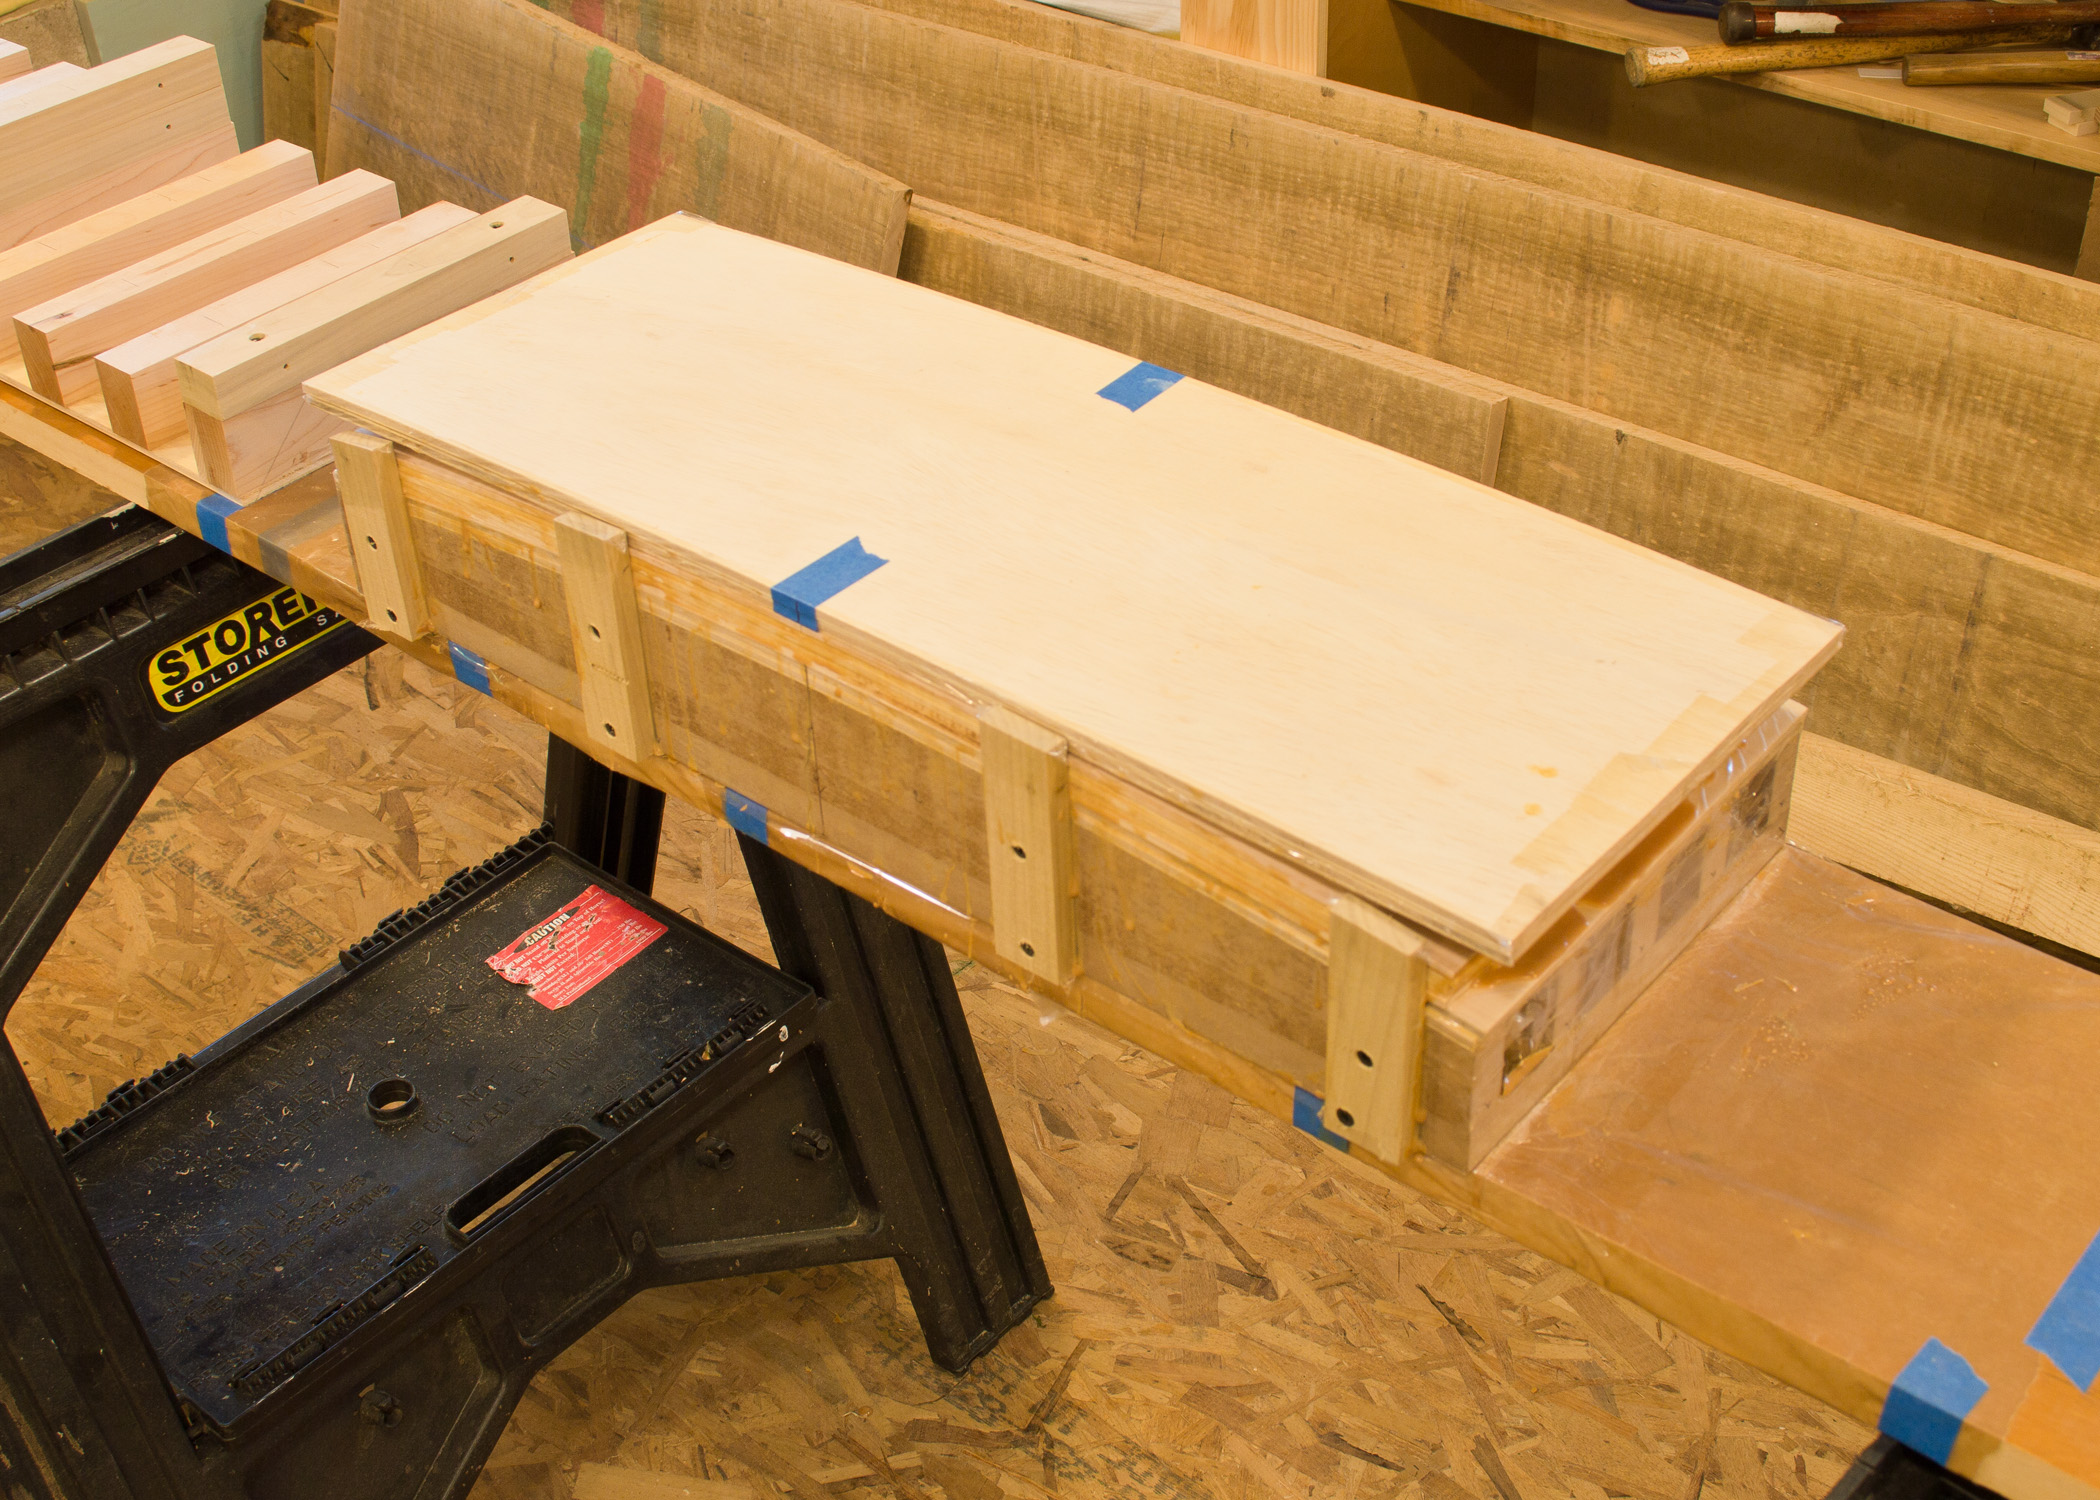
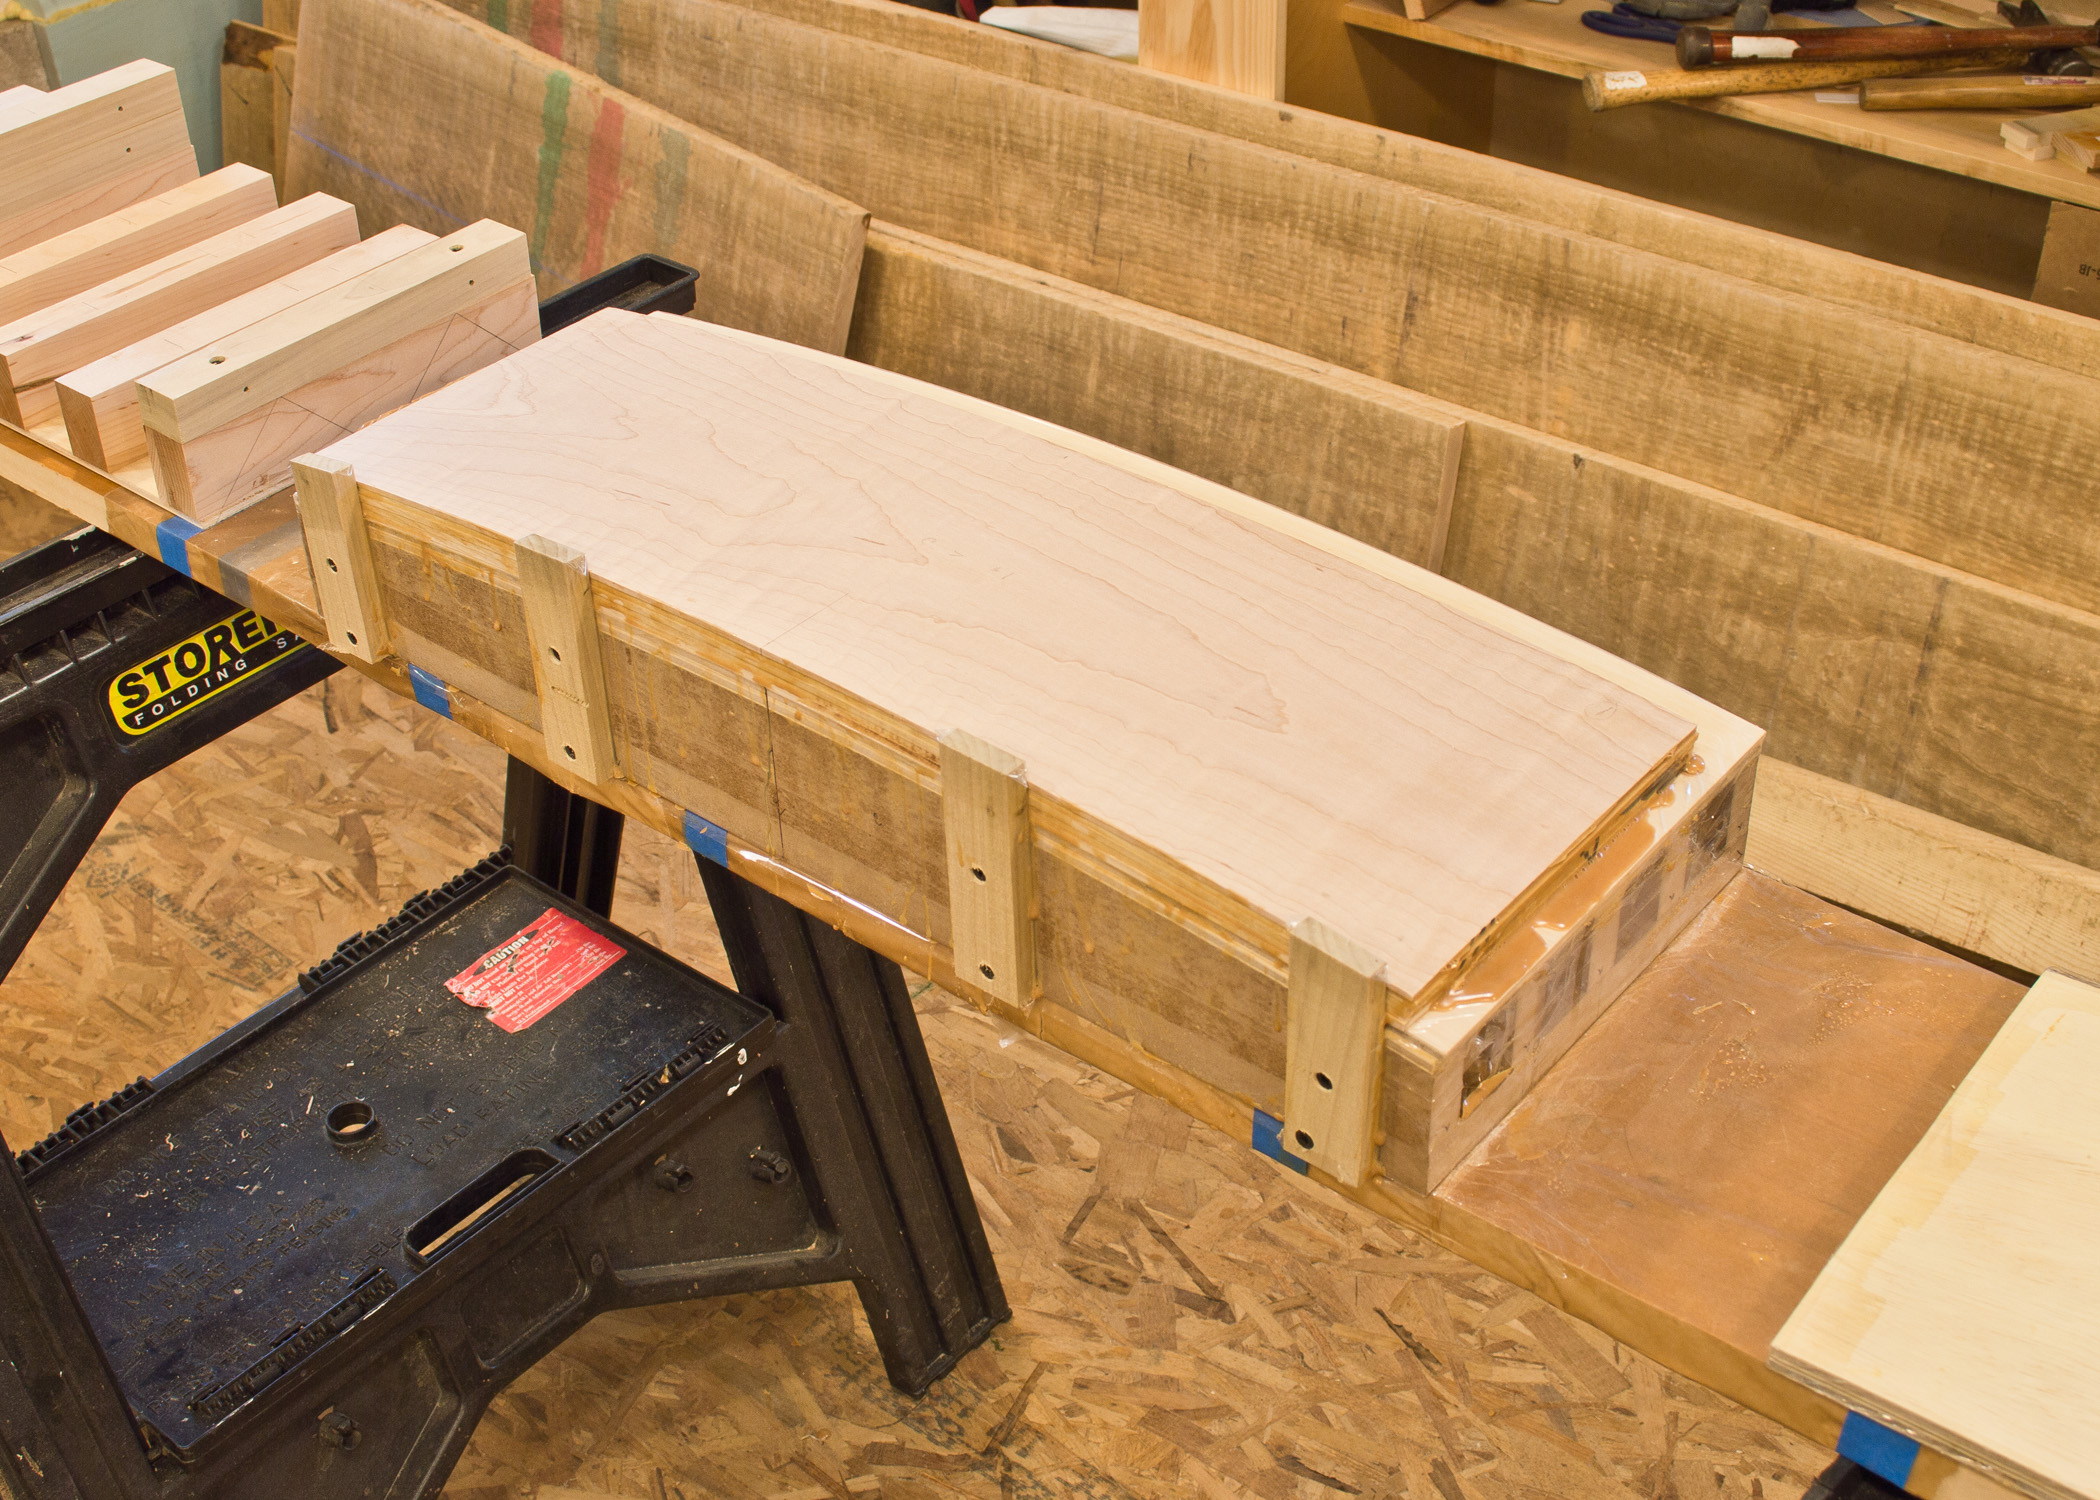
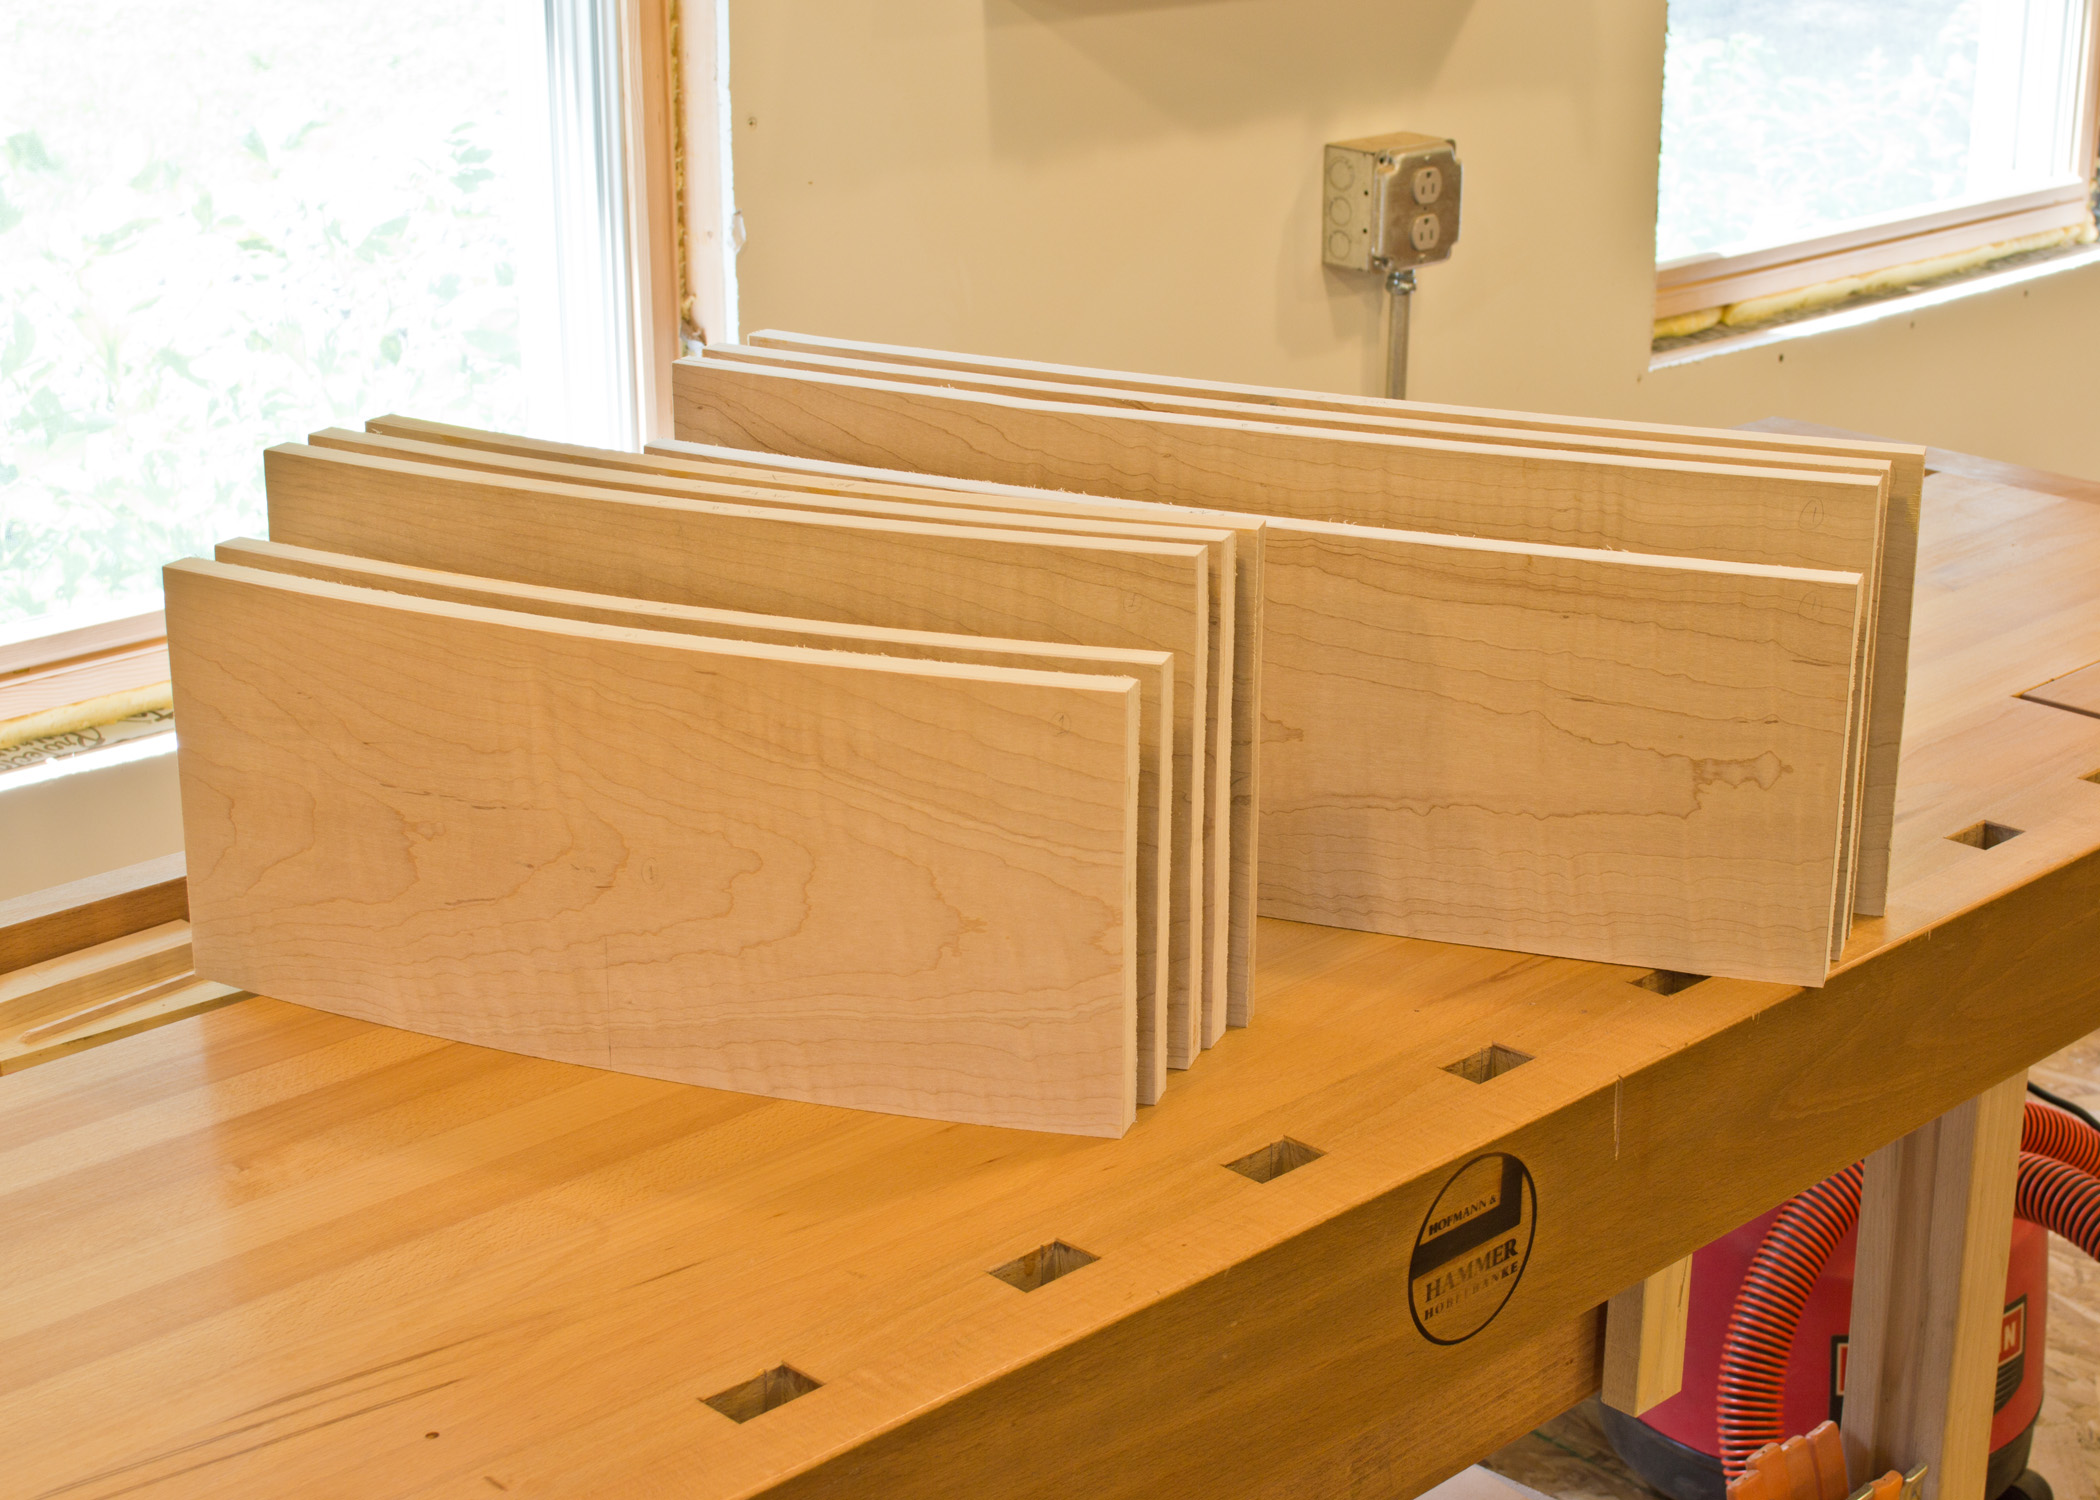
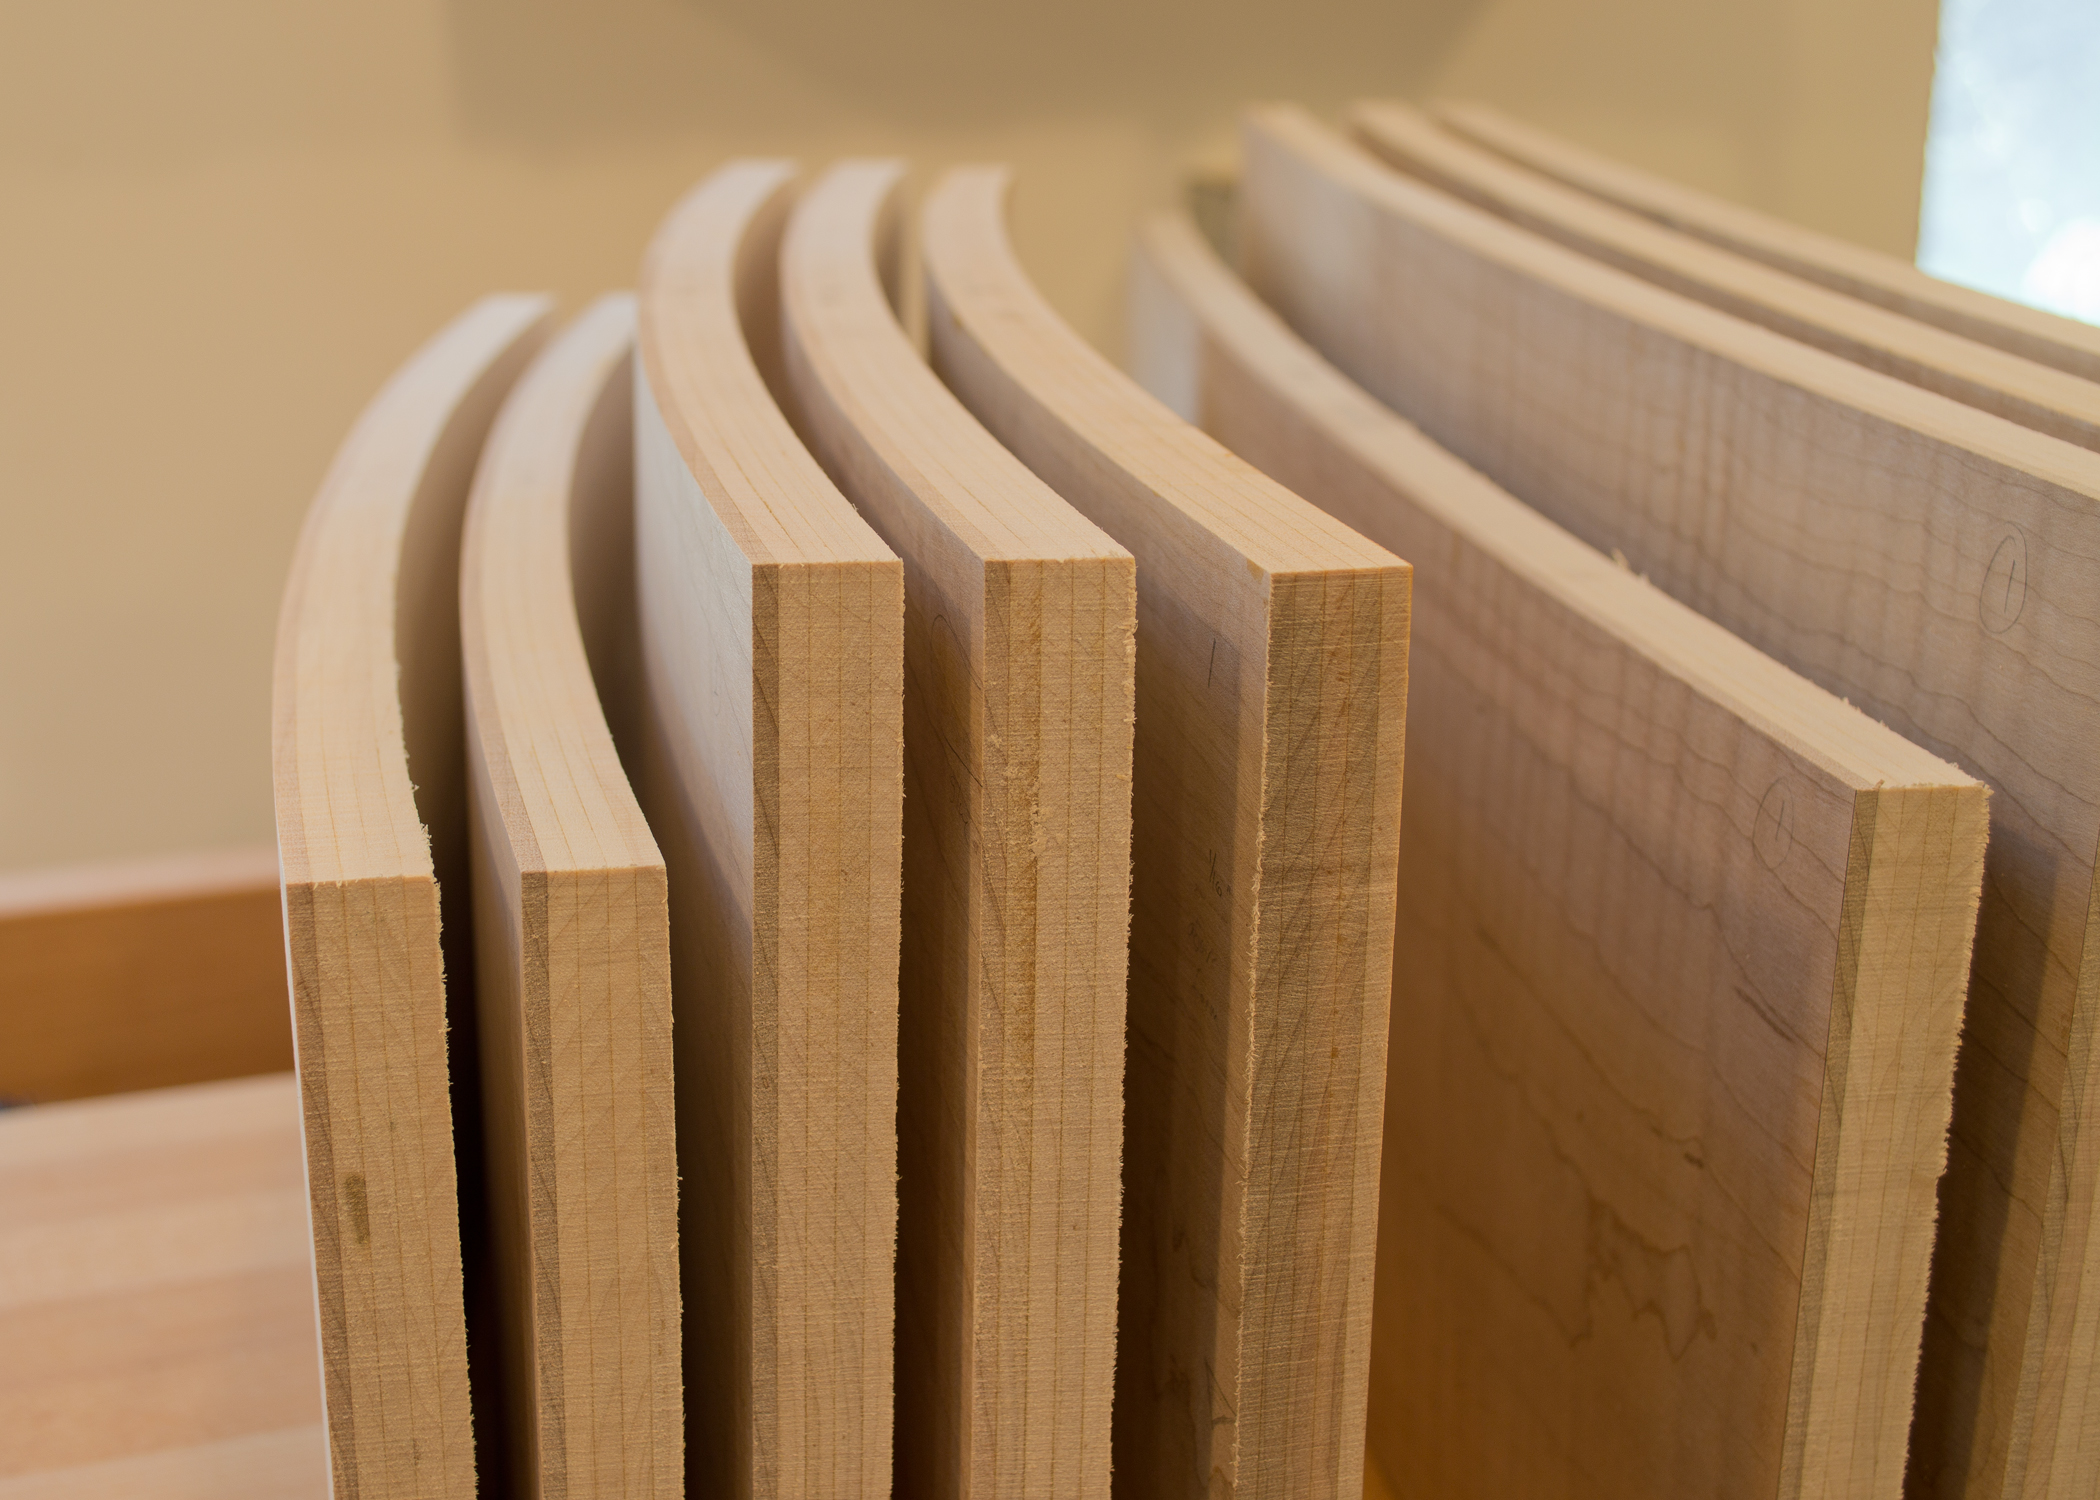
I’m working on the chest of drawers and have been sawing laminations and building forms for the curved drawer fronts.  In a nutshell, the fronts are made by sawing maple into thin slices, called laminations, which are then glued together over a curved form.  The adhesive, in this case a 2 part urea resin, prevents the laminations from slipping past each other and returning back to their original (flat) shape.  Here are some pictures showing the process. Click on any image at right to open up a full screen slideshow.