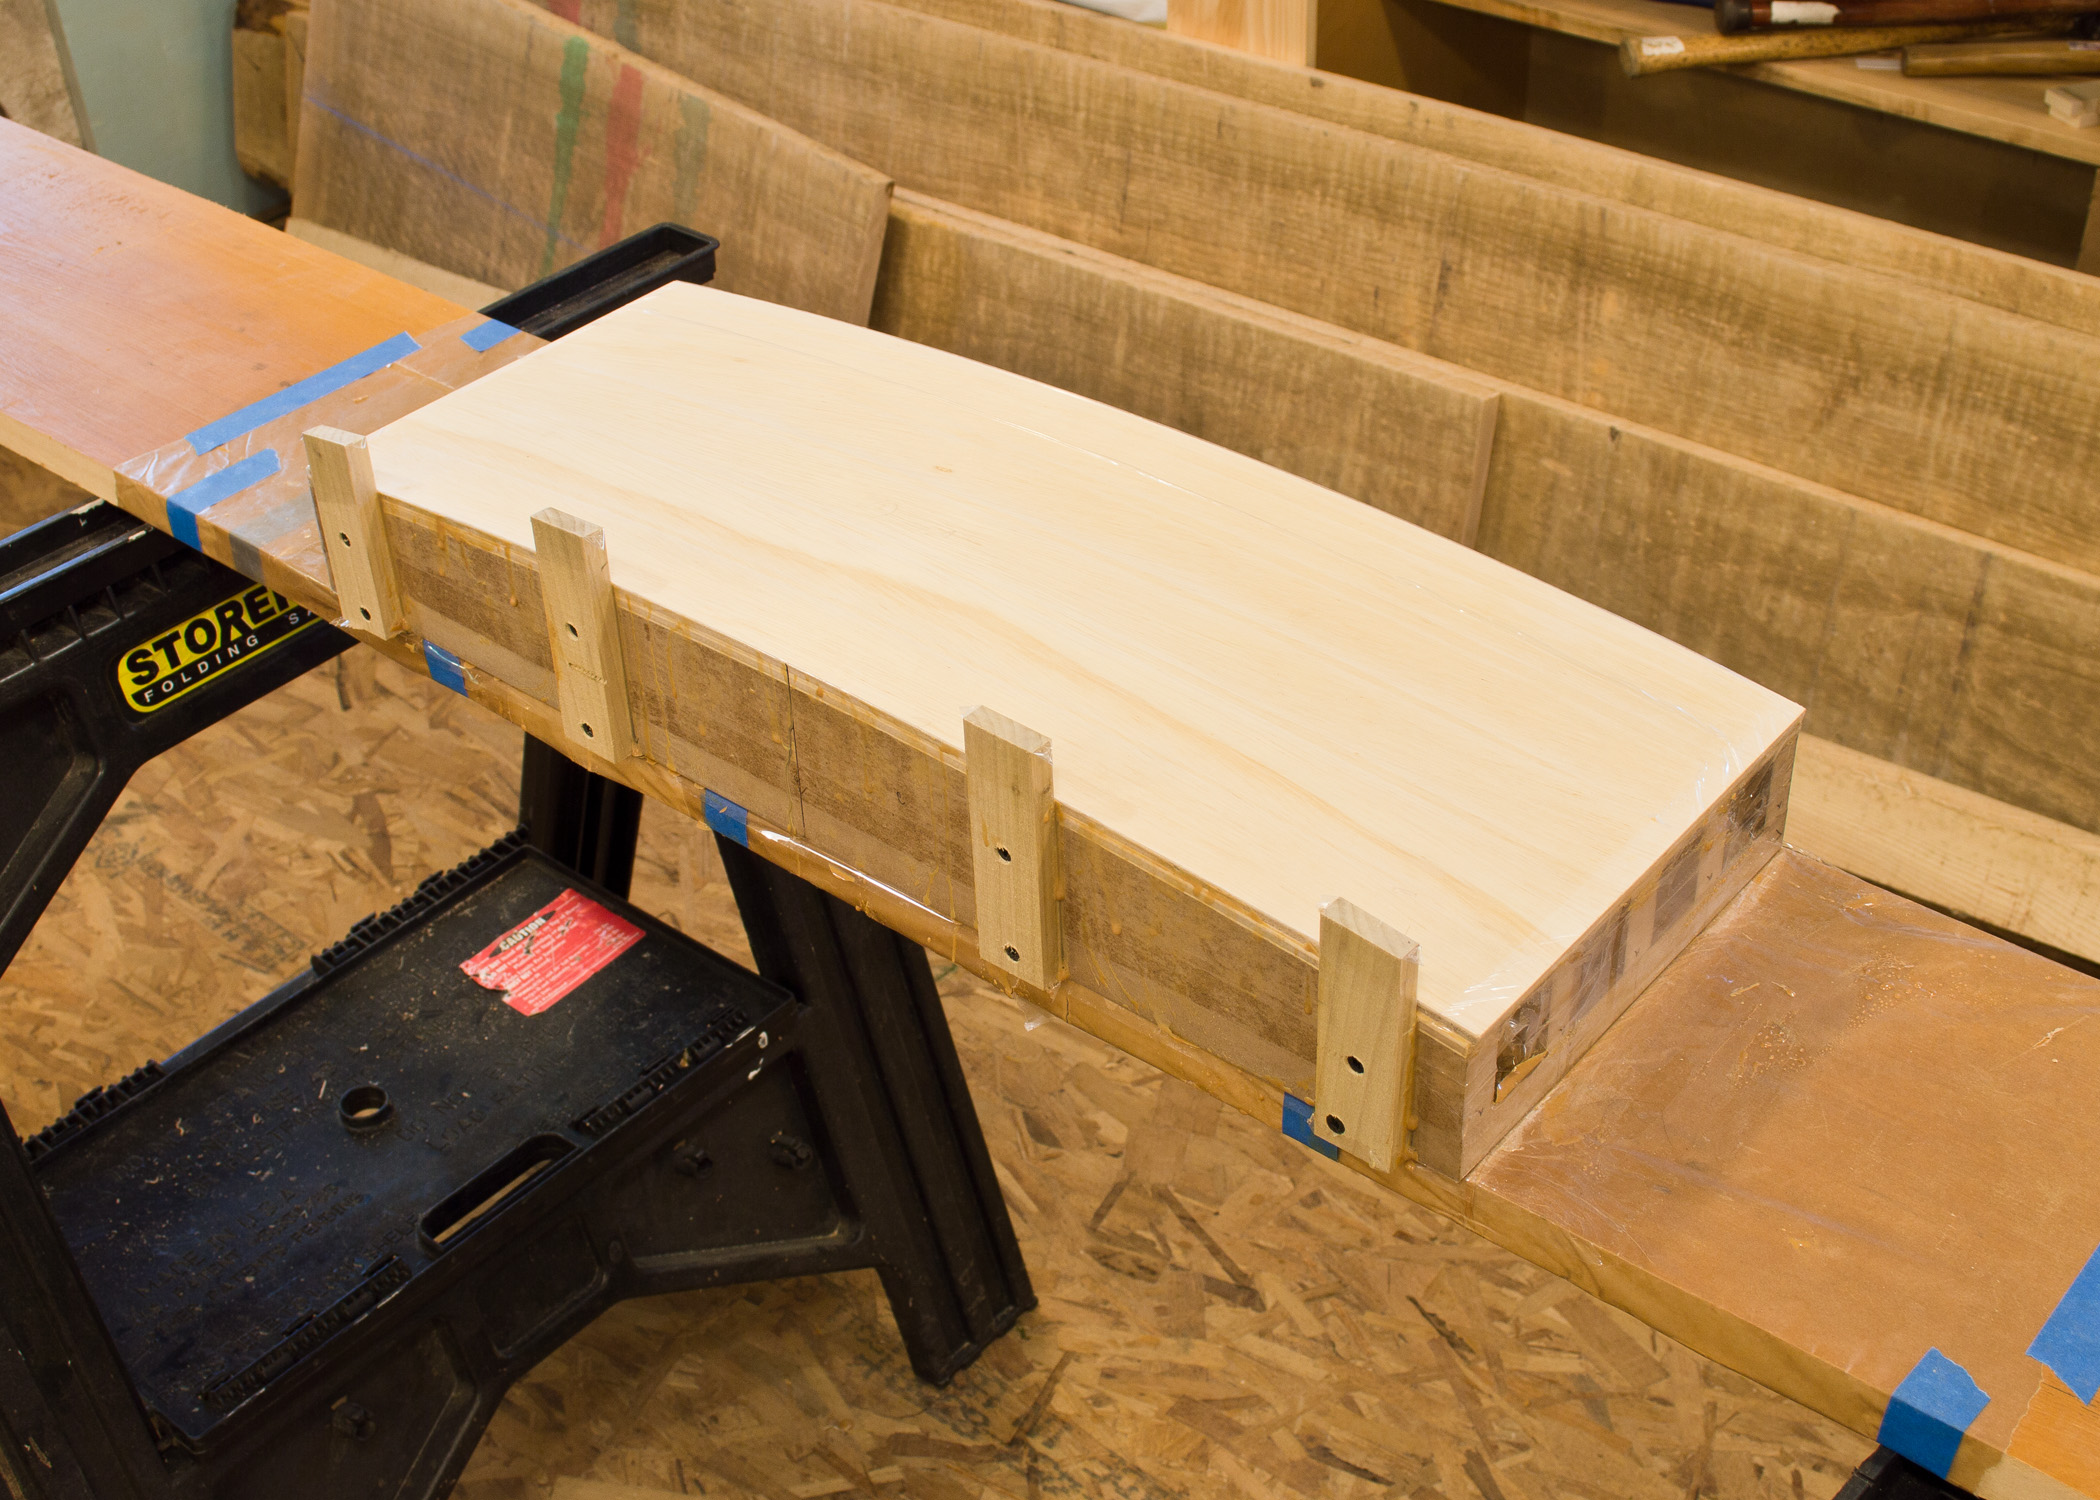
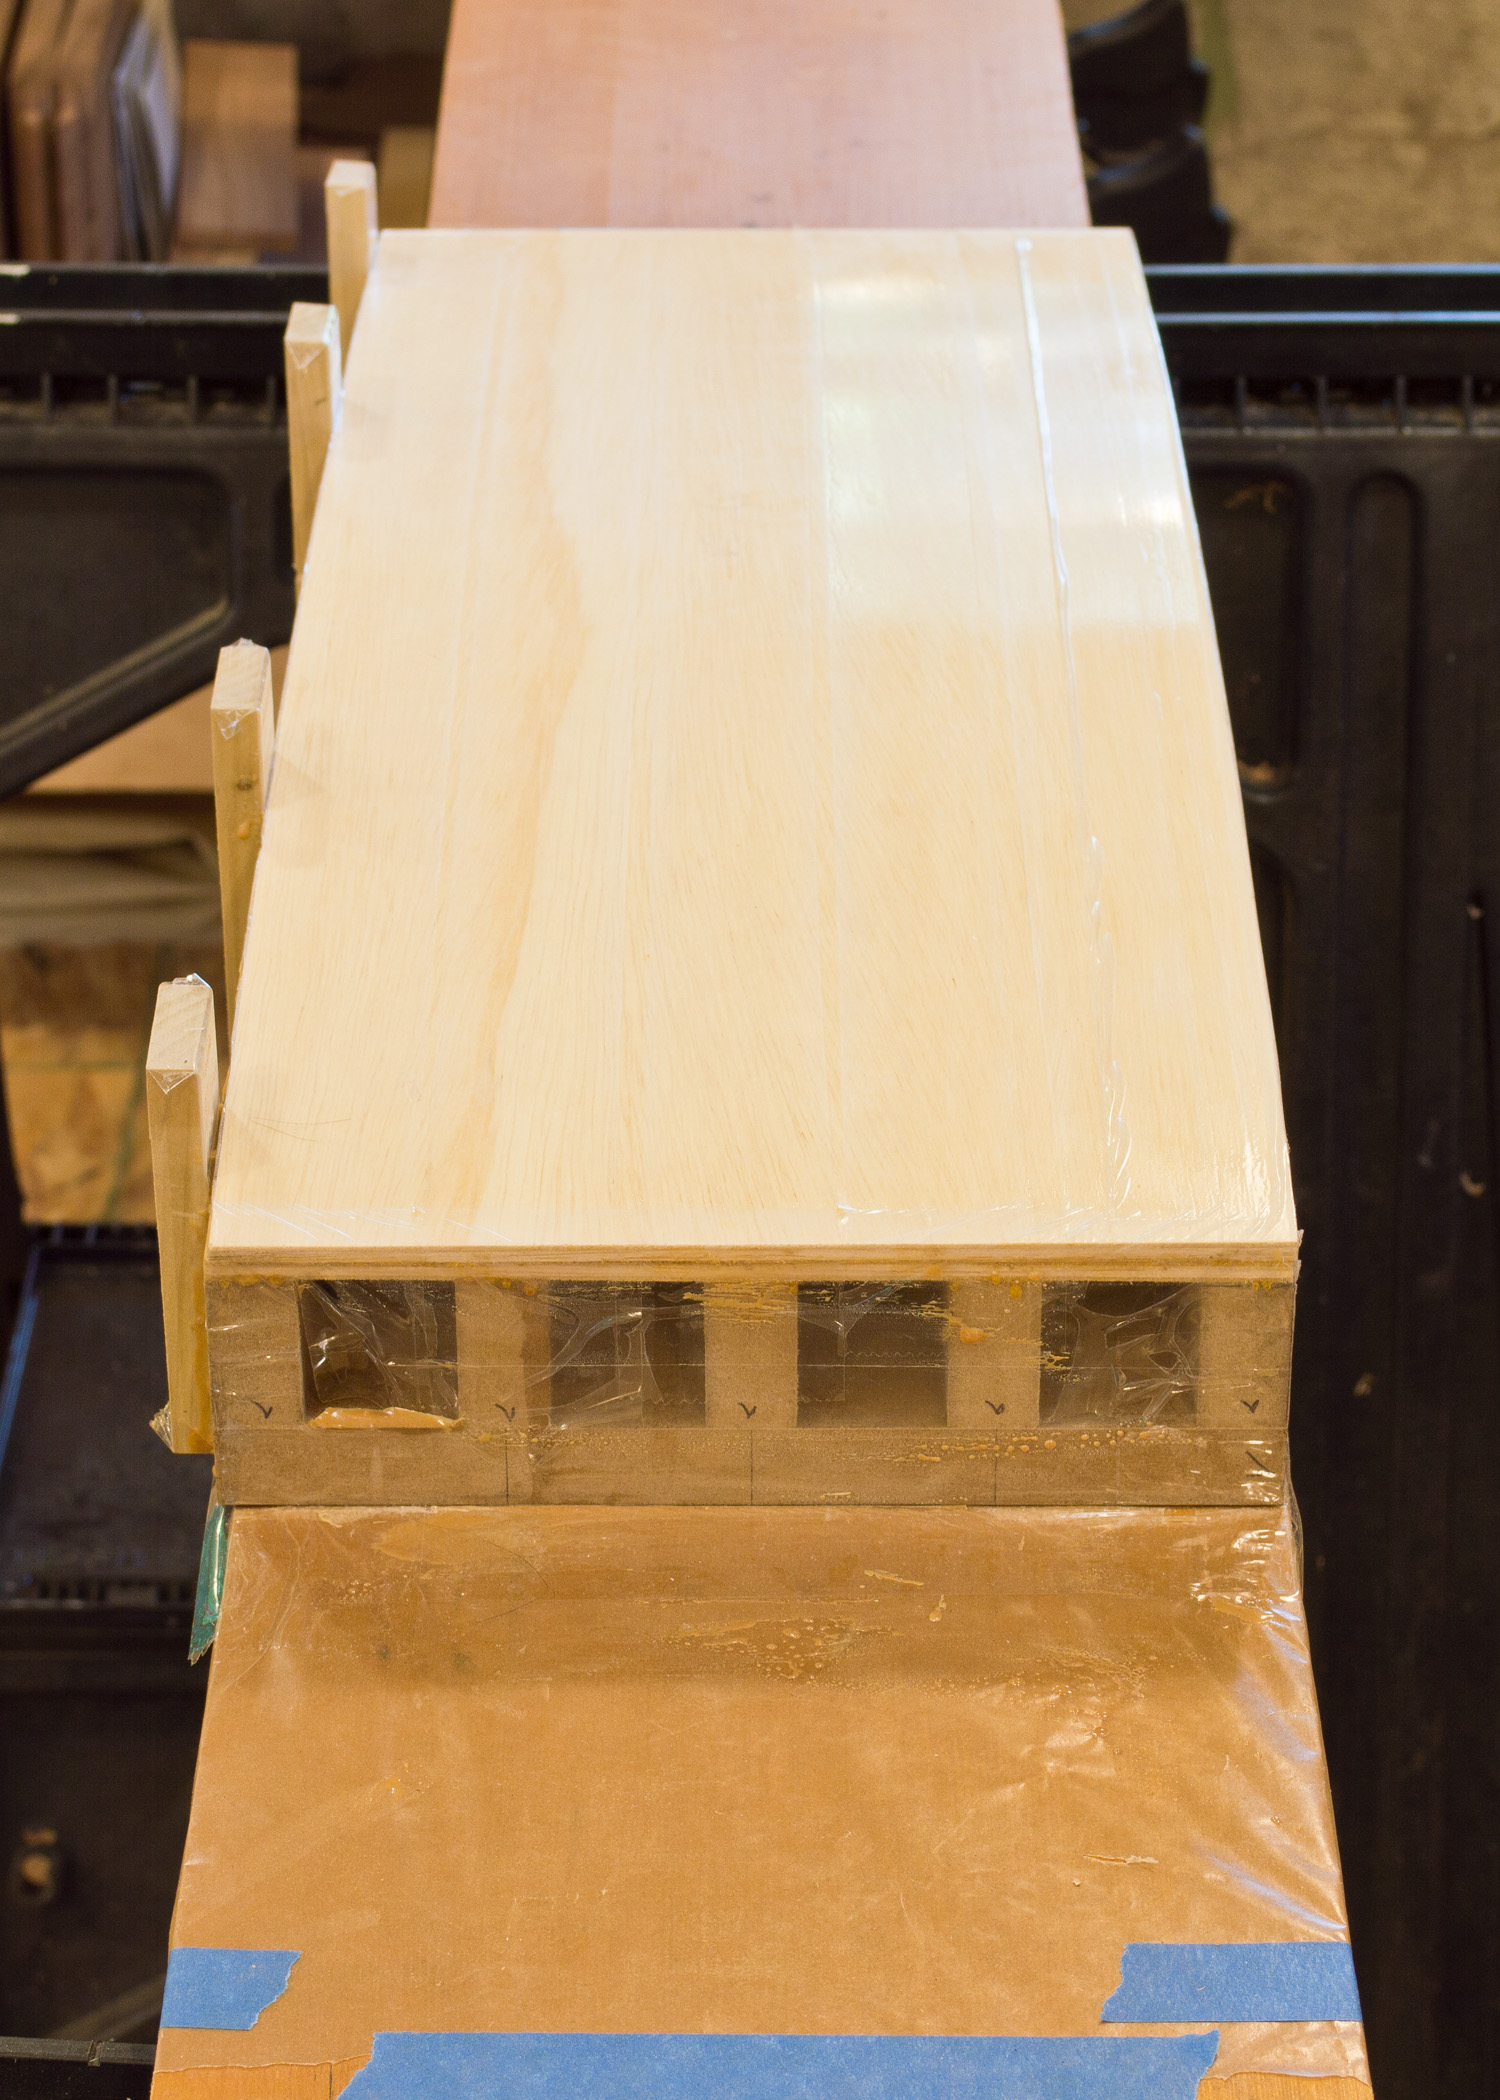
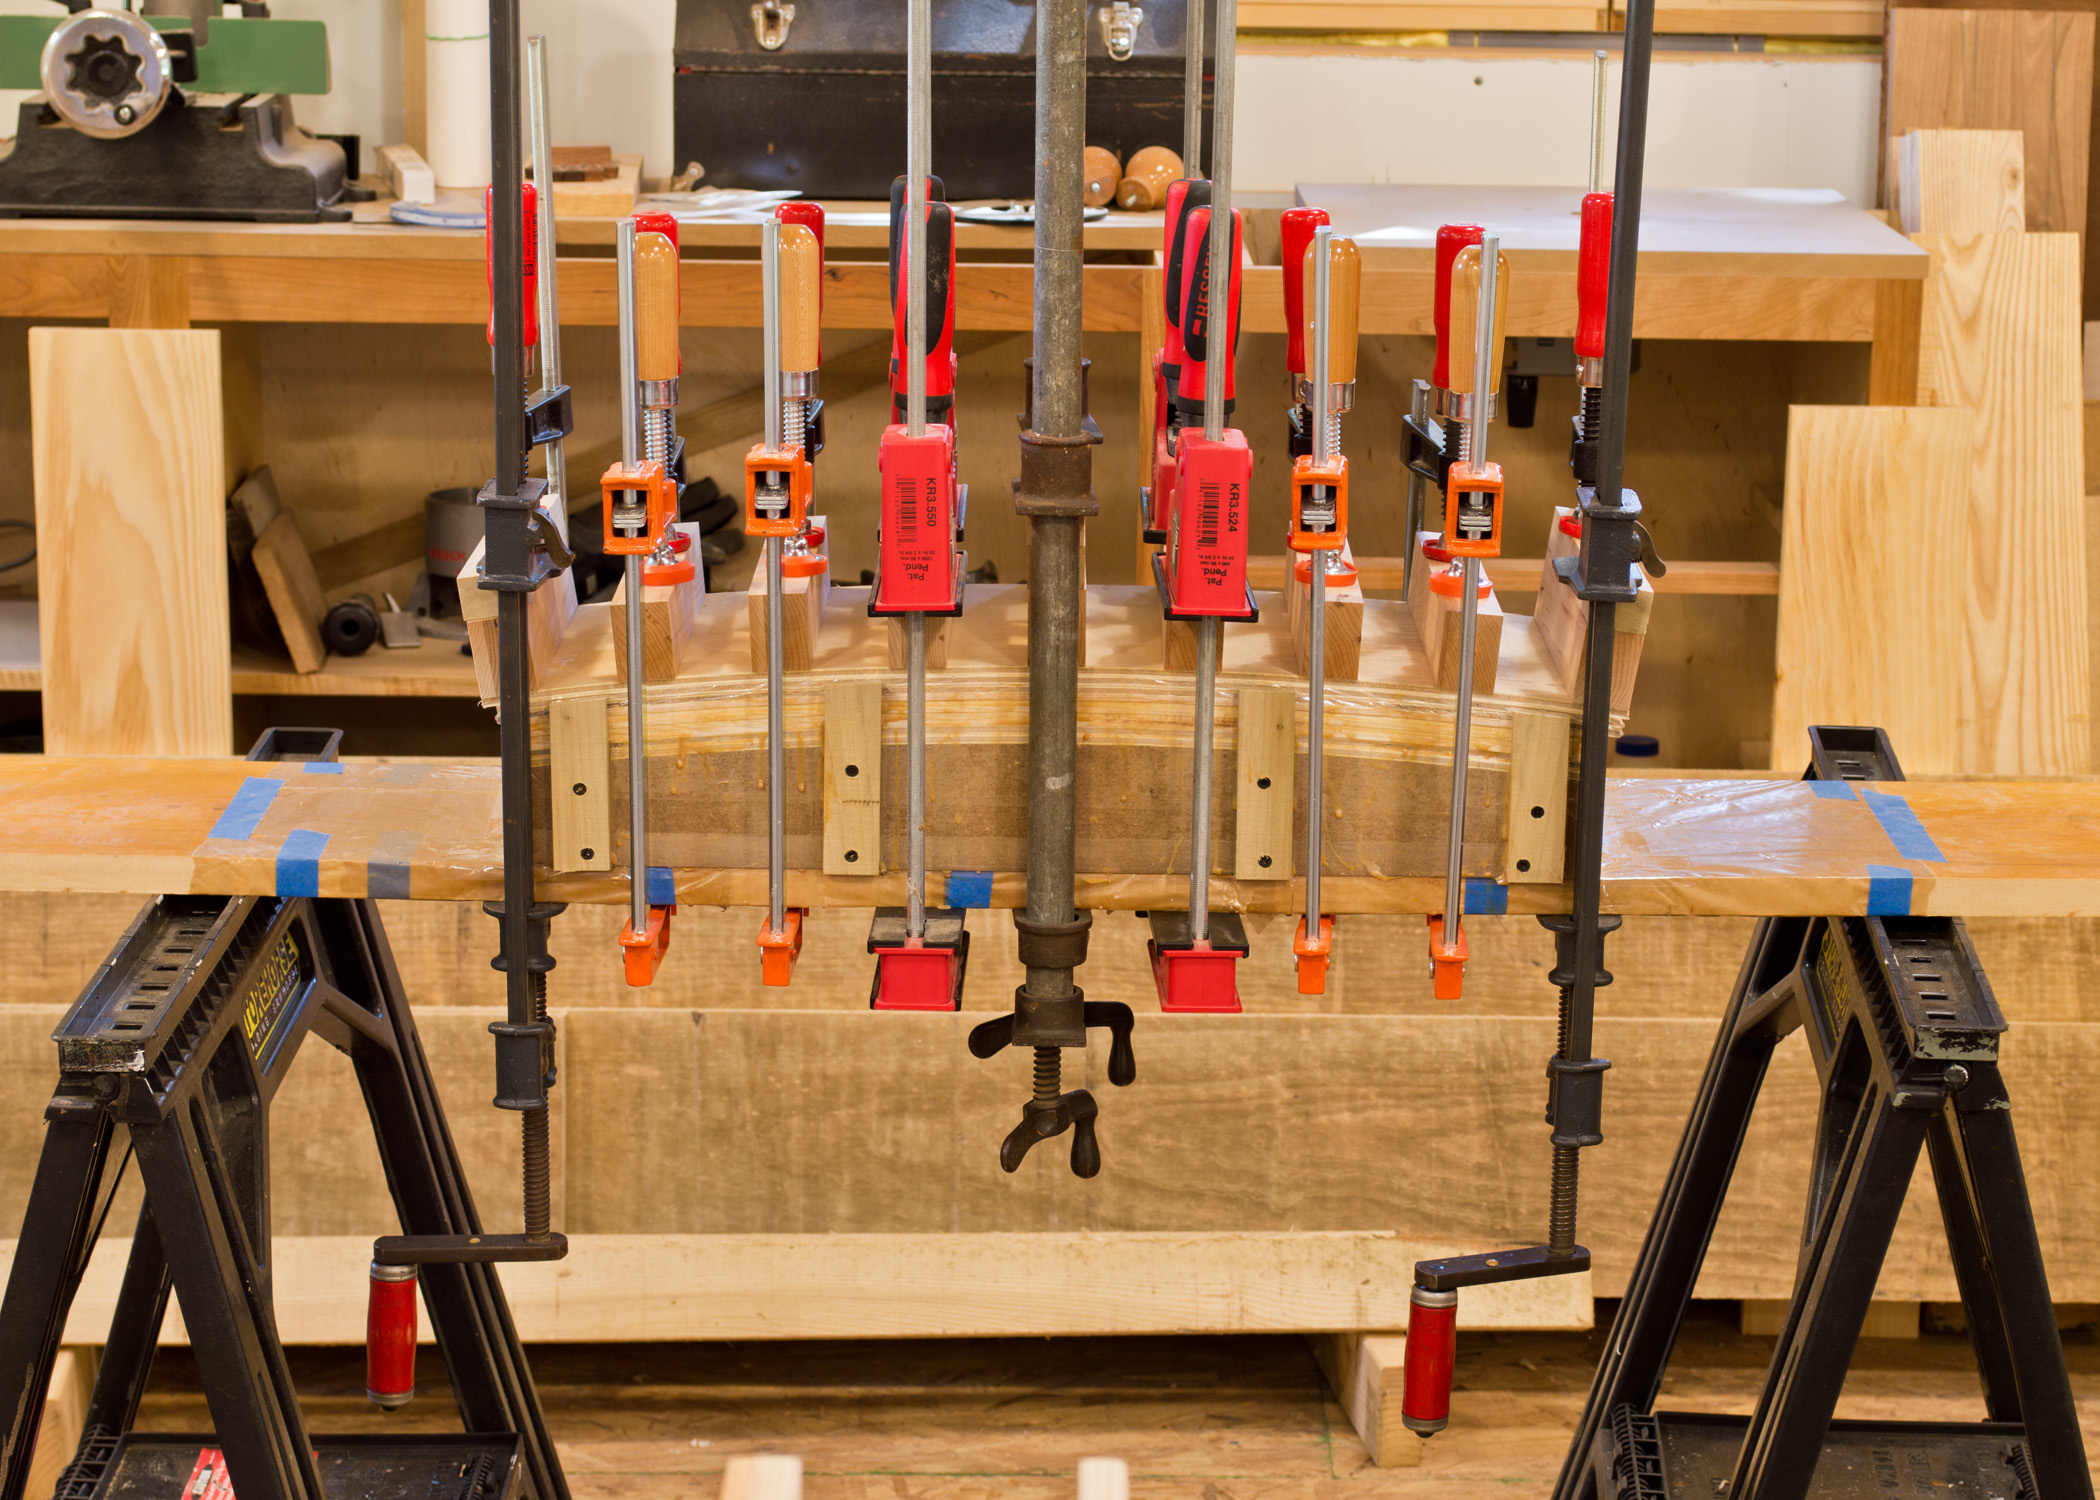
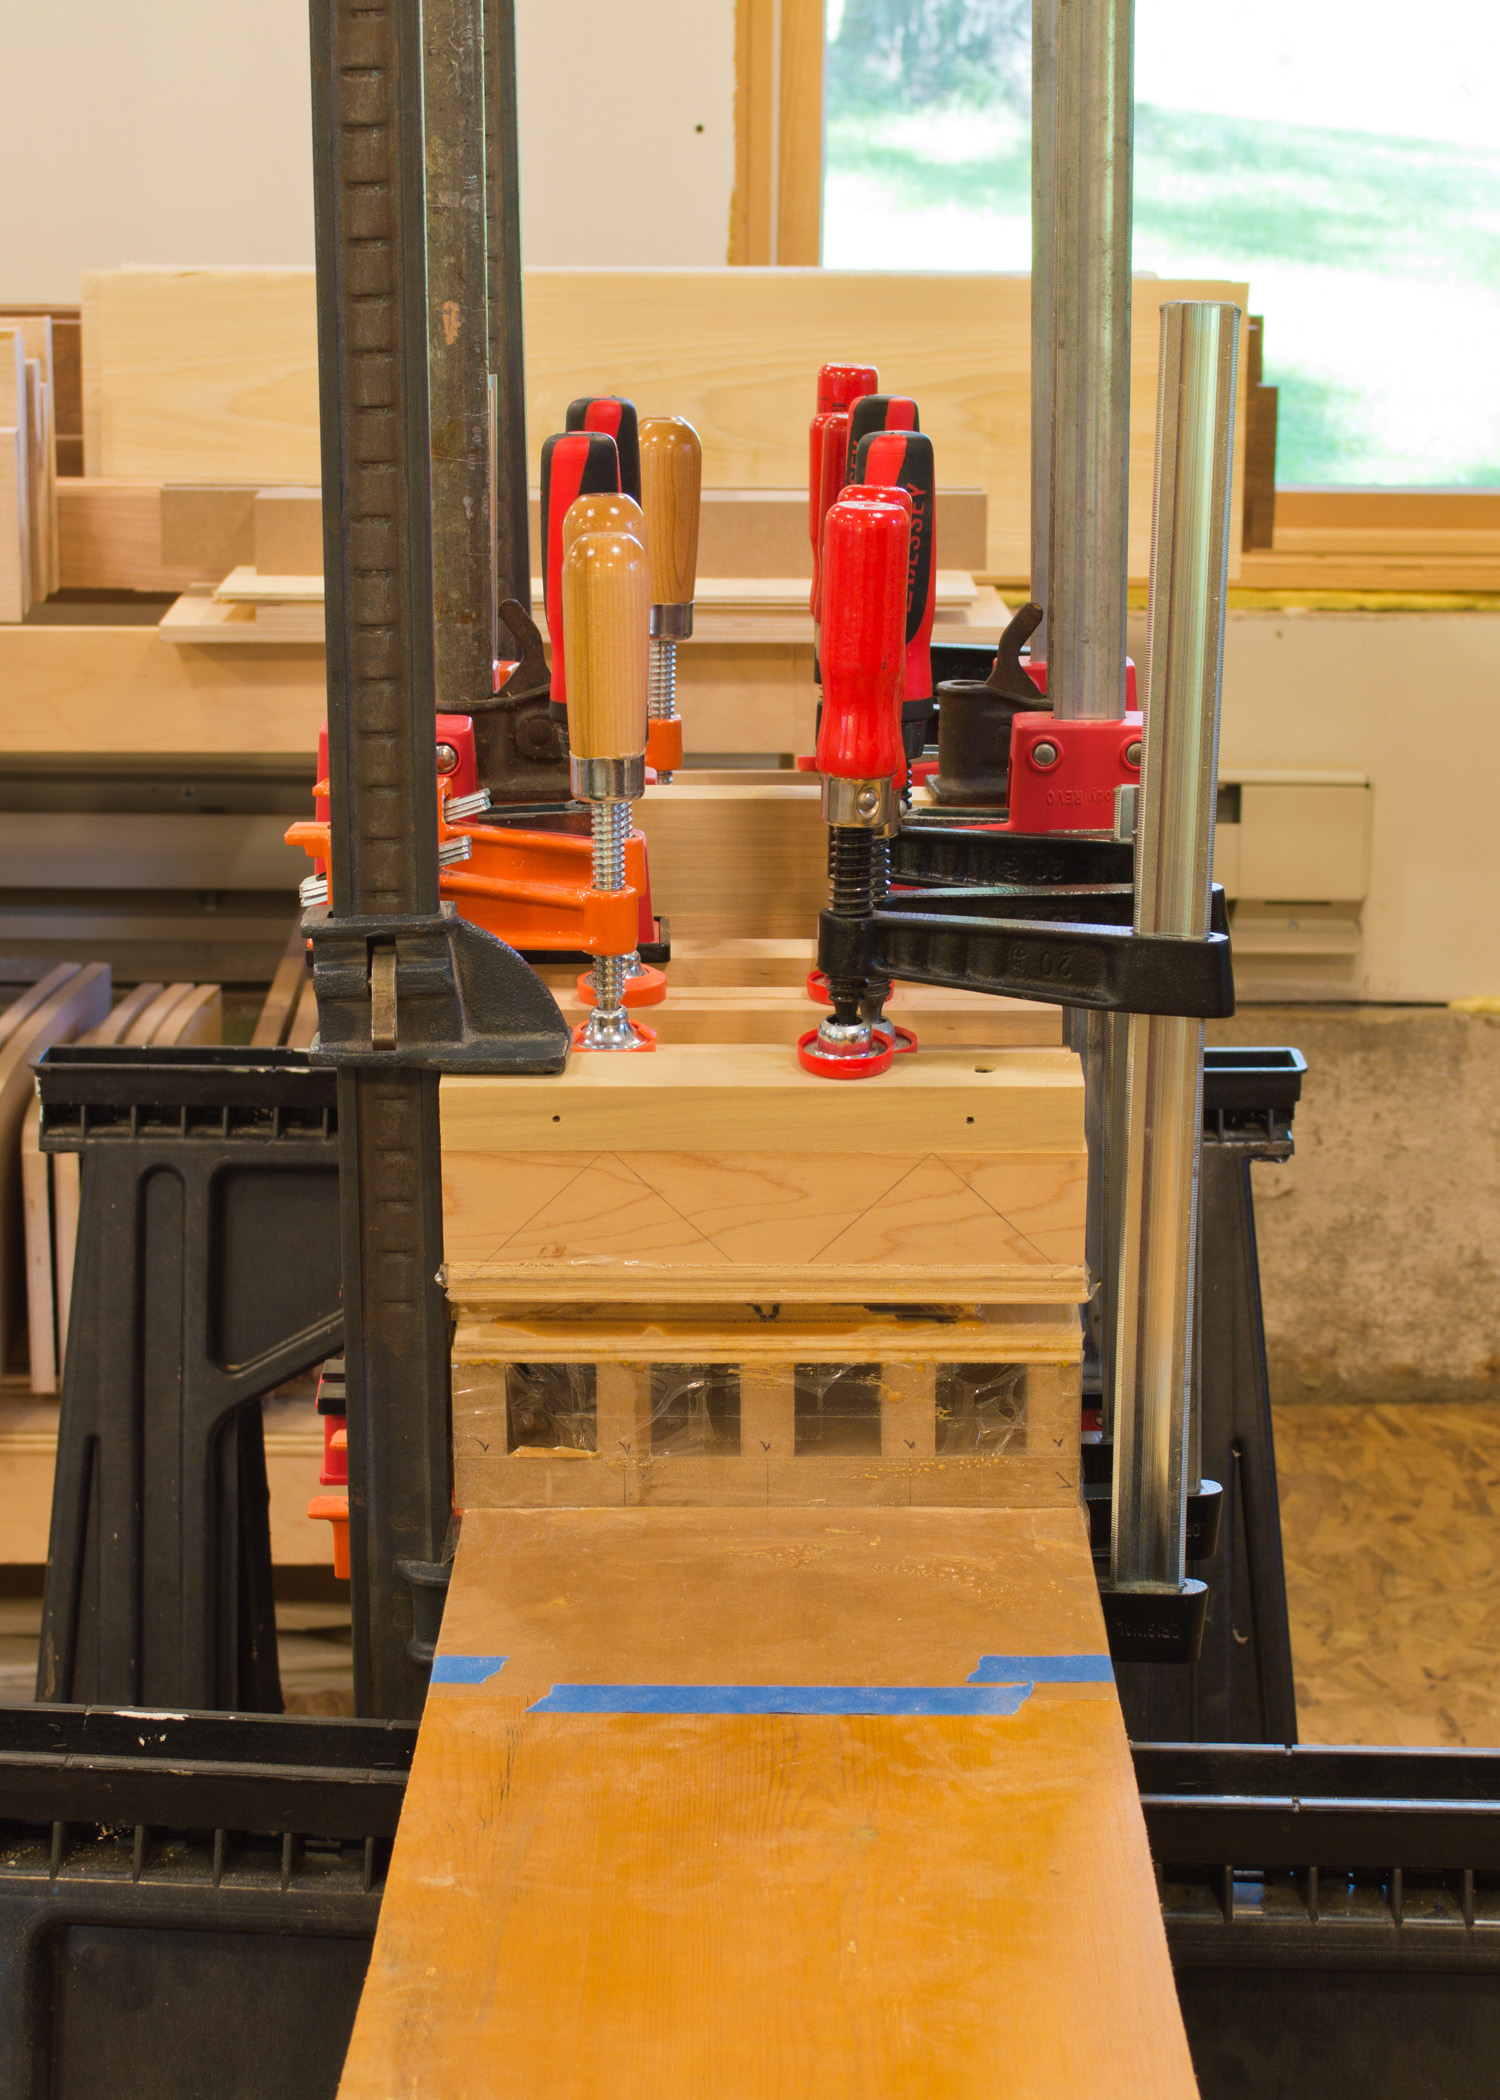
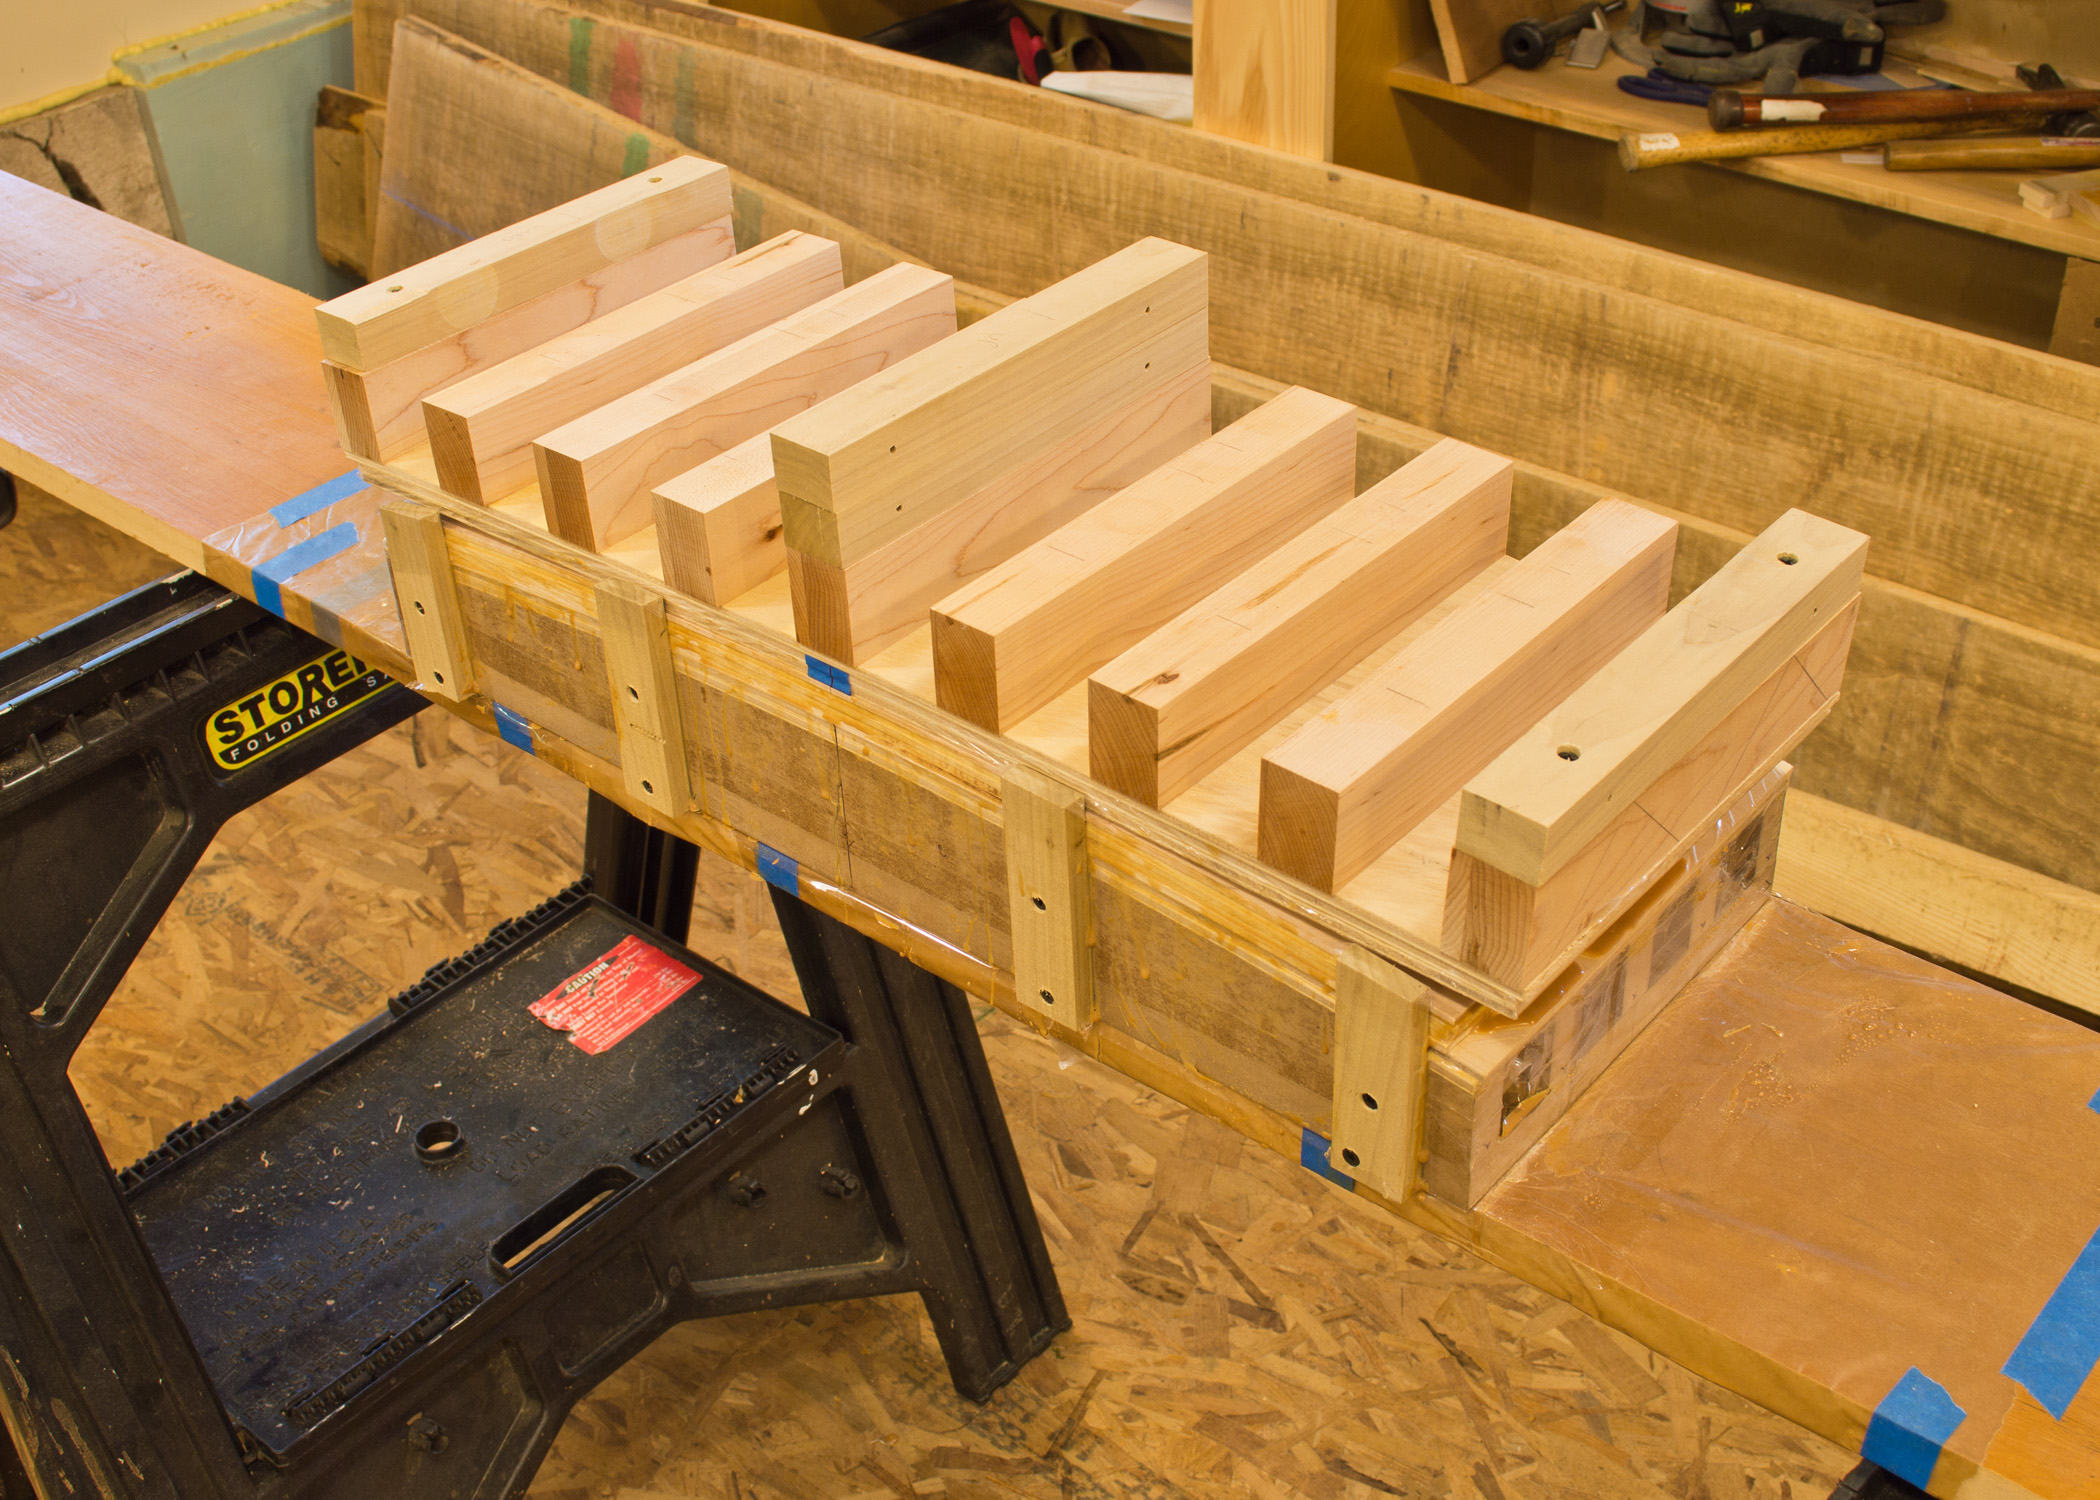
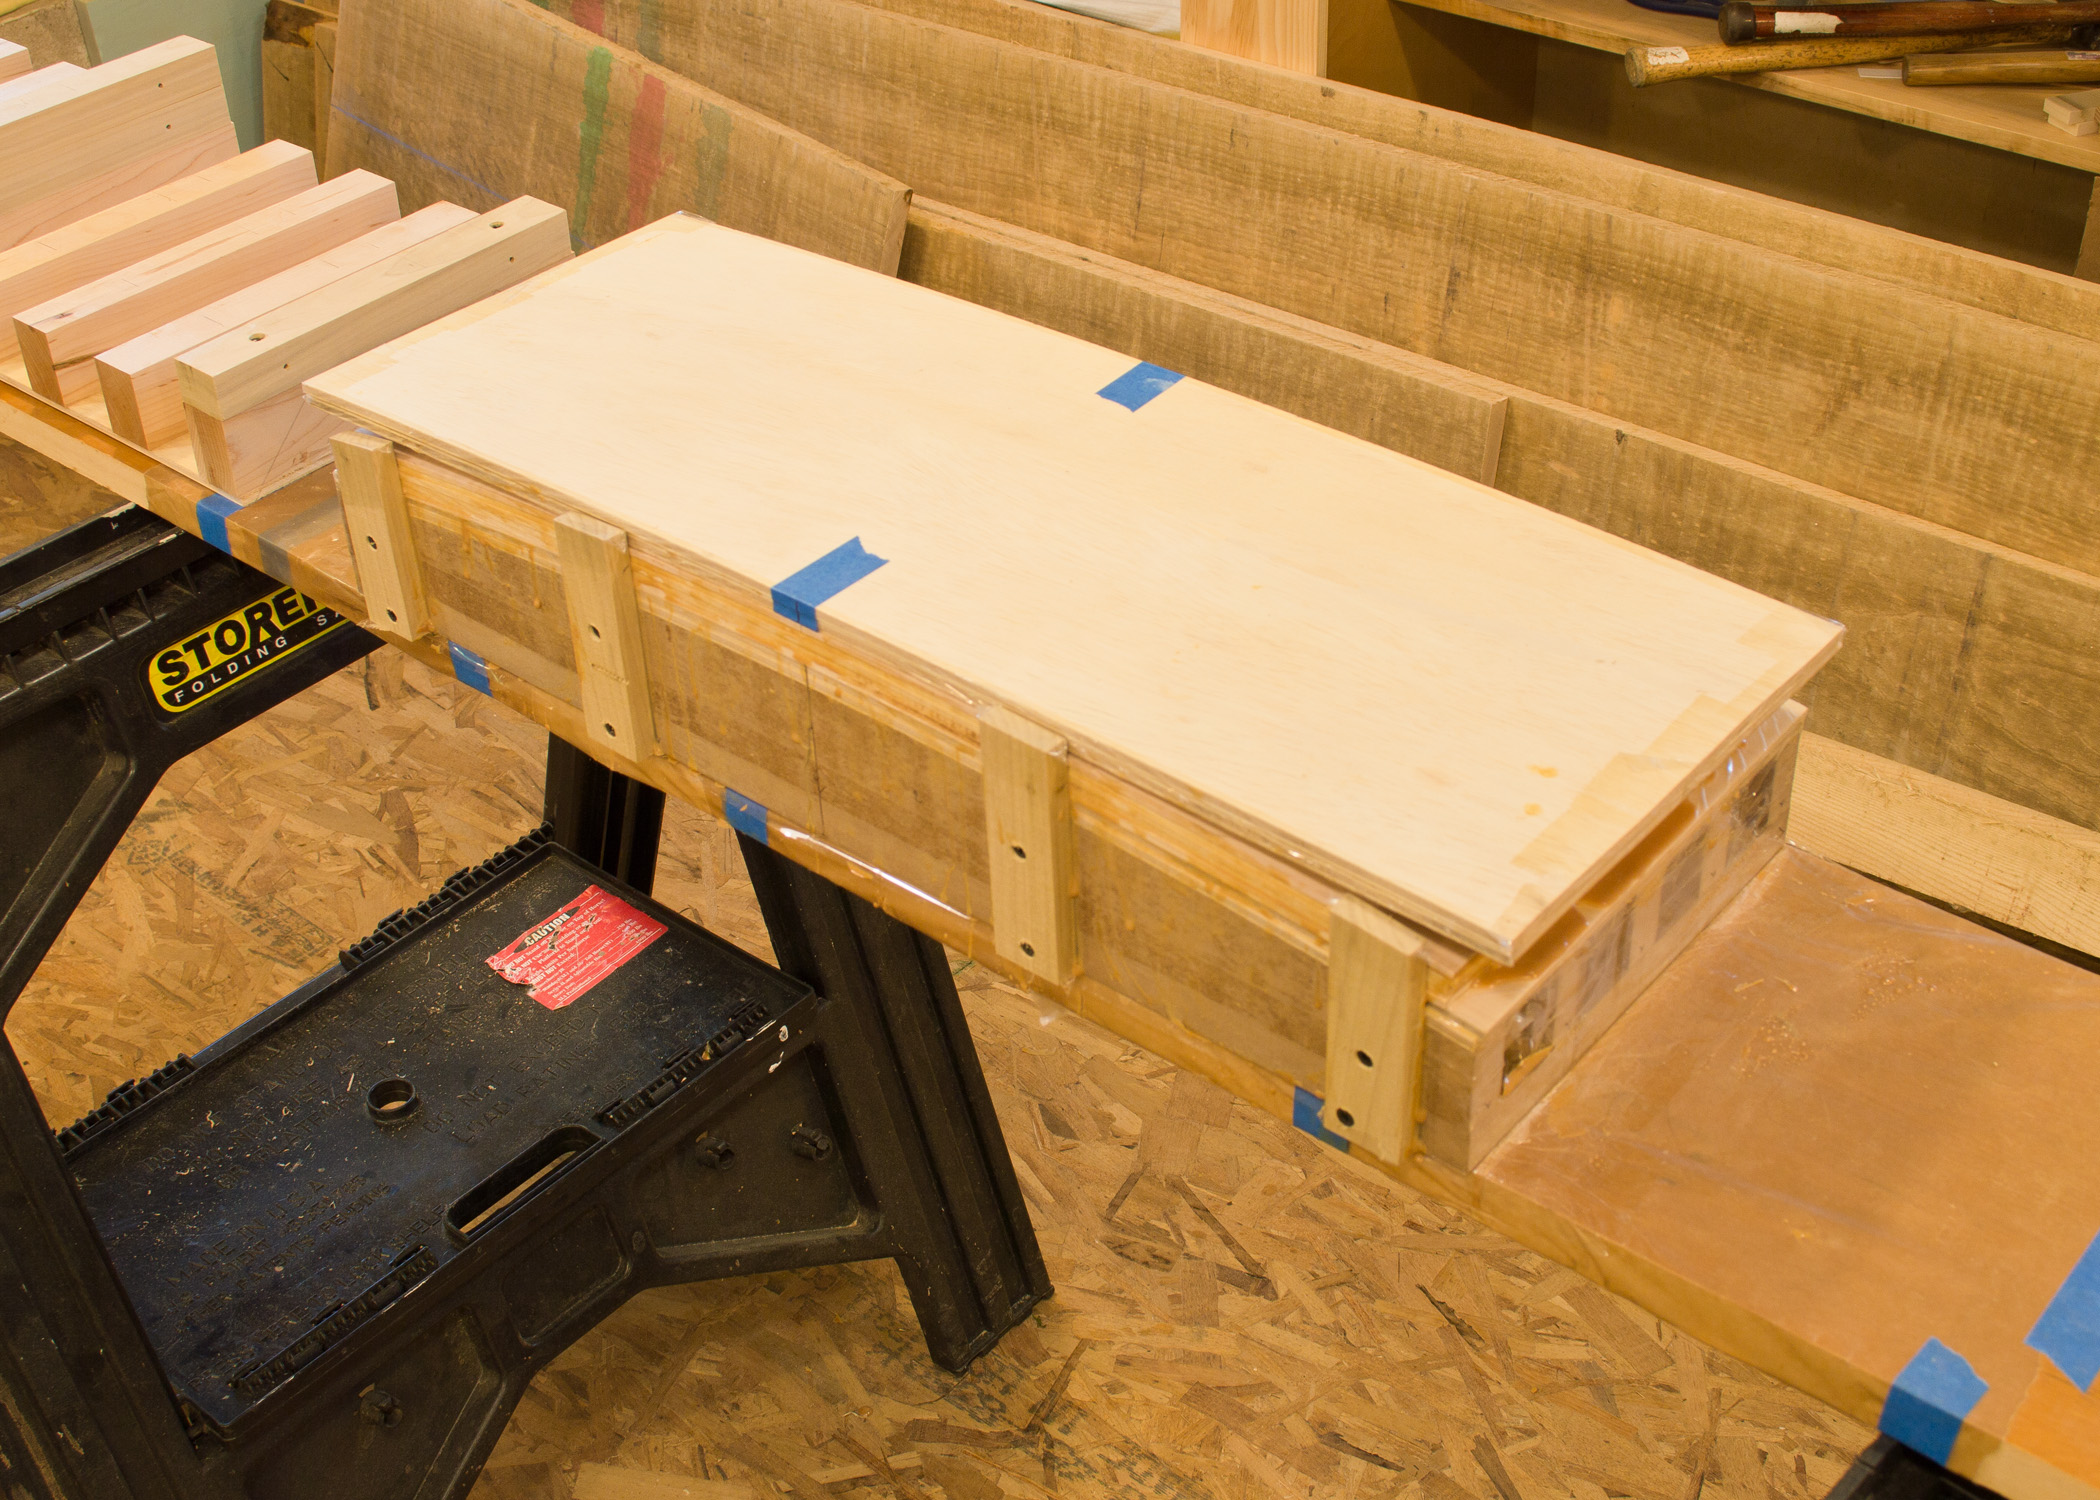
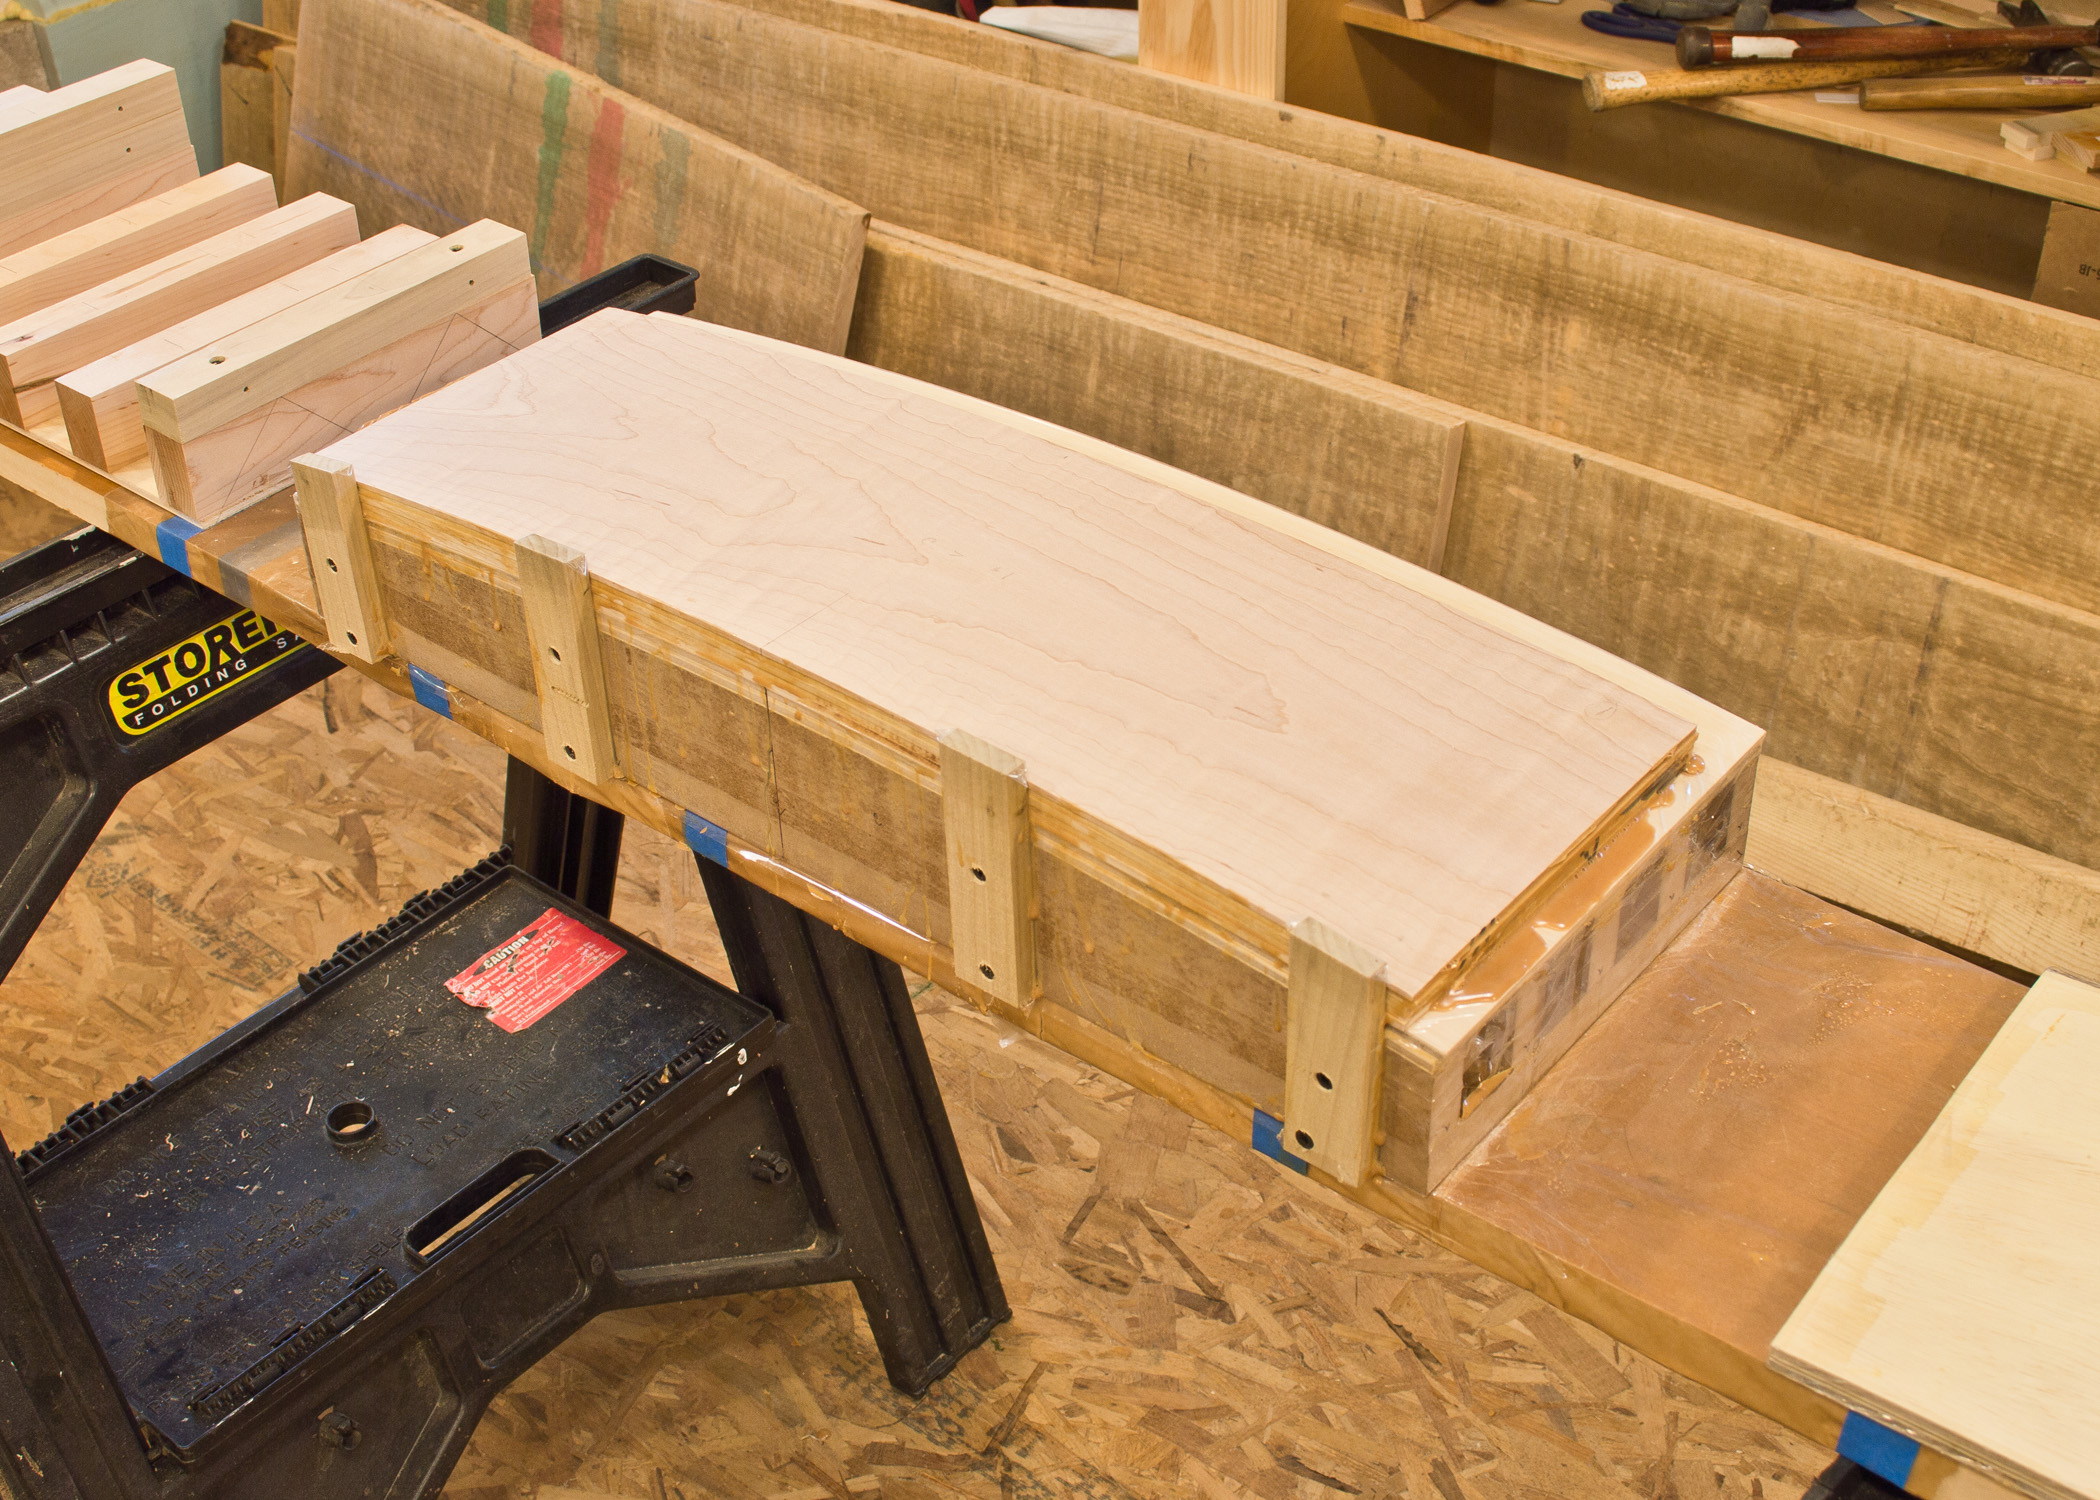
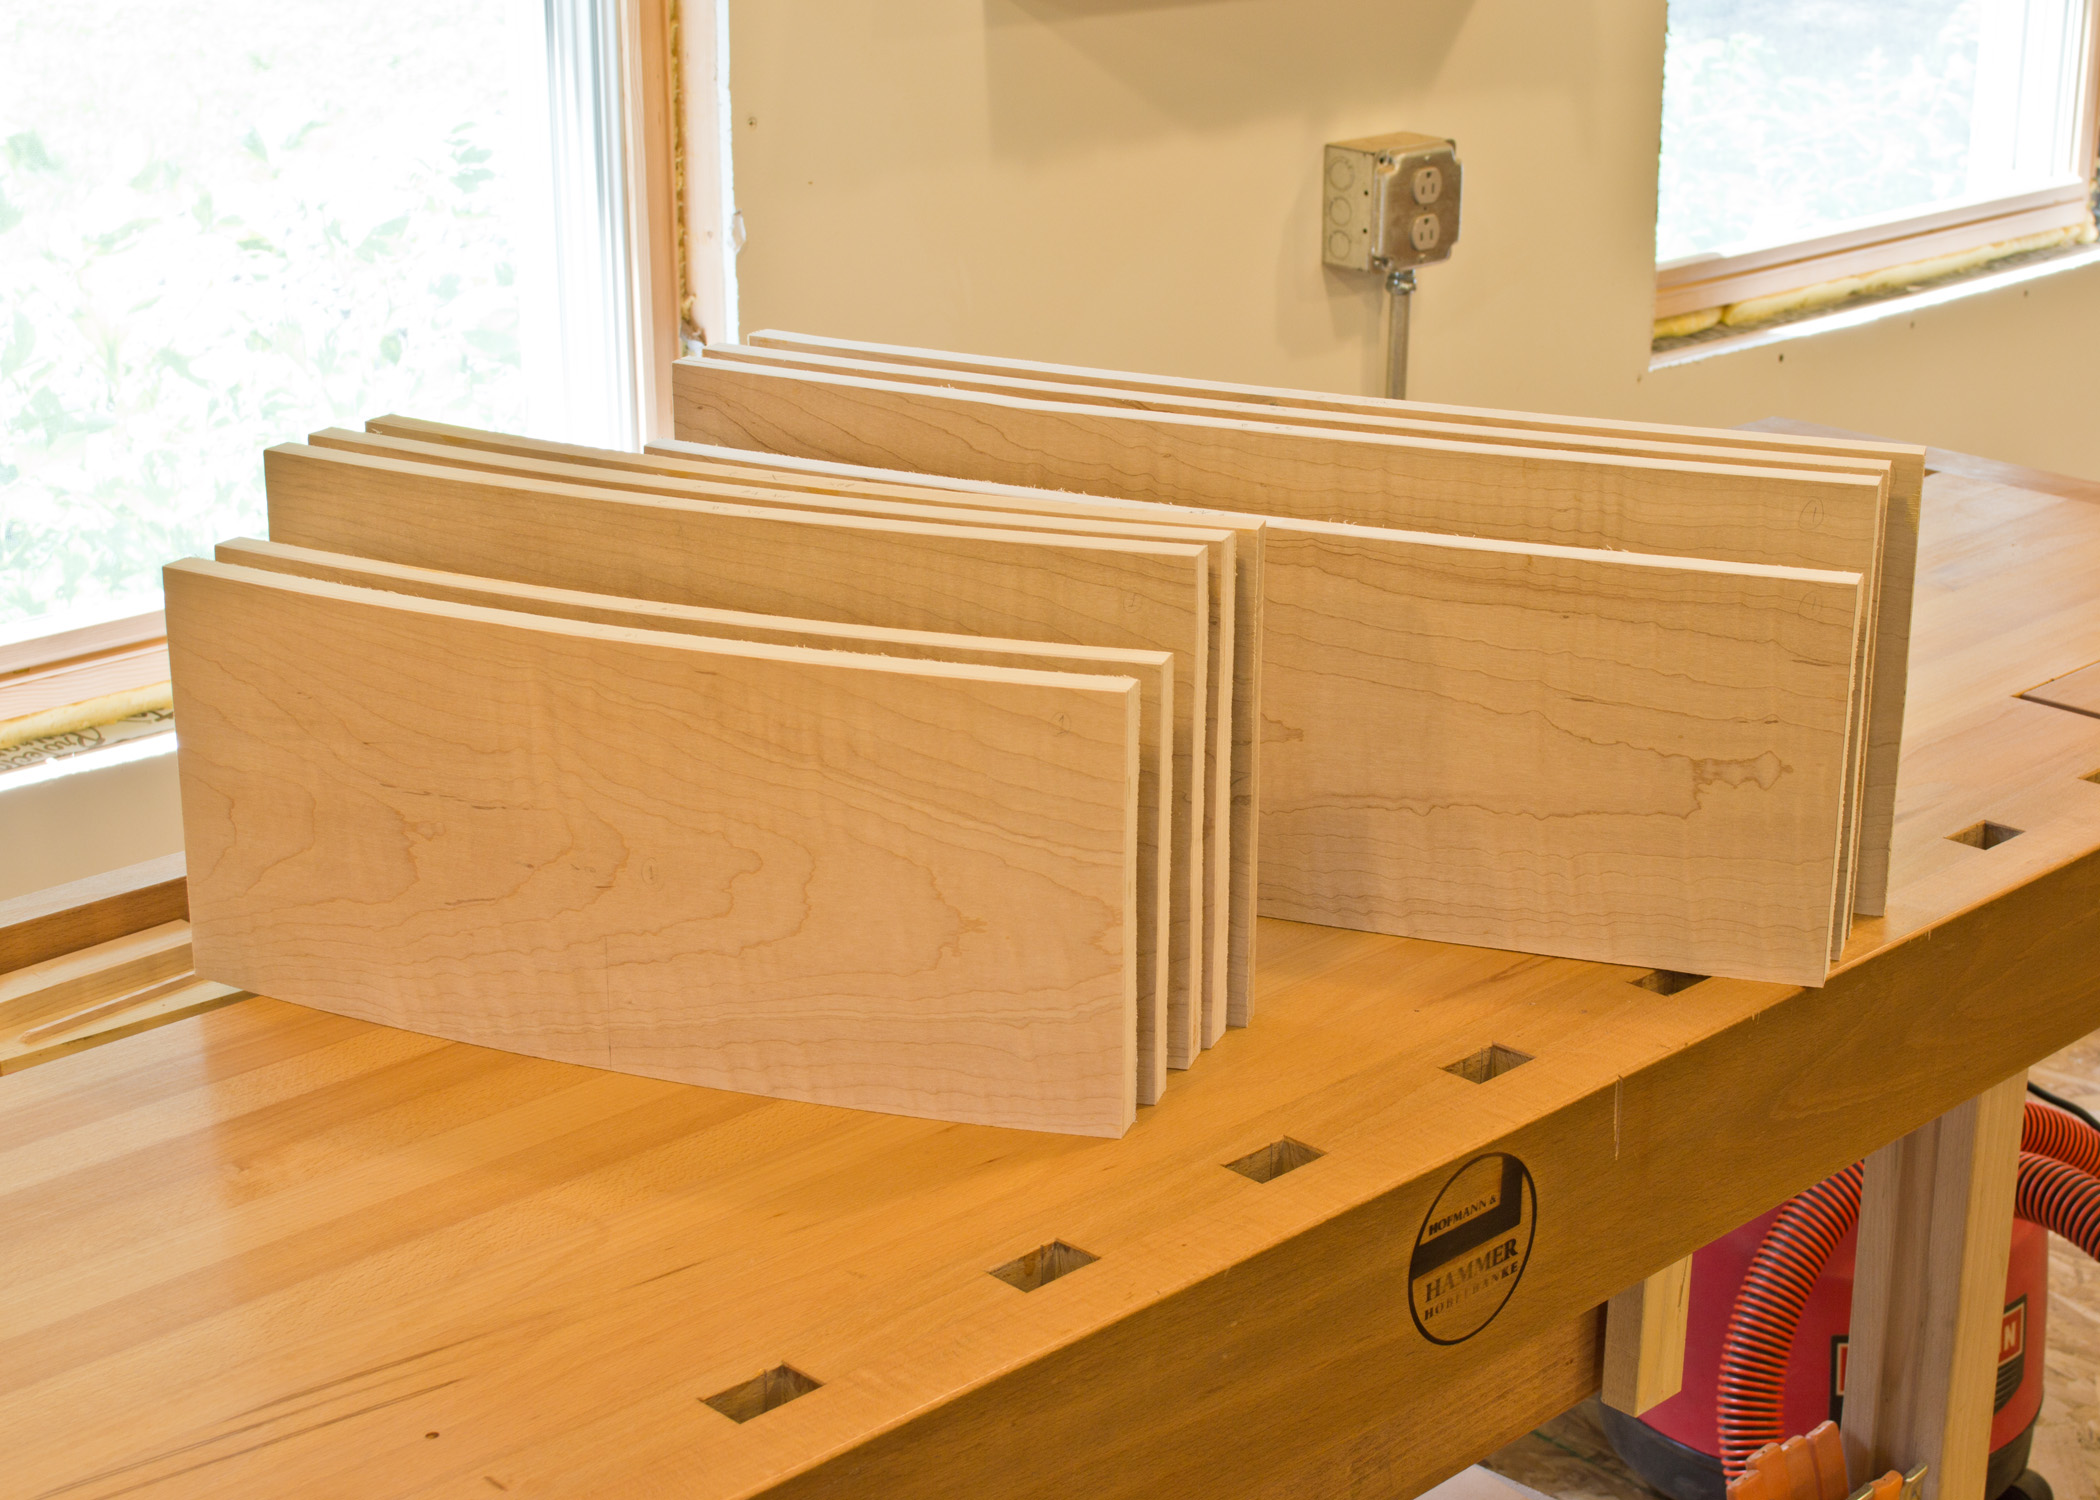
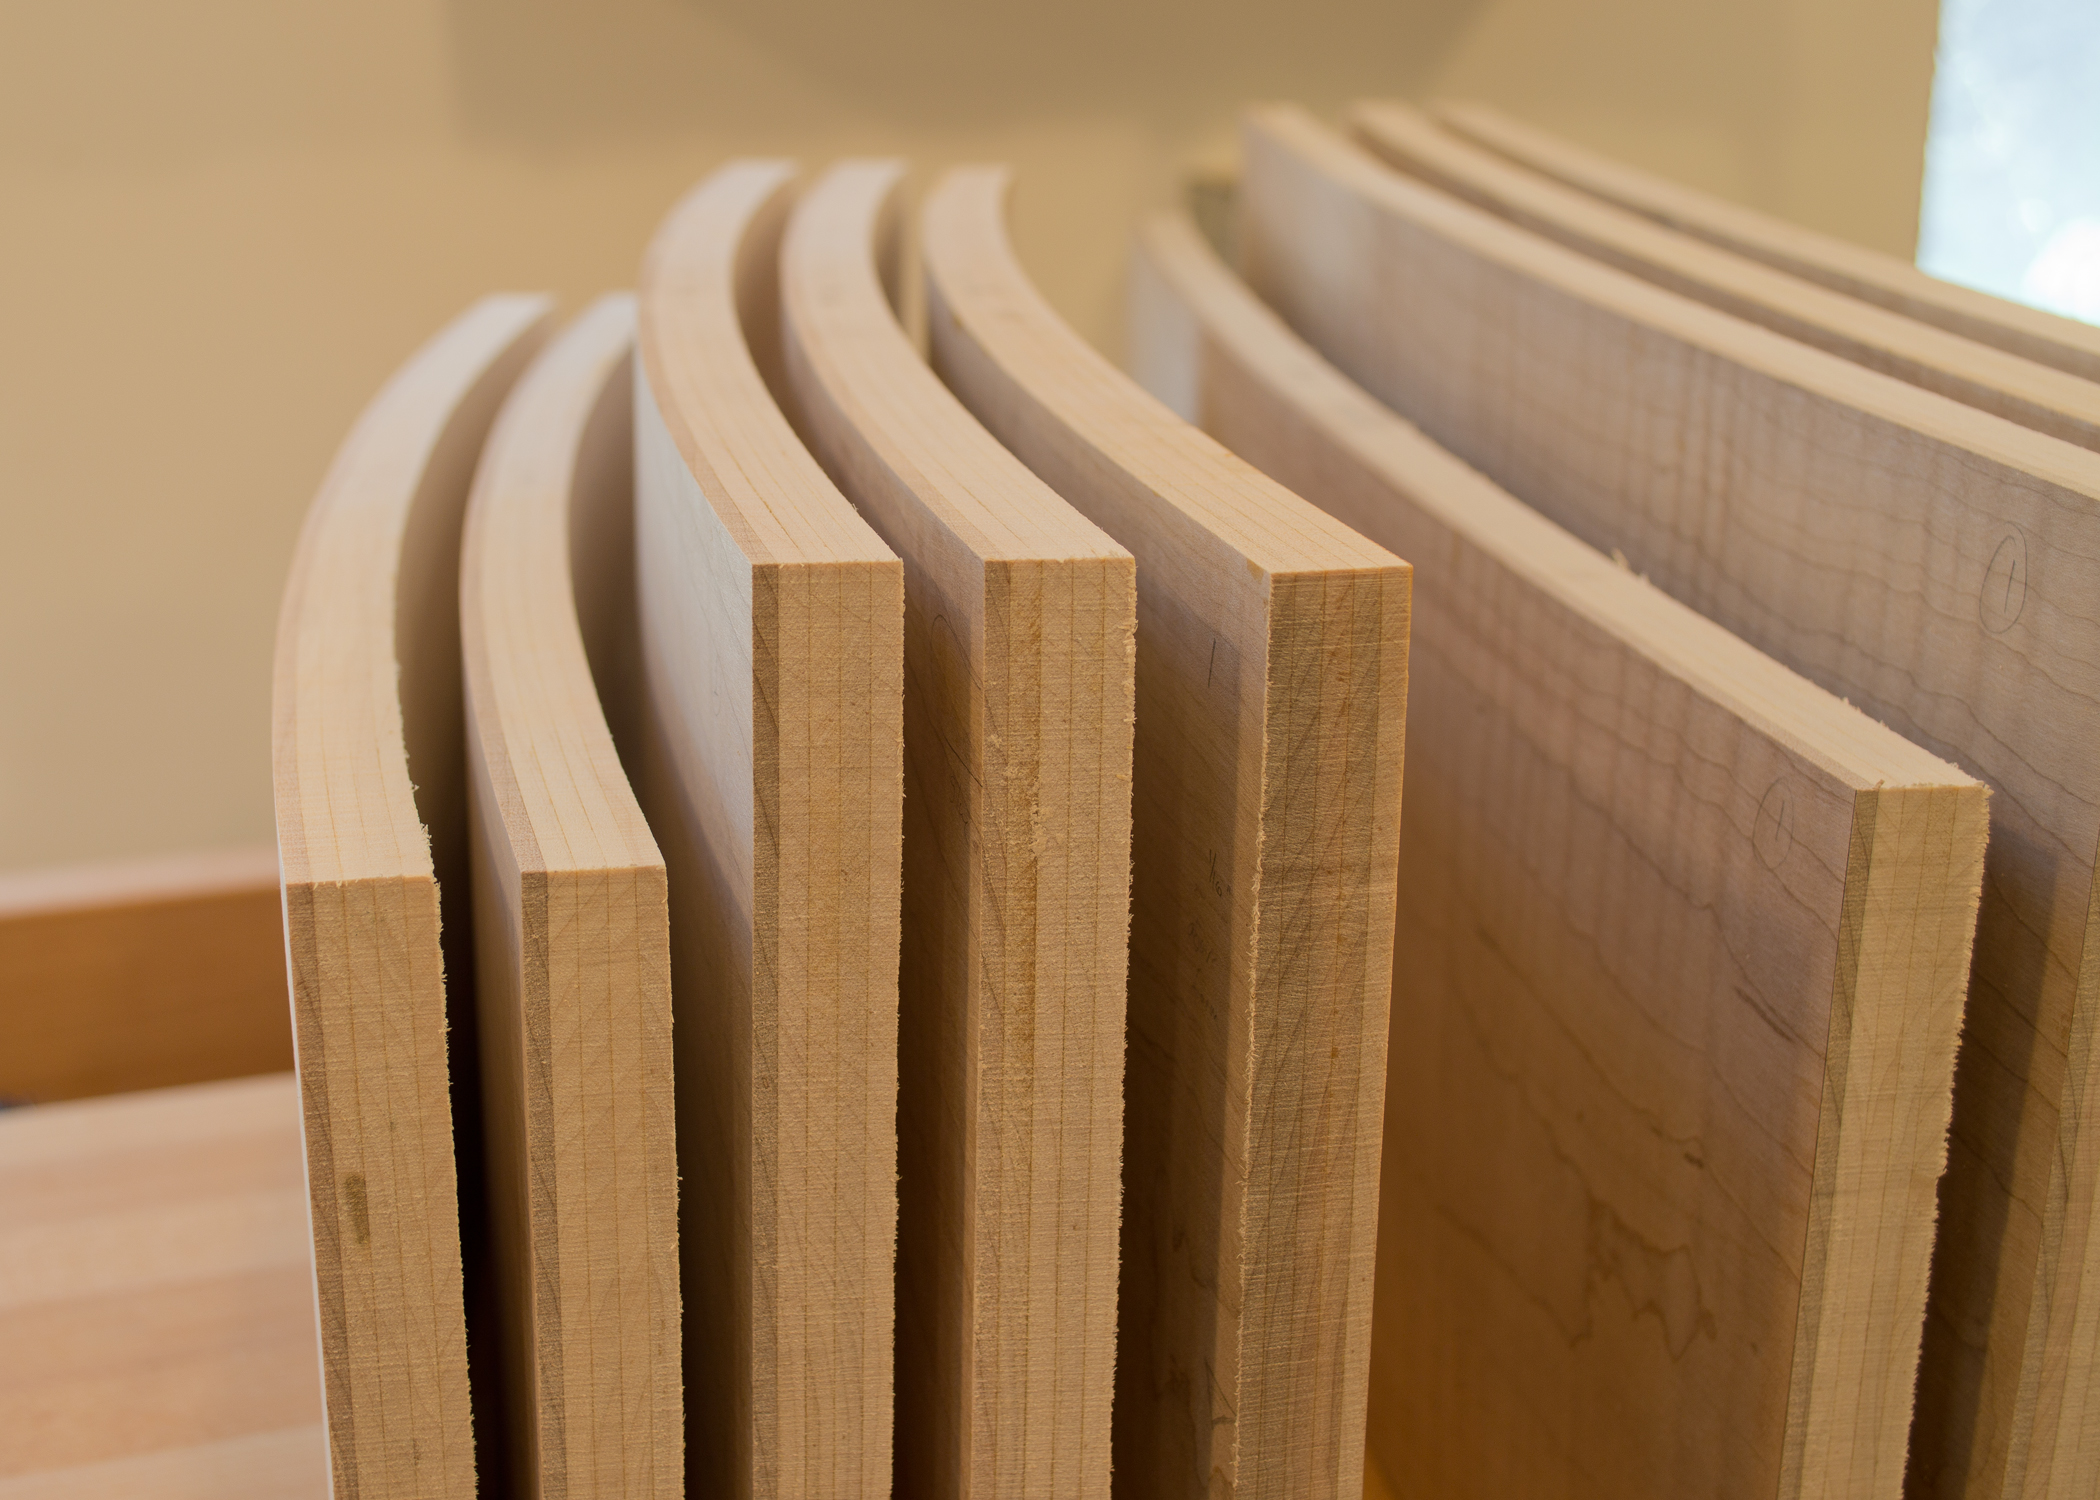
I’m working on the chest of drawers and have been sawing laminations and building forms for the curved drawer fronts. In a nutshell, the fronts are made by sawing maple into thin slices, called laminations, which are then glued together over a curved form. The adhesive, in this case a 2 part urea resin, prevents the laminations from slipping past each other and returning back to their original (flat) shape. Here are some pictures showing the process. Click on any image at right to open up a full screen slideshow.