
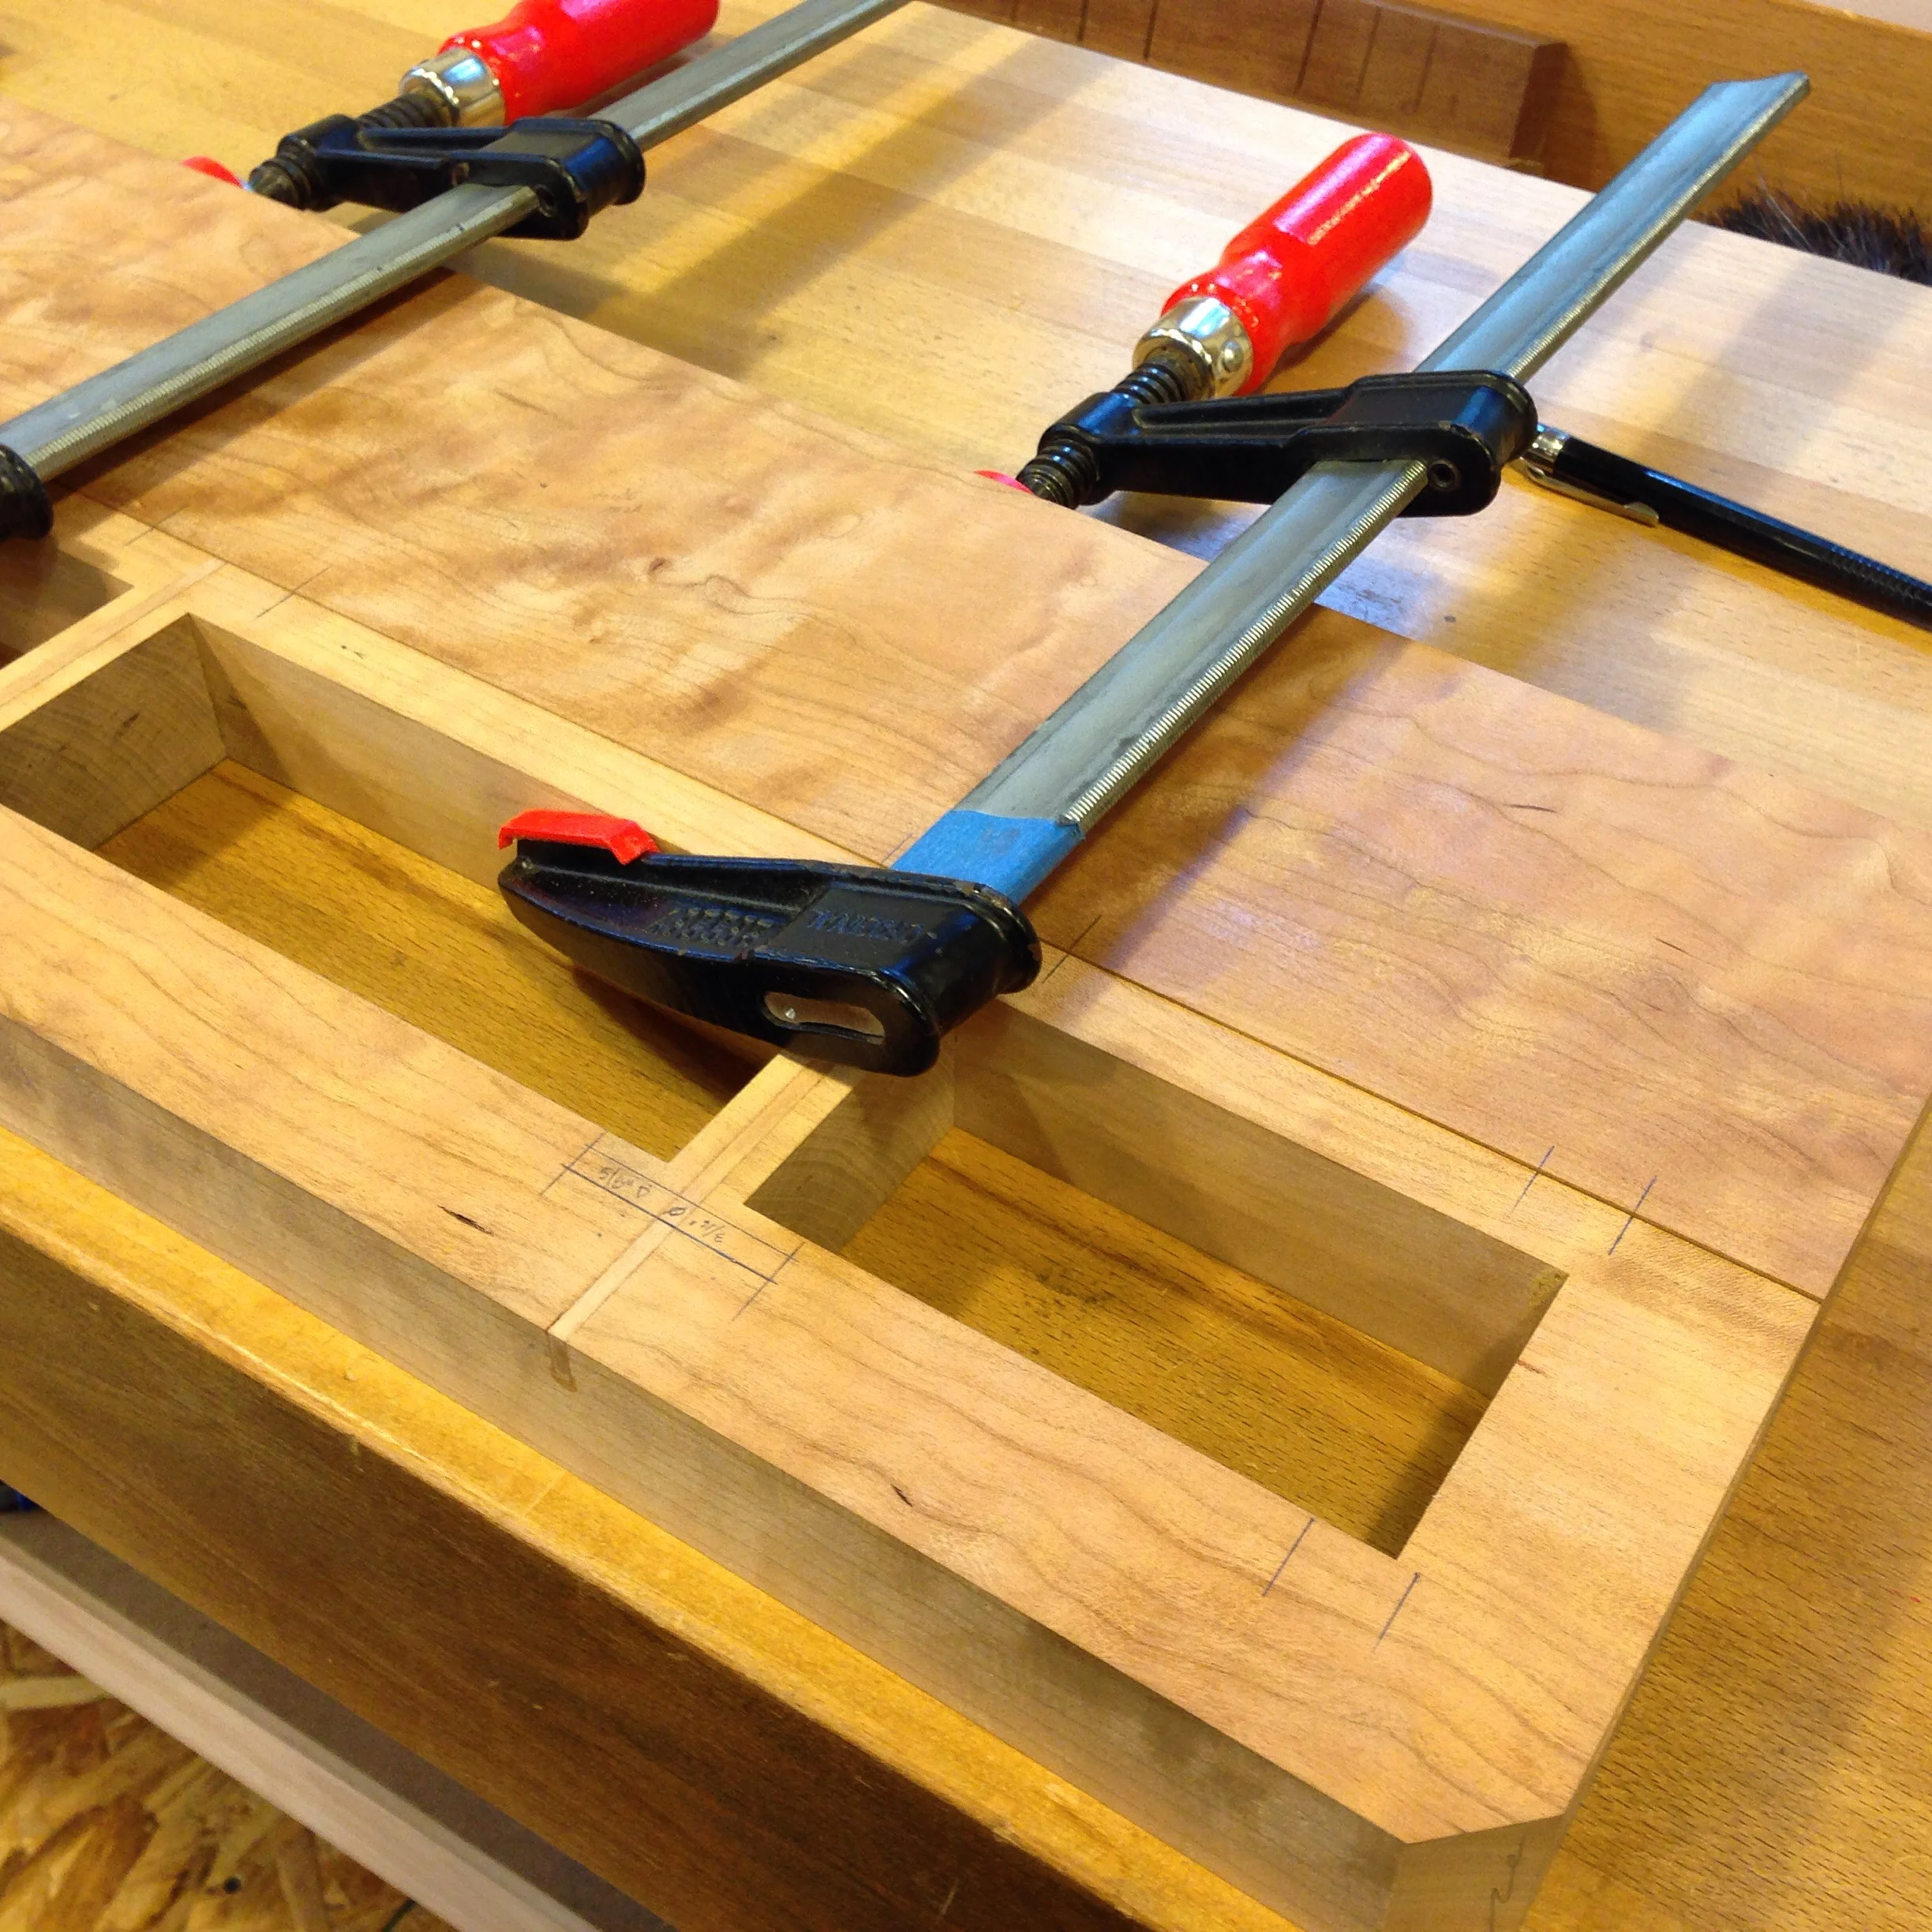
Laying out and transferring mortise locations on the insides of both front and back aprons. These mortises will accept tenons on the drawer runners.
The Mighty Miter
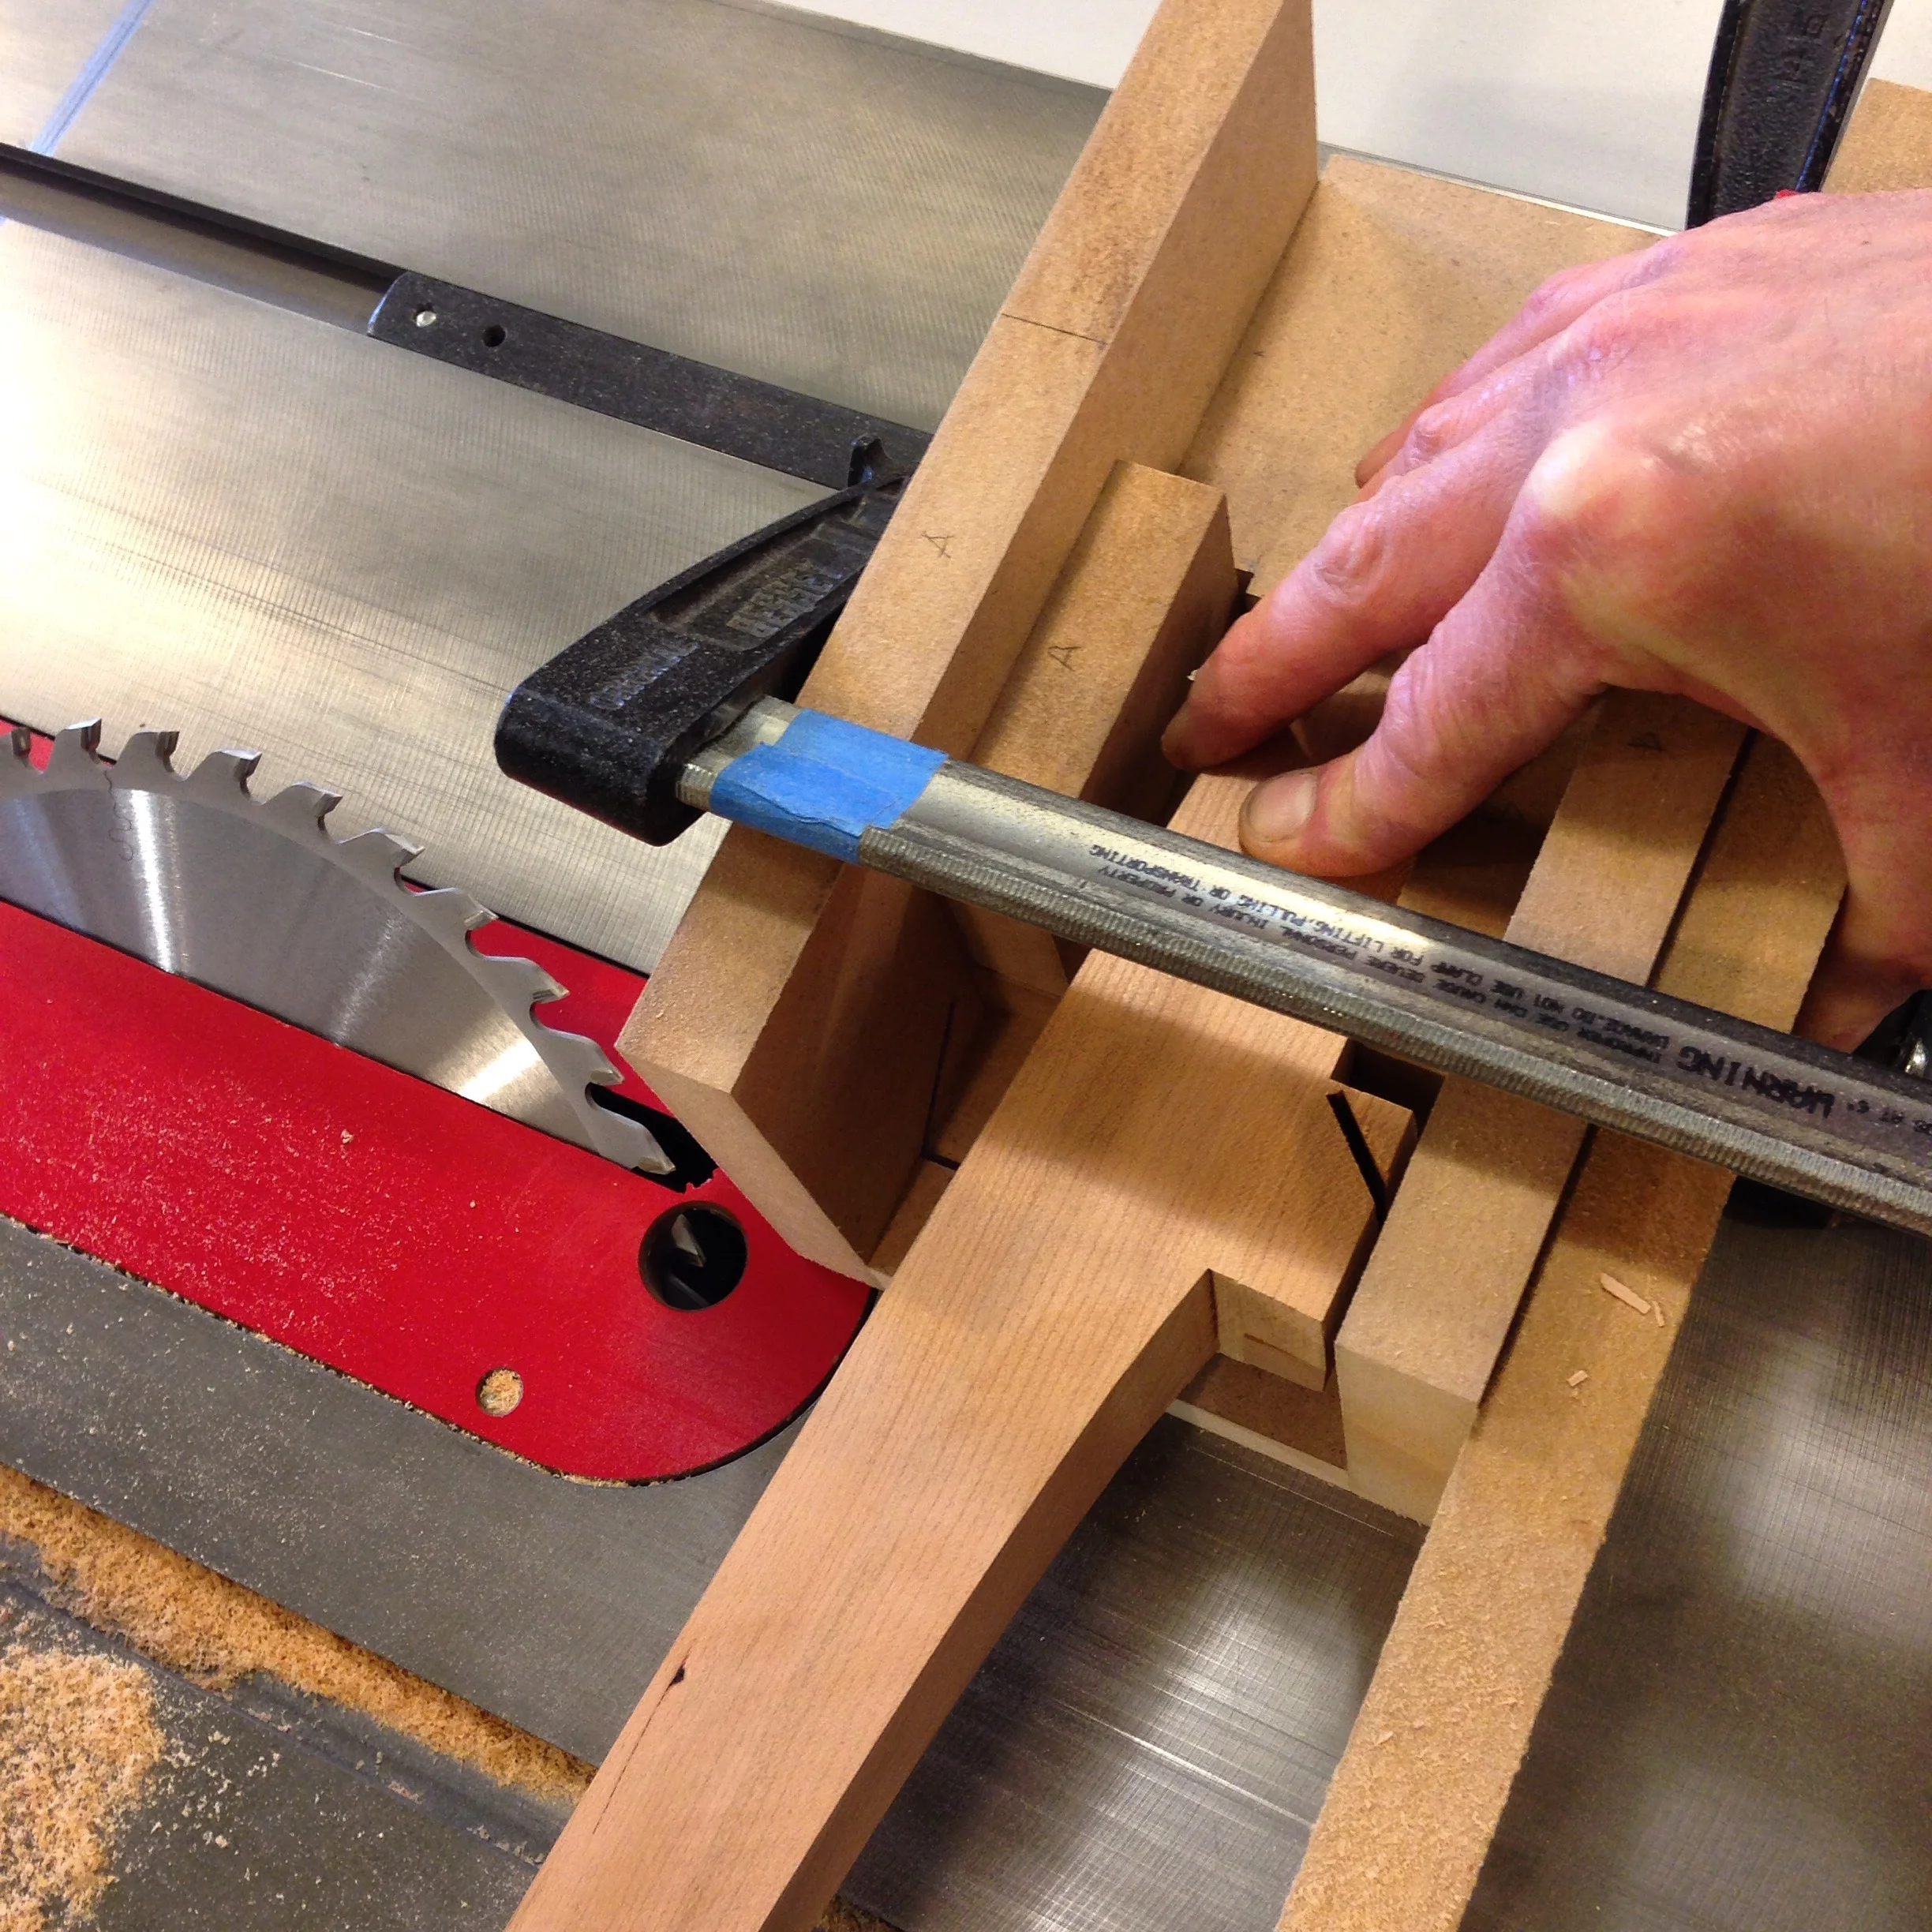
Here's my setup for cutting leg miters and apron miters for the mitered gunstock joint (a term I heard from Ben Strano and have adopted). Here's a leg ready to go on the second cut - the first cut has been made and is visible under the bar of the clamp. It's a pretty basic setup, but yields very consistent results.
Belts and Suspenders
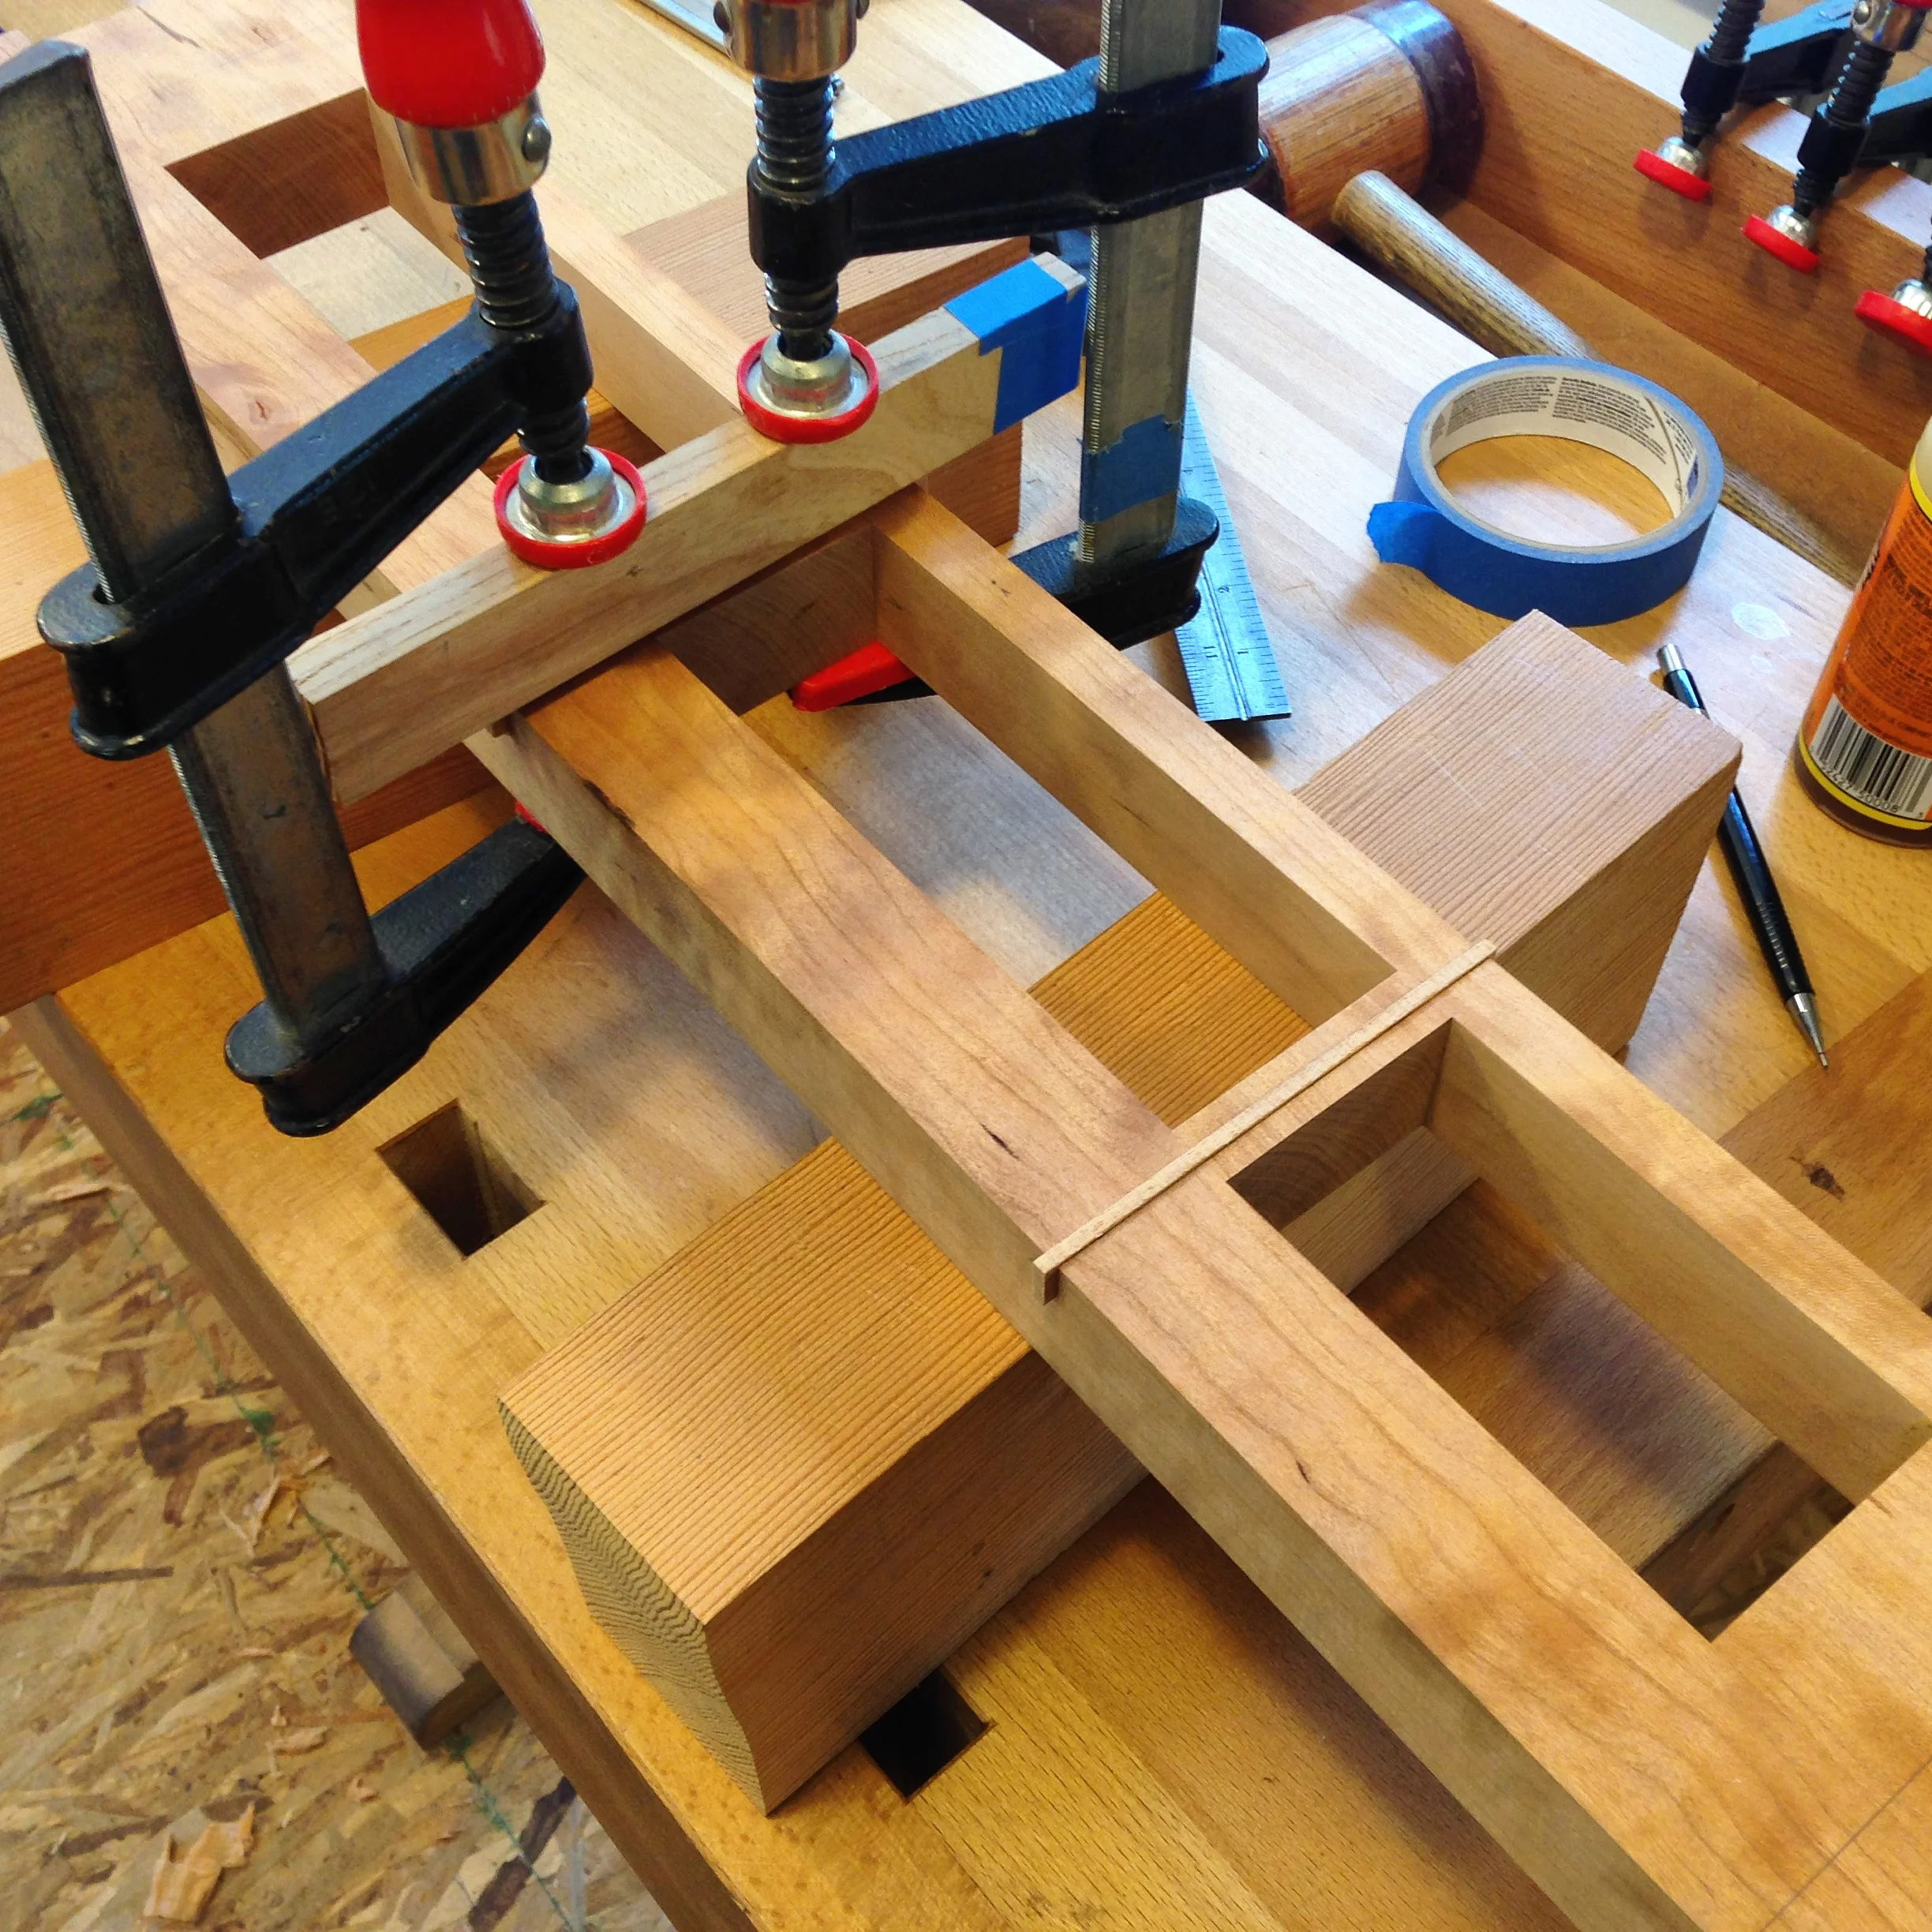
Skipping ahead a bit, here's the front apron after gluing it back together (sorry, no pictures of that). I decided to reinforce the apron where the narrow vertical dividers join the top and bottom rails. While I'm confident in the glue joints, there's always the possibility of those narrow dividers checking or splitting under load.
Consistently Consistent
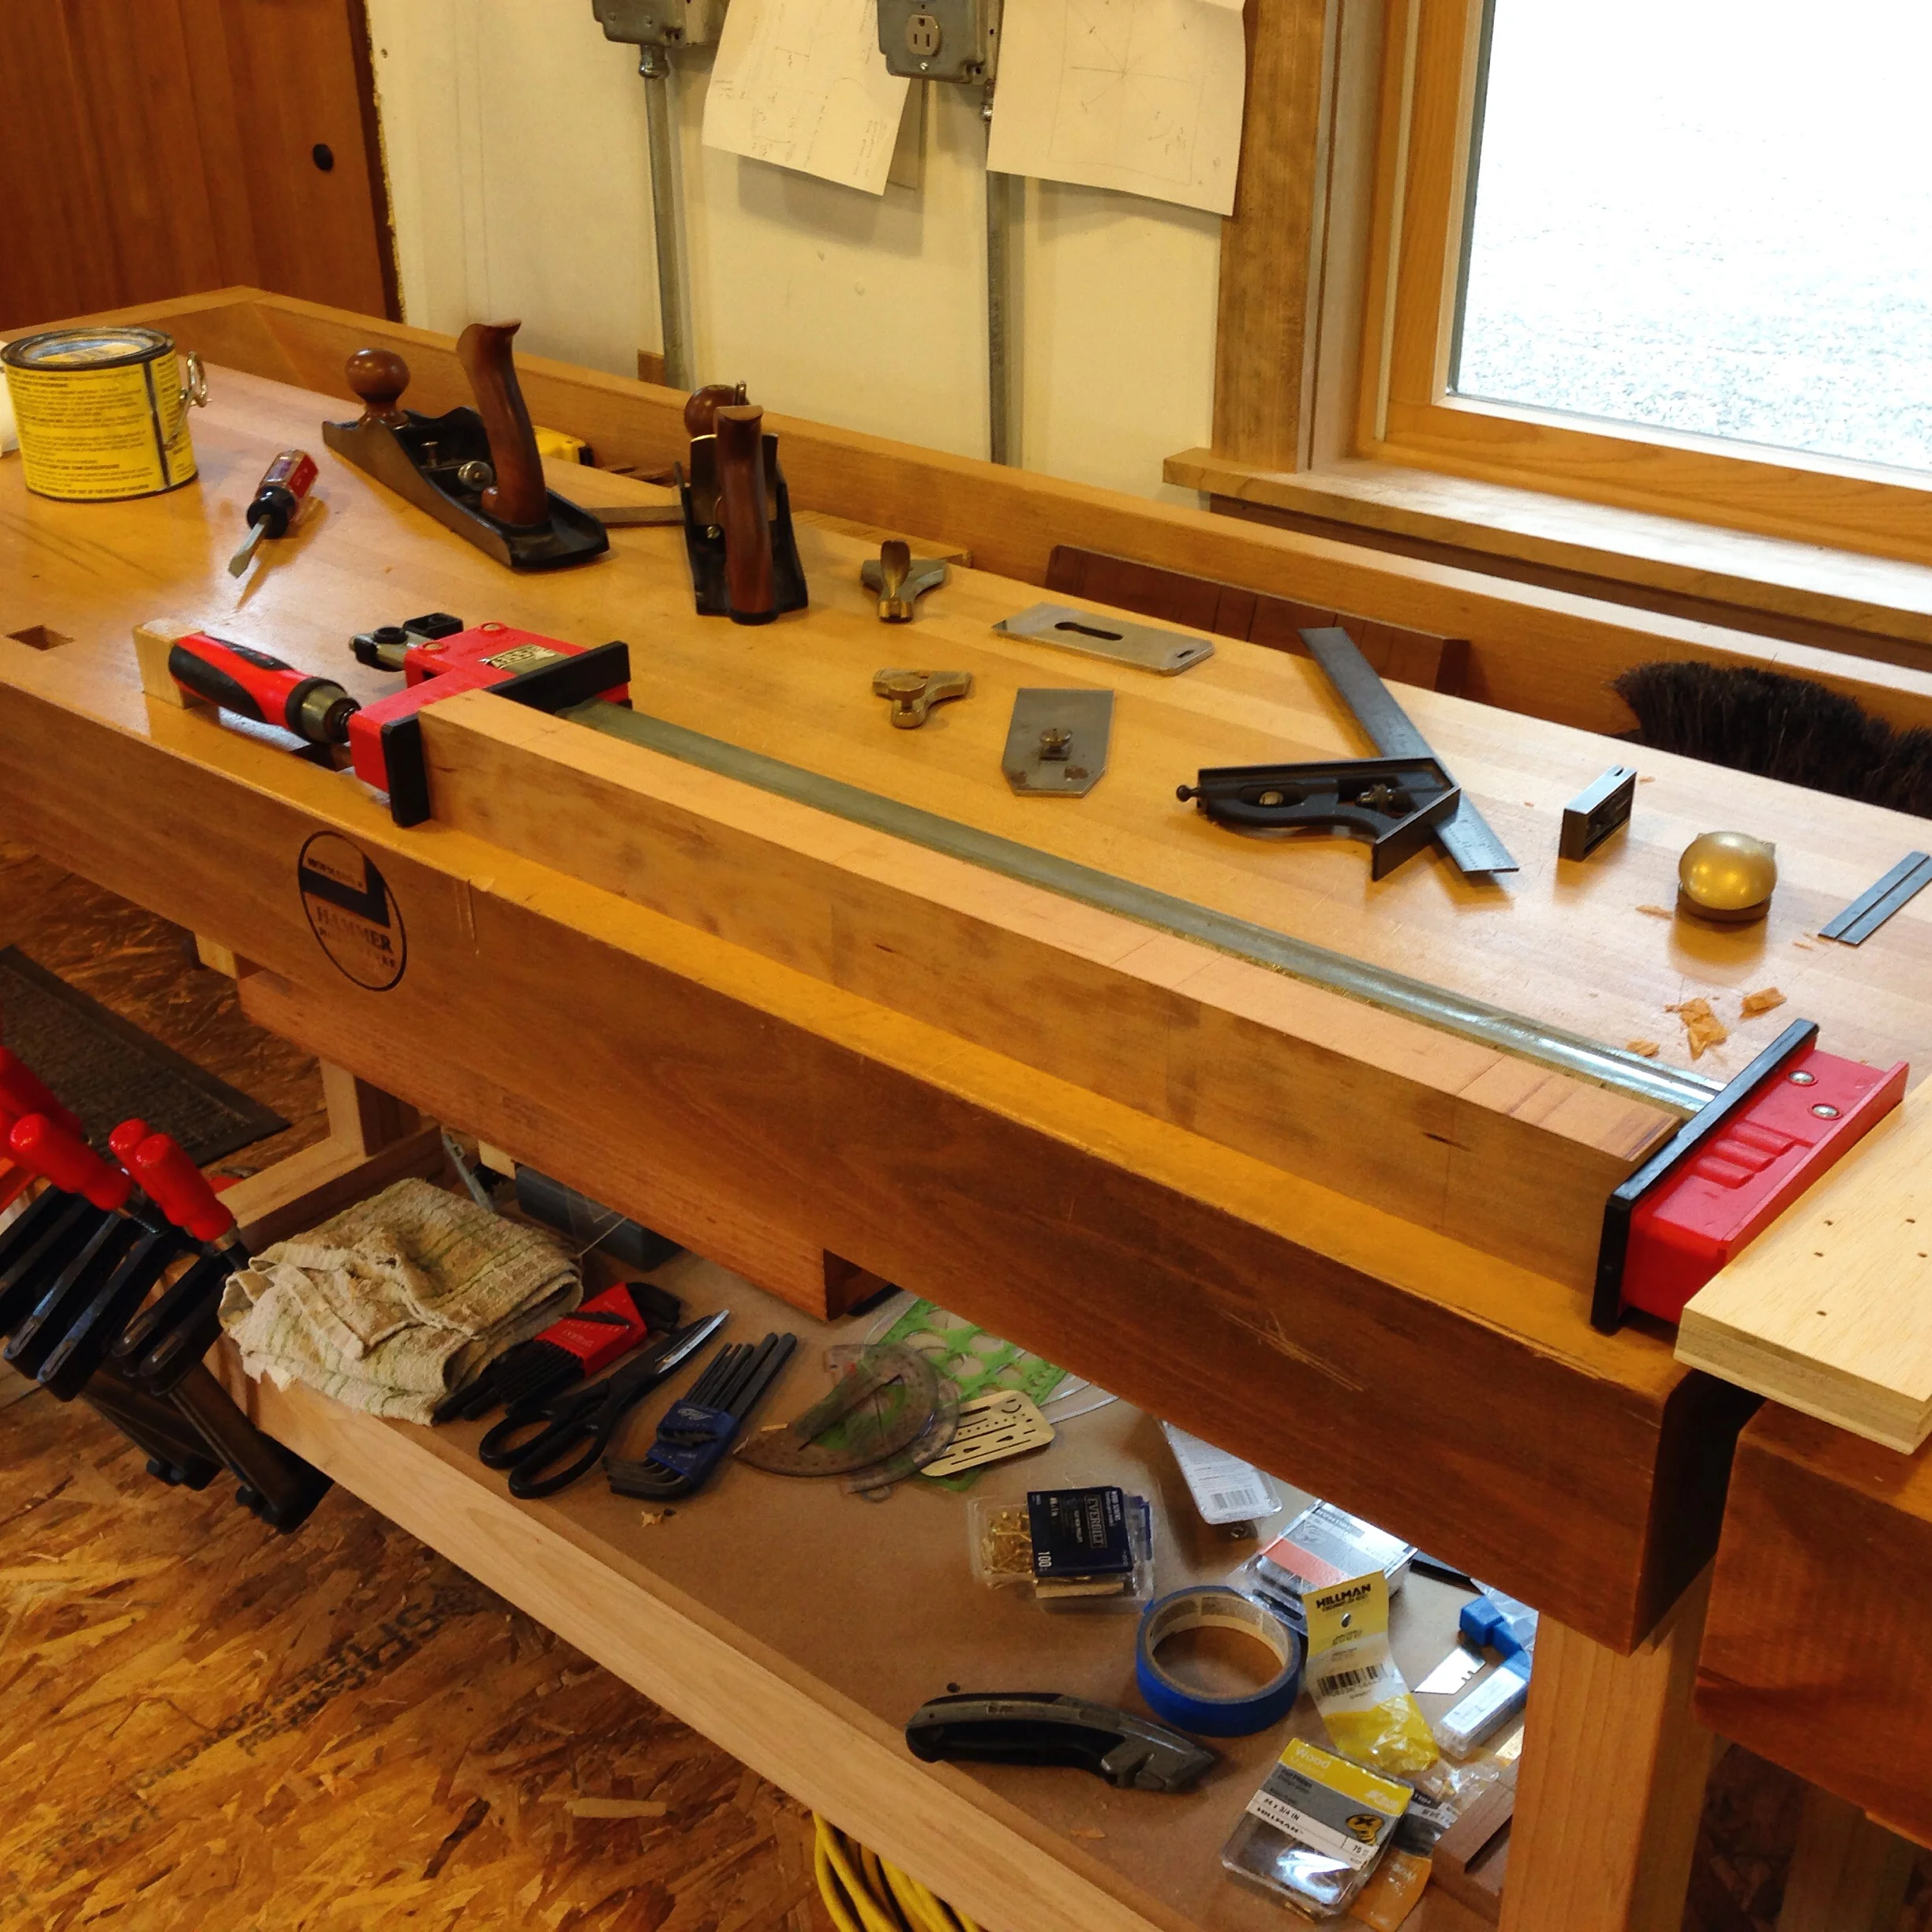
With the front apron sliced and diced into all of its different parts, it's time to start putting them all back together. To clean up the bandsawn surfaces of the drawer fronts and vertical dividers, where consistency was necessary (when isn't it?), I clamped them all together and used a square and calipers to keep things happy. After this, I removed additional material from the tops of the drawer fronts (maybe 6 or so swipes with a hand plane) to ensure that when clamping things back together, the clamping forces were directed to the vertical dividers only, and not bound by the drawer fronts.
Cut It Up, Glue It Back Together
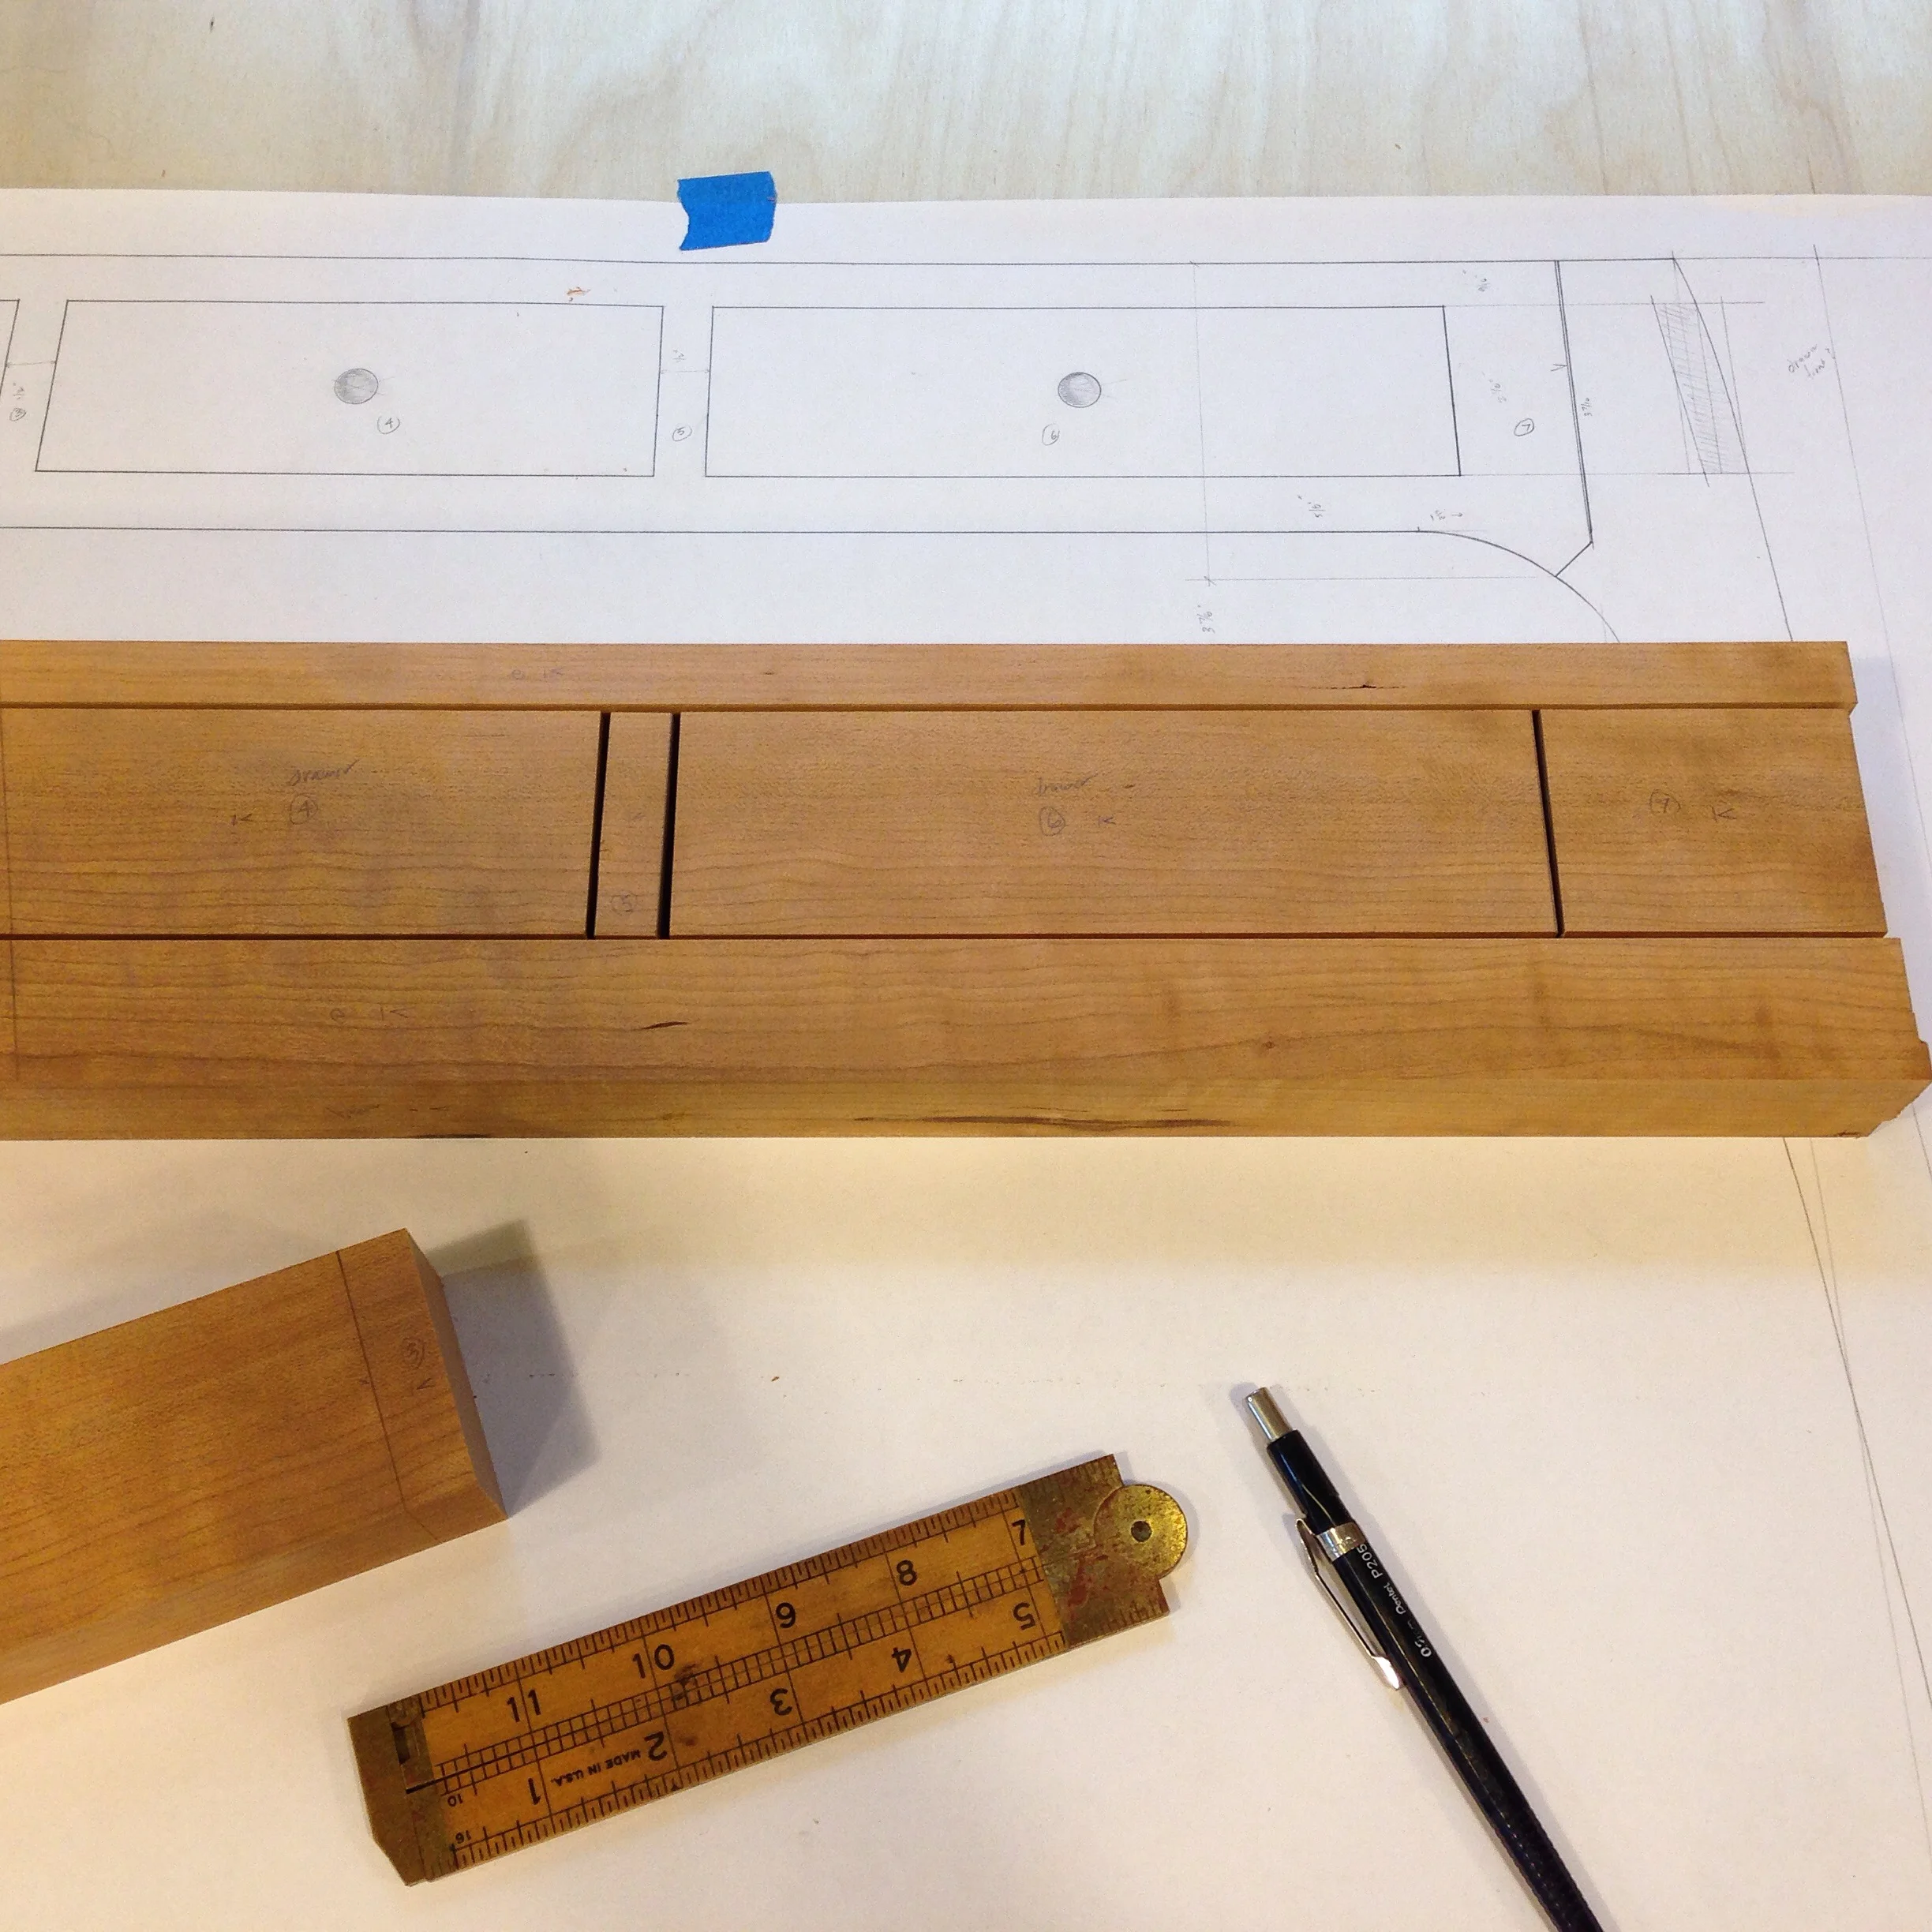
Now on to the aprons. I'm starting with the front apron, which is ripped and crosscut to yield drawer fronts, vertical dividers and rails, all from one piece.