The inside face of the apron will never be seen, but I decided to veneer the inside face anyway. The brick laid white cedar wasn't the most attractive, especially since the visible edges were plain sawn (the quartersawn faces were laid up horizontally). So here's the last bit of veneering before dyeing, finishing, finished.
Aluminum Beads
Here is all of the bead stock, just before routing the inside and outside radii. All 9 pieces have been mitered and fit. The pieces are screwed to an MDF template and the radii will be routed based one the common reference of the center point. All of this round work is a reminder of working with references, something I'm a proponent of.
Aluminum in Fine Furniture? Why Not.
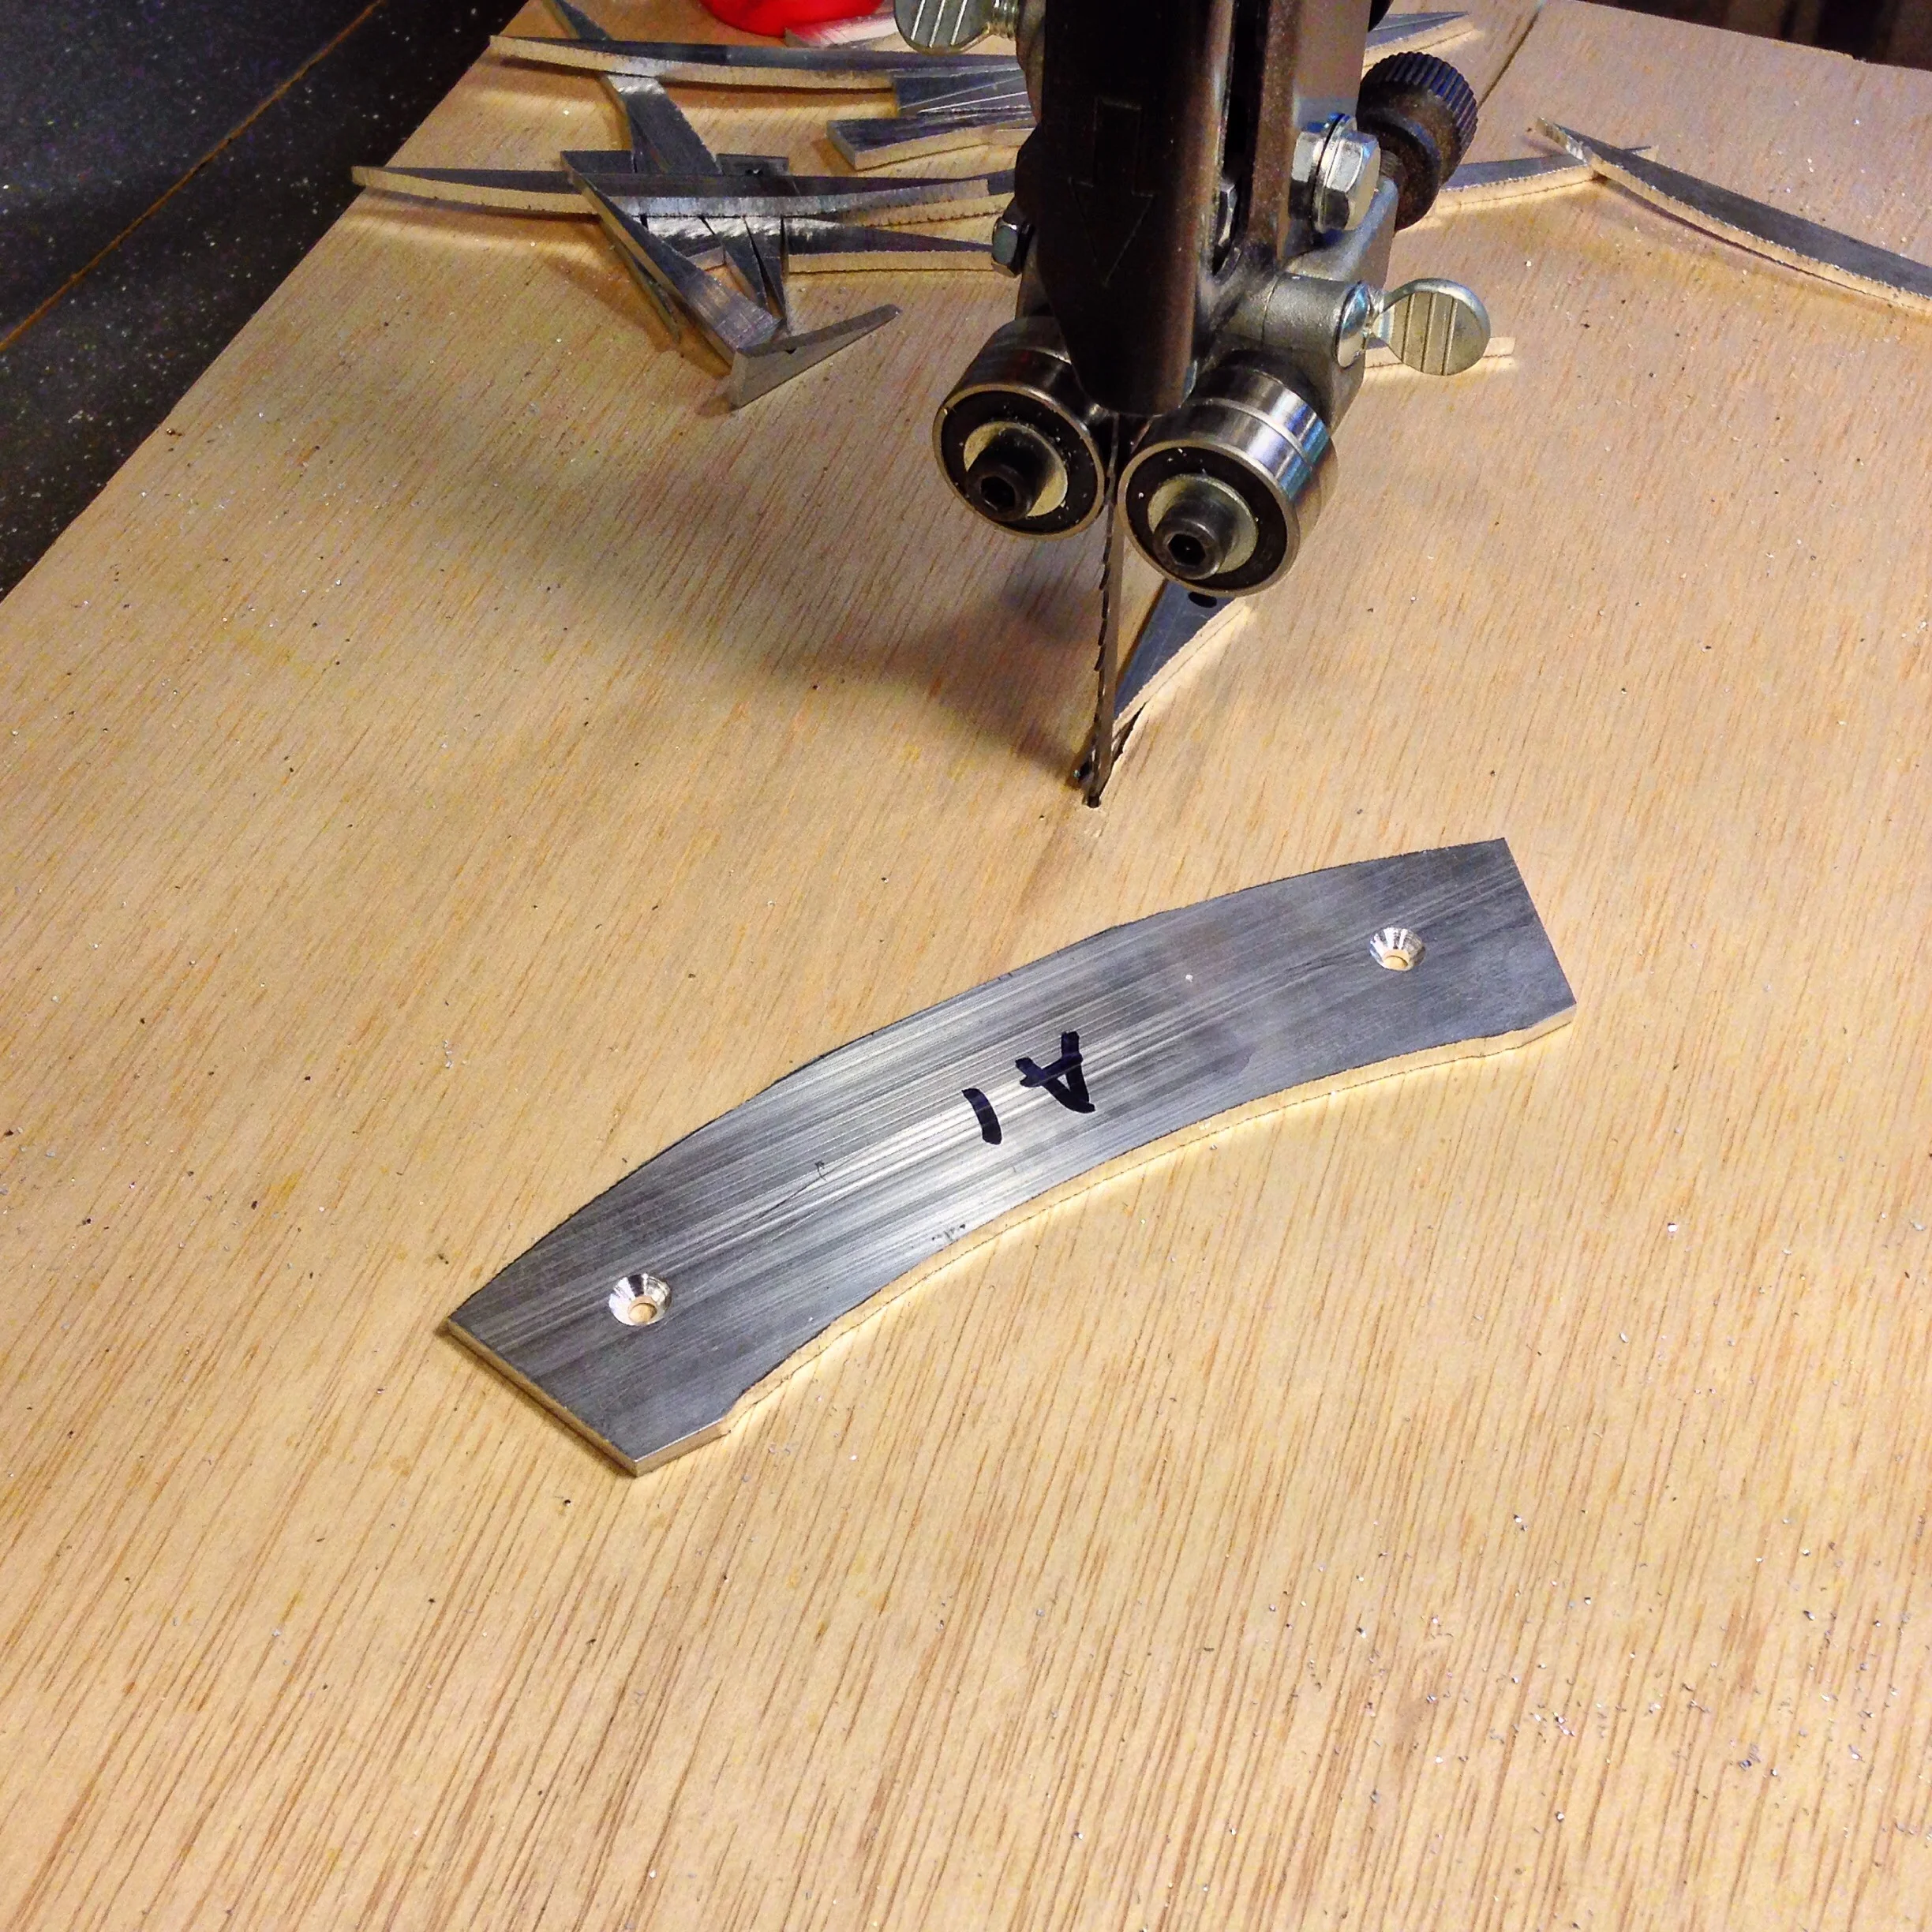
I've been working with the material for the decorative beads on the bottom edges of the aprons - aluminum. Here's one of the wedges after roughing out the inside and outside radii on the bandsaw (and drilled/countersunk for screws). While it makes a total mess, it's actually pretty fun to work with.
Time to Think About What's Next
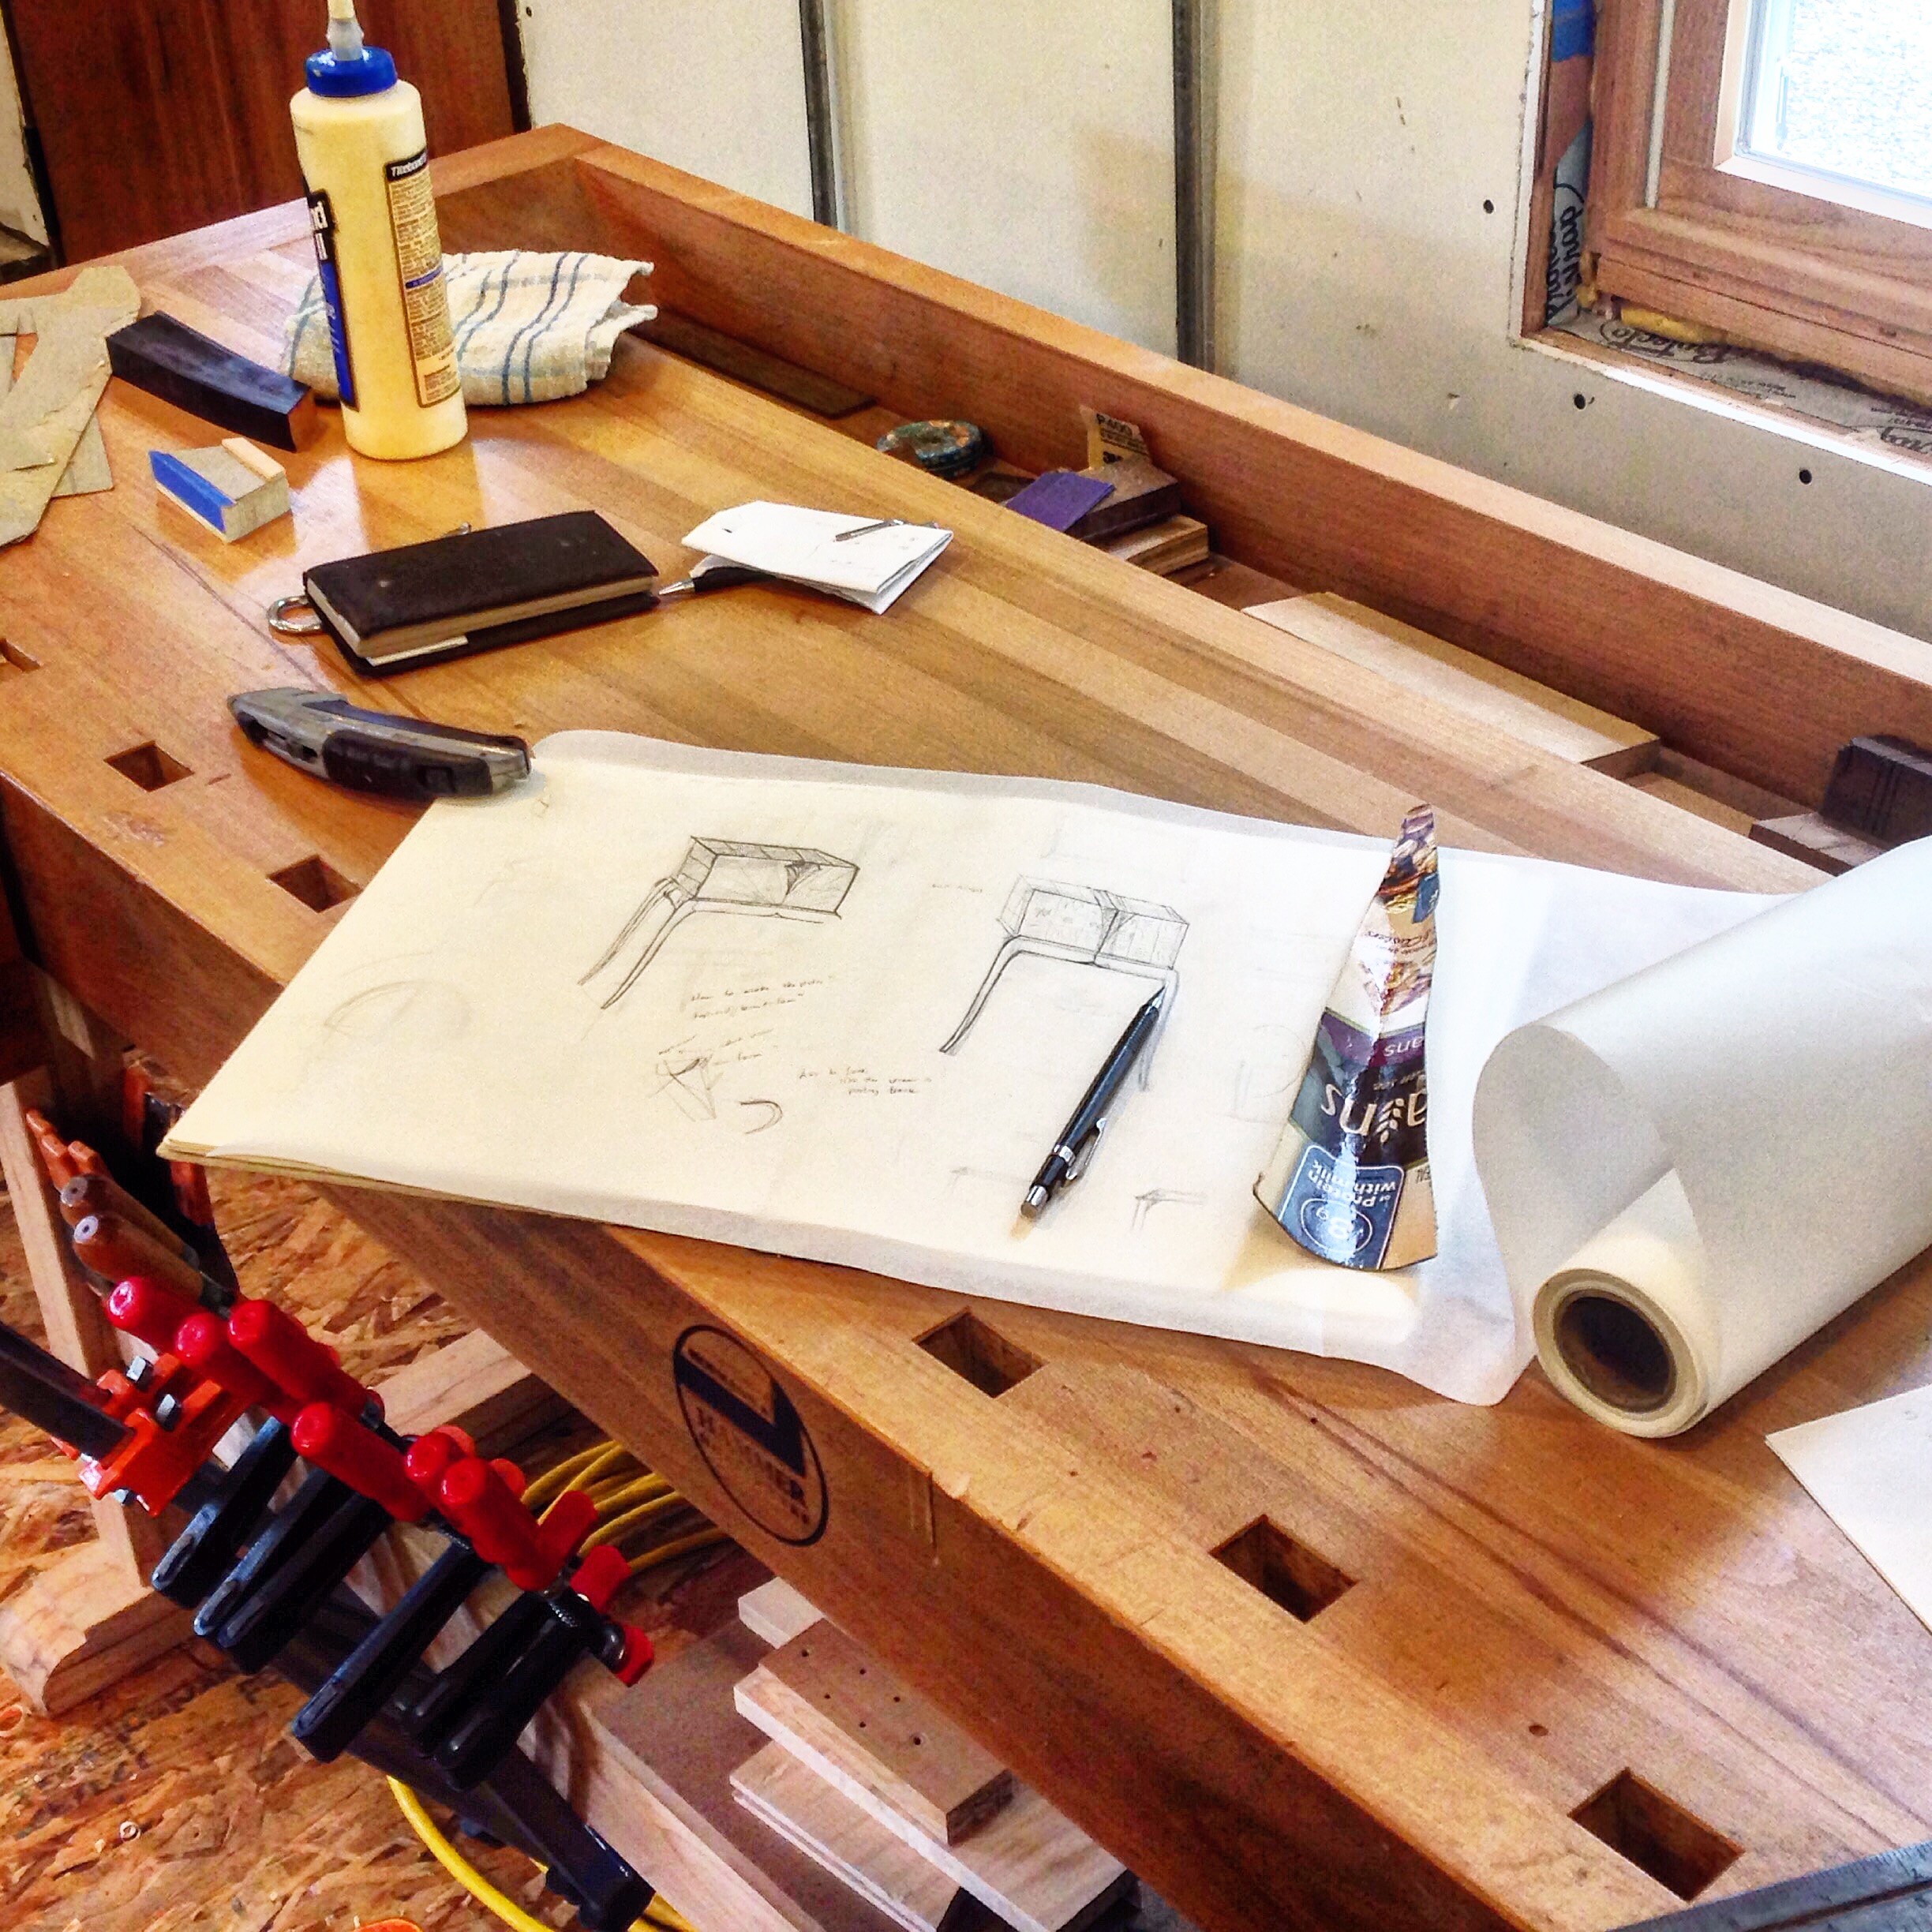
Working on the next piece. Refining rough sketches into something more recognizable. At this point it's all pencil and paper, but I will probably turn to CAD to work out some details before full scale drawings and a mockup.
Shaping the Legs
With the legs and stretchers glued up, it's time to shape the transition from leg to stretcher. I really enjoy using this small, curved-sole spokeshave for this shaping. It is small enough to get into some fairly tight places.


