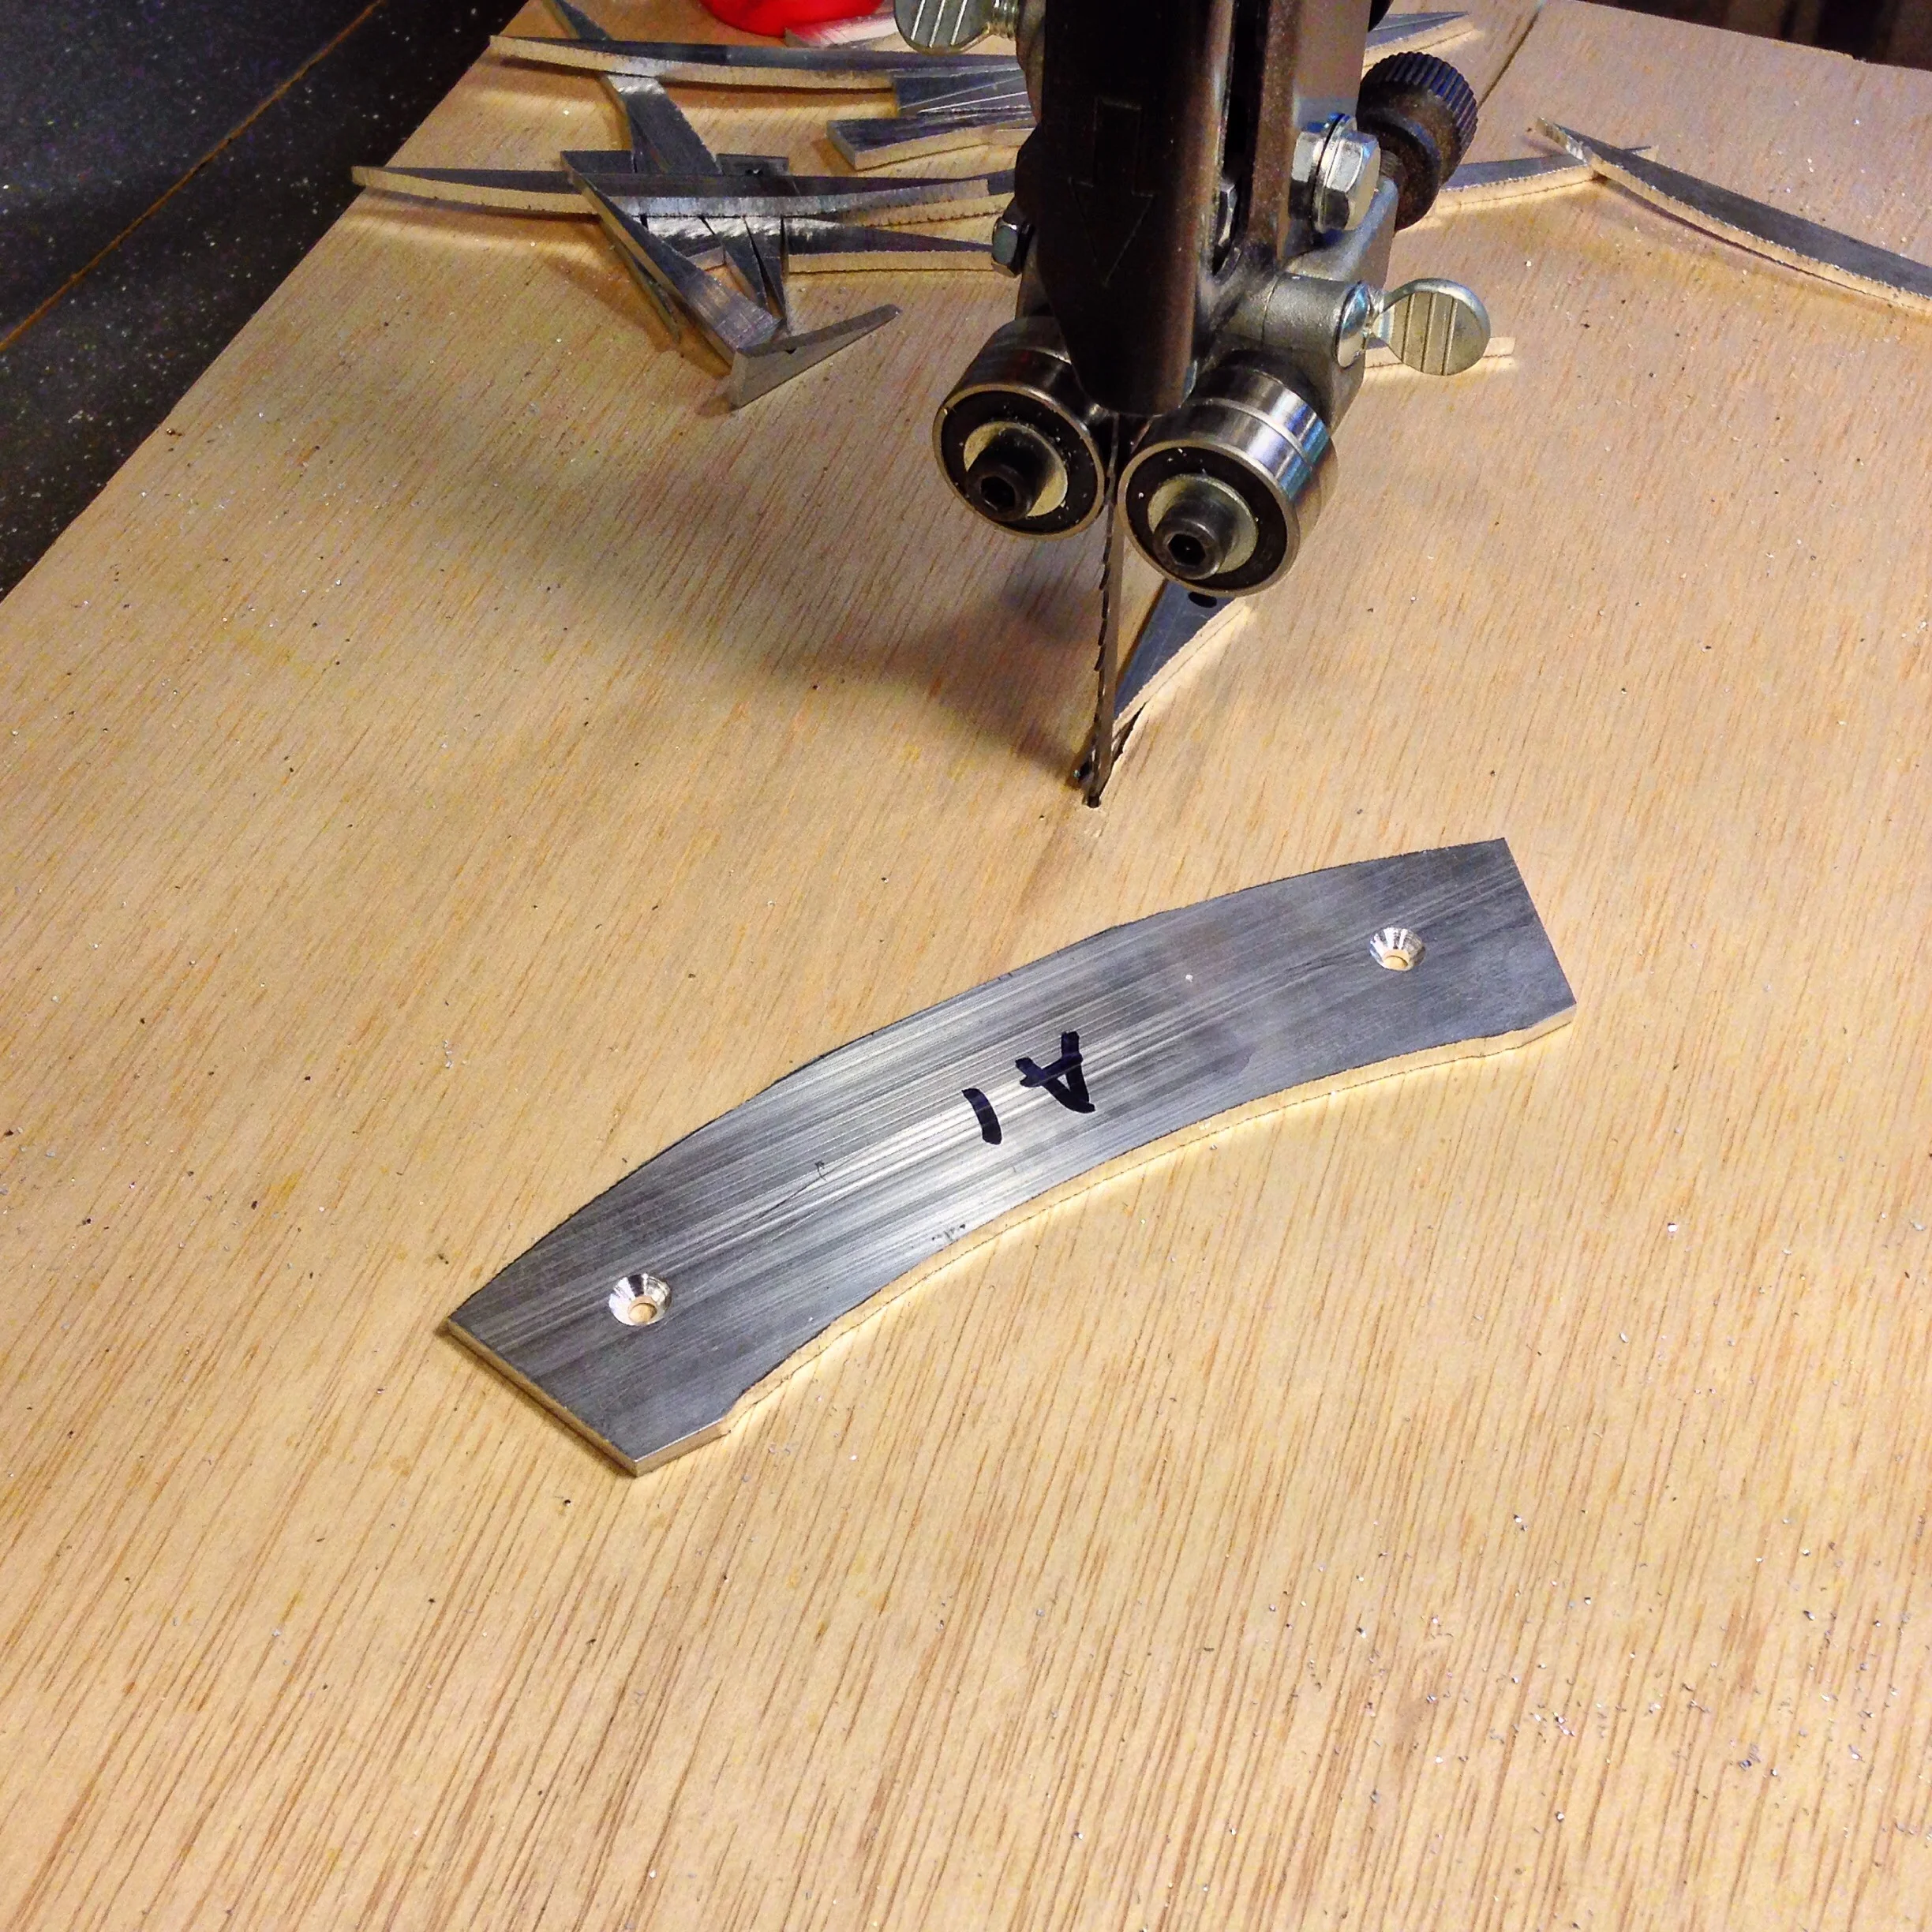
I've been working with the material for the decorative beads on the bottom edges of the aprons - aluminum. Here's one of the wedges after roughing out the inside and outside radii on the bandsaw (and drilled/countersunk for screws). While it makes a total mess, it's actually pretty fun to work with.
Time to Think About What's Next
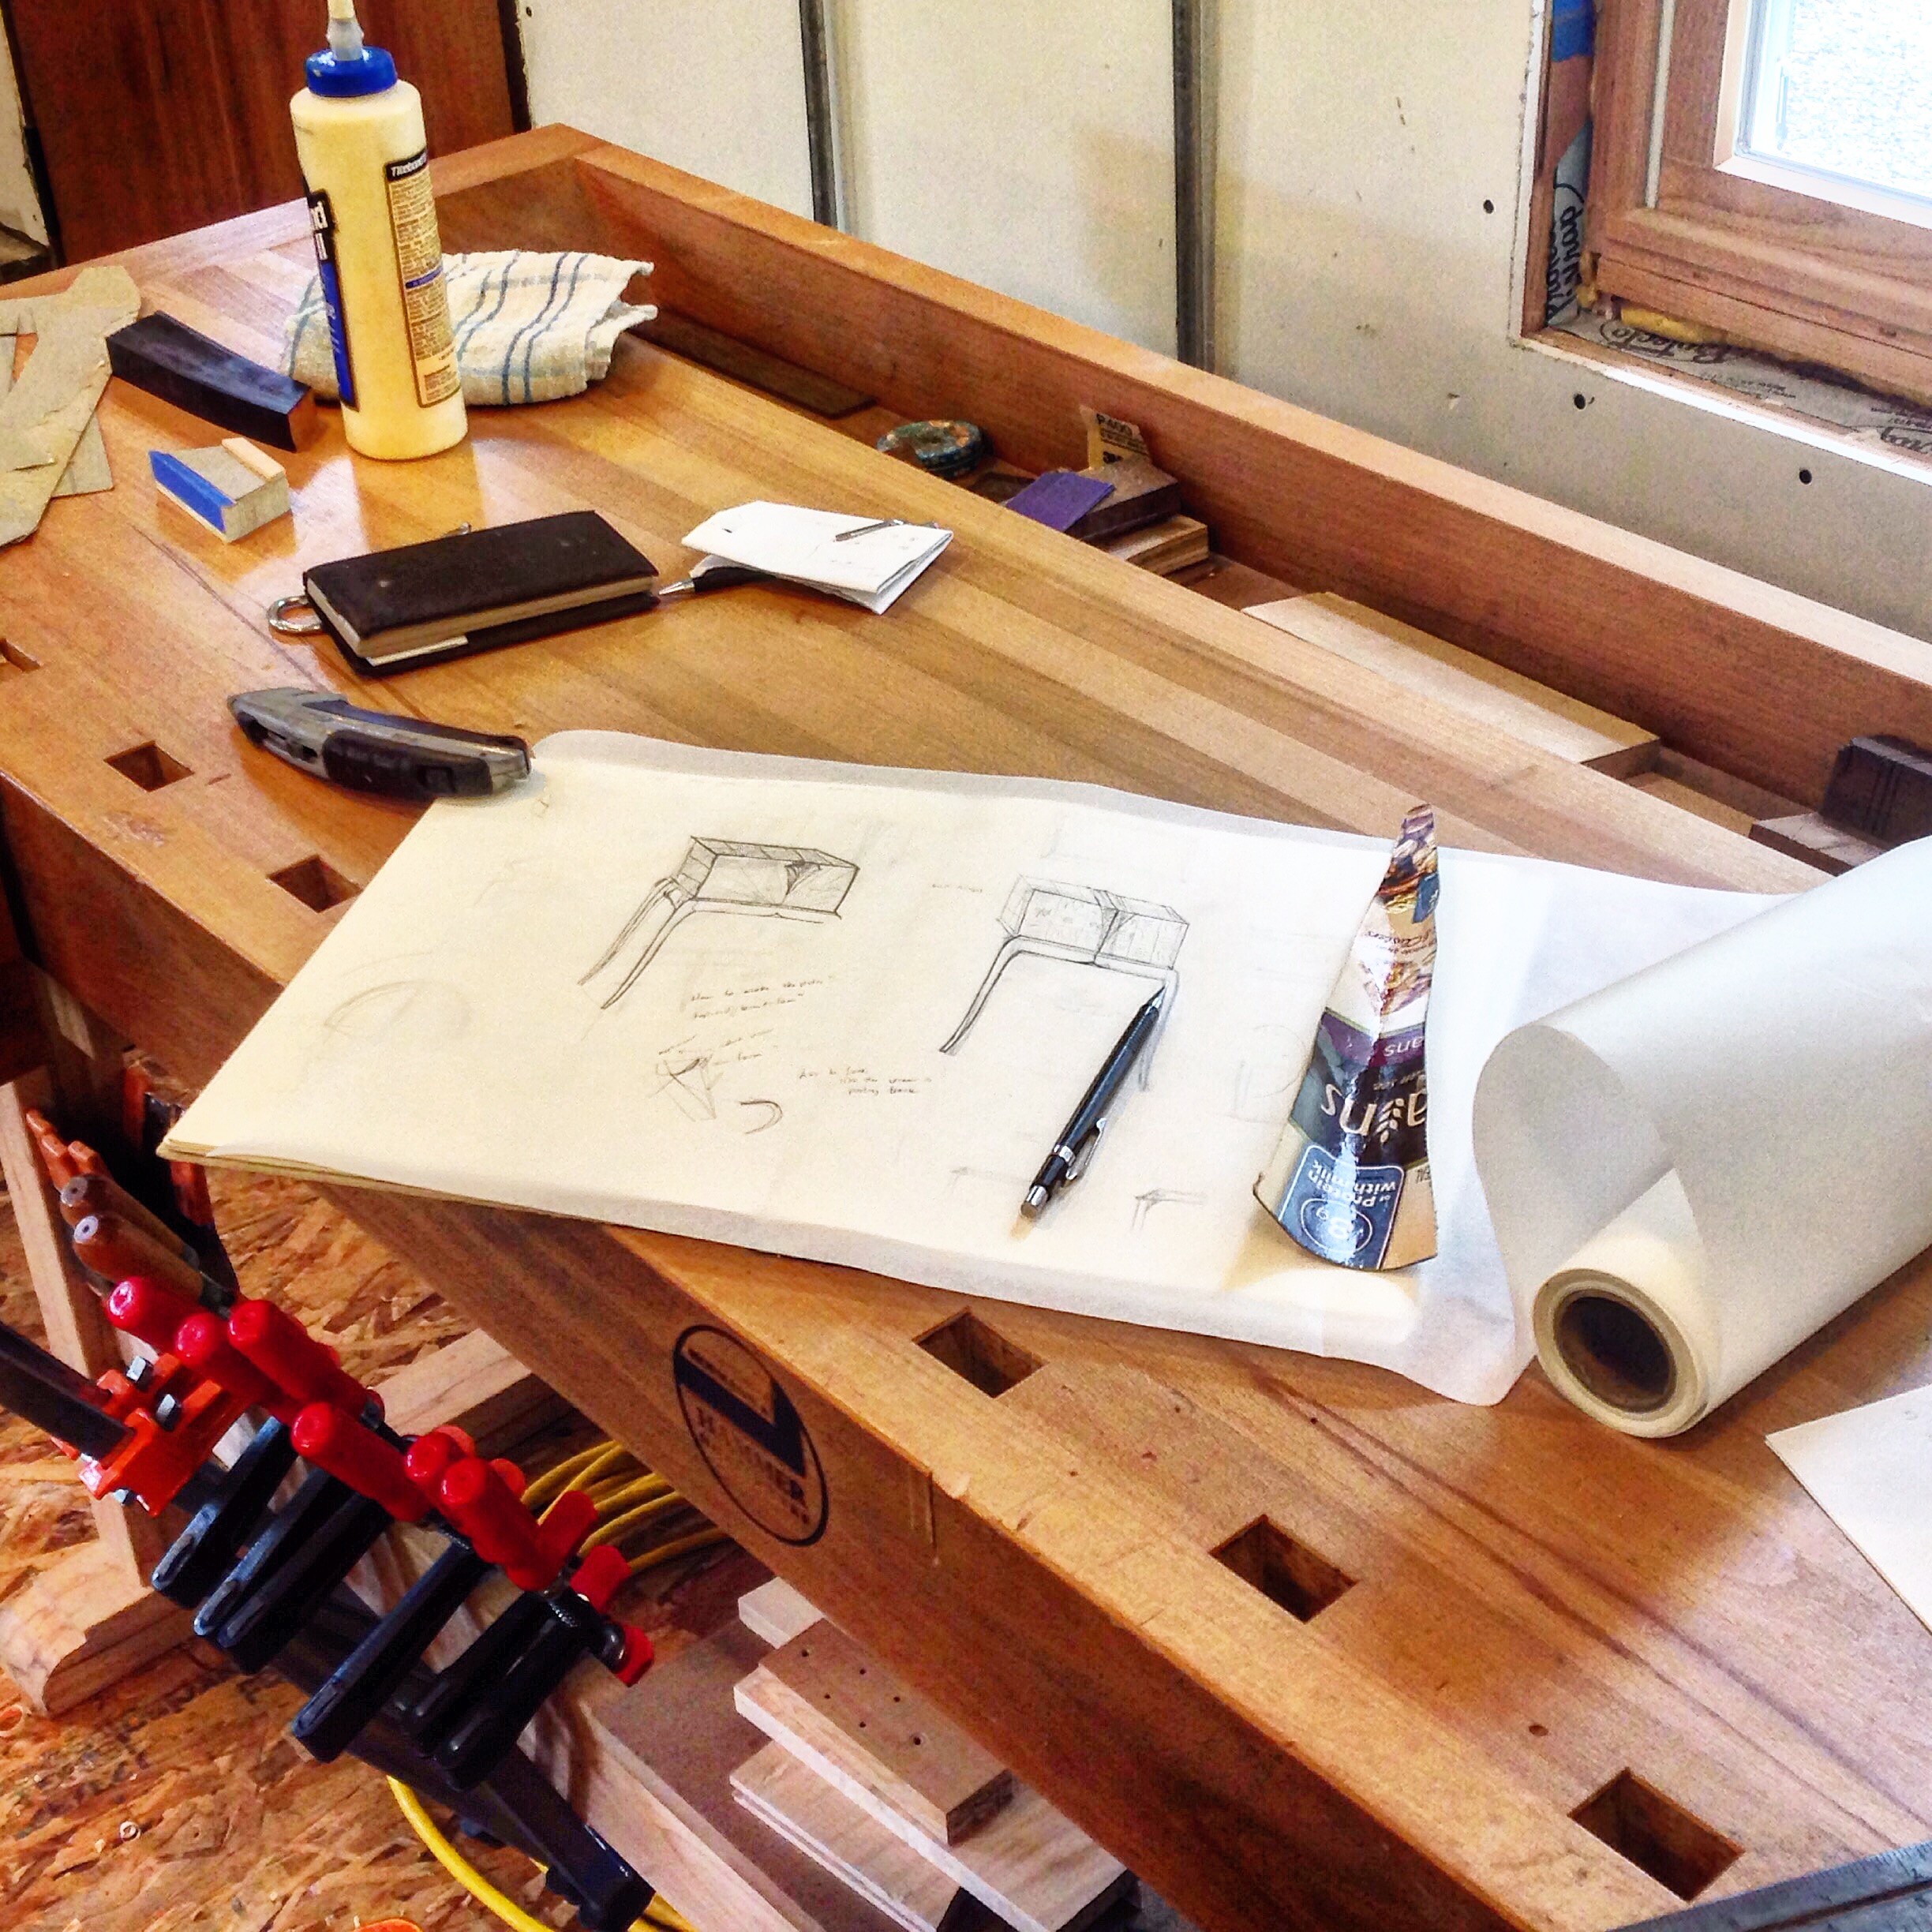
Working on the next piece. Refining rough sketches into something more recognizable. At this point it's all pencil and paper, but I will probably turn to CAD to work out some details before full scale drawings and a mockup.
Shaping the Legs
With the legs and stretchers glued up, it's time to shape the transition from leg to stretcher. I really enjoy using this small, curved-sole spokeshave for this shaping. It is small enough to get into some fairly tight places.
A Leg, A Stretcher, A Mortise and Tenon
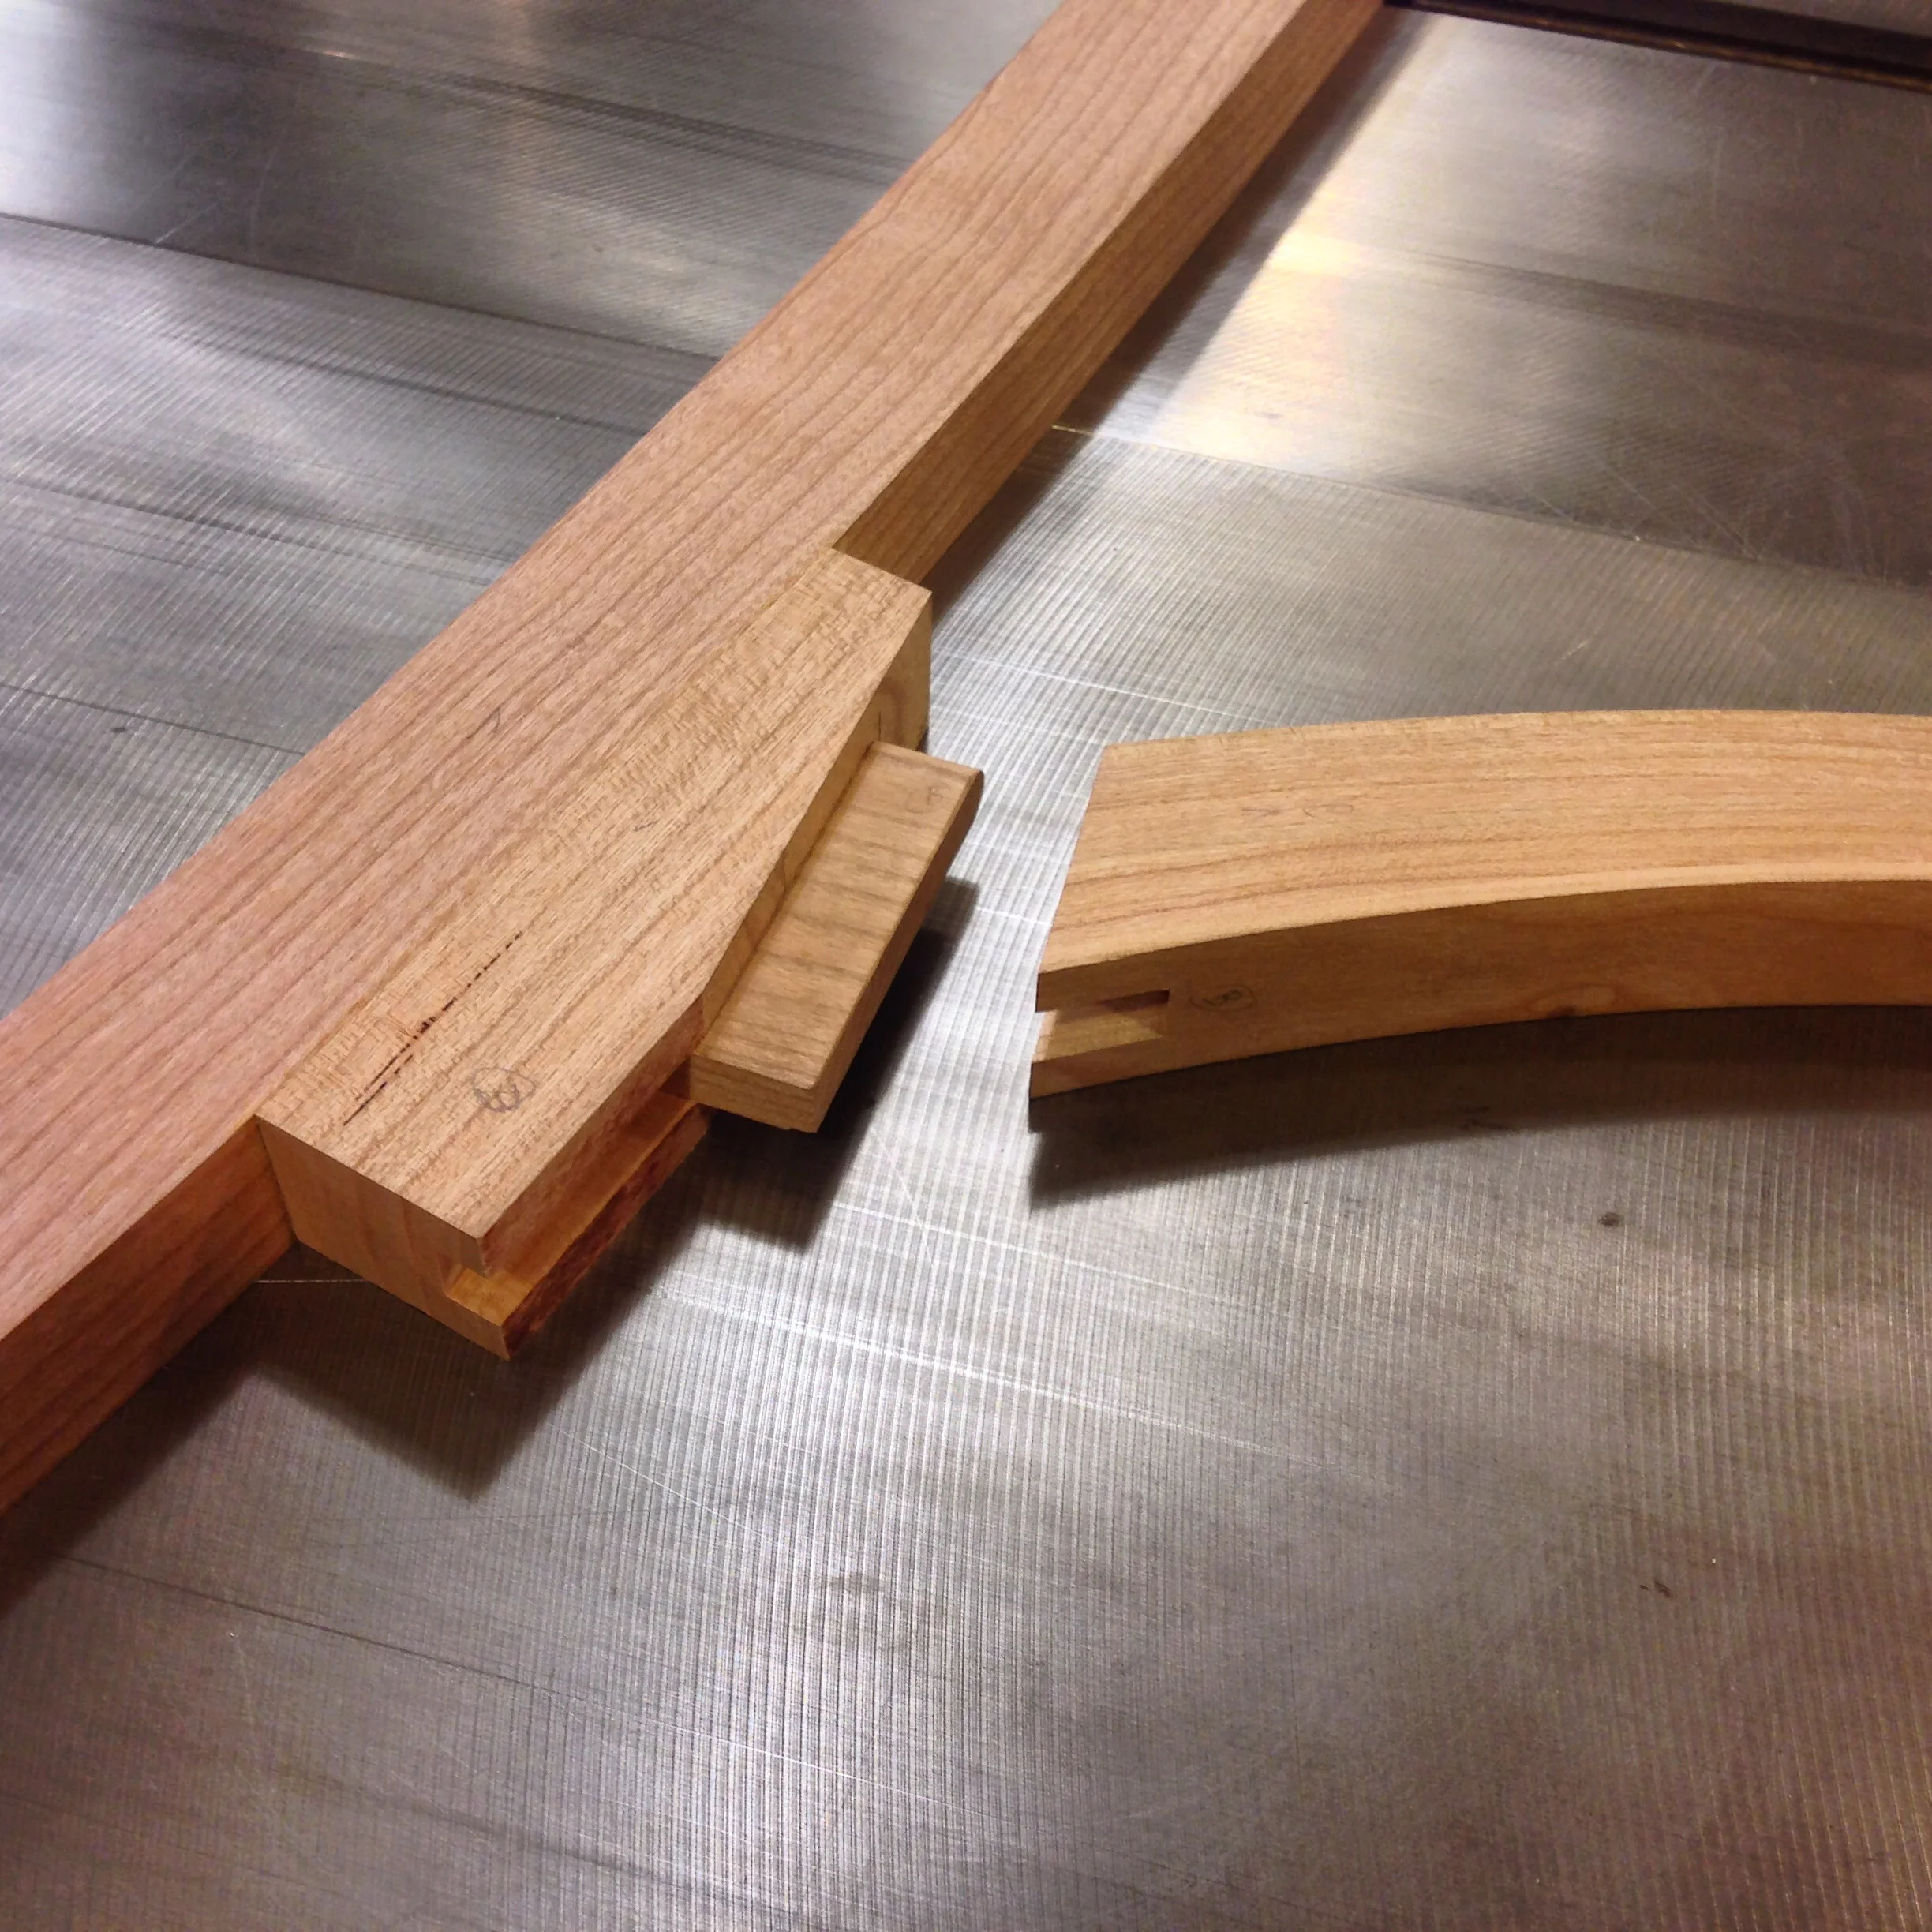
Here is the leg-to-stretcher joint. A good portion of the material at this joint will be removed with the bandsaw after glue-up. The loose tenon has already been glued into the leg.
Just the Right Fit
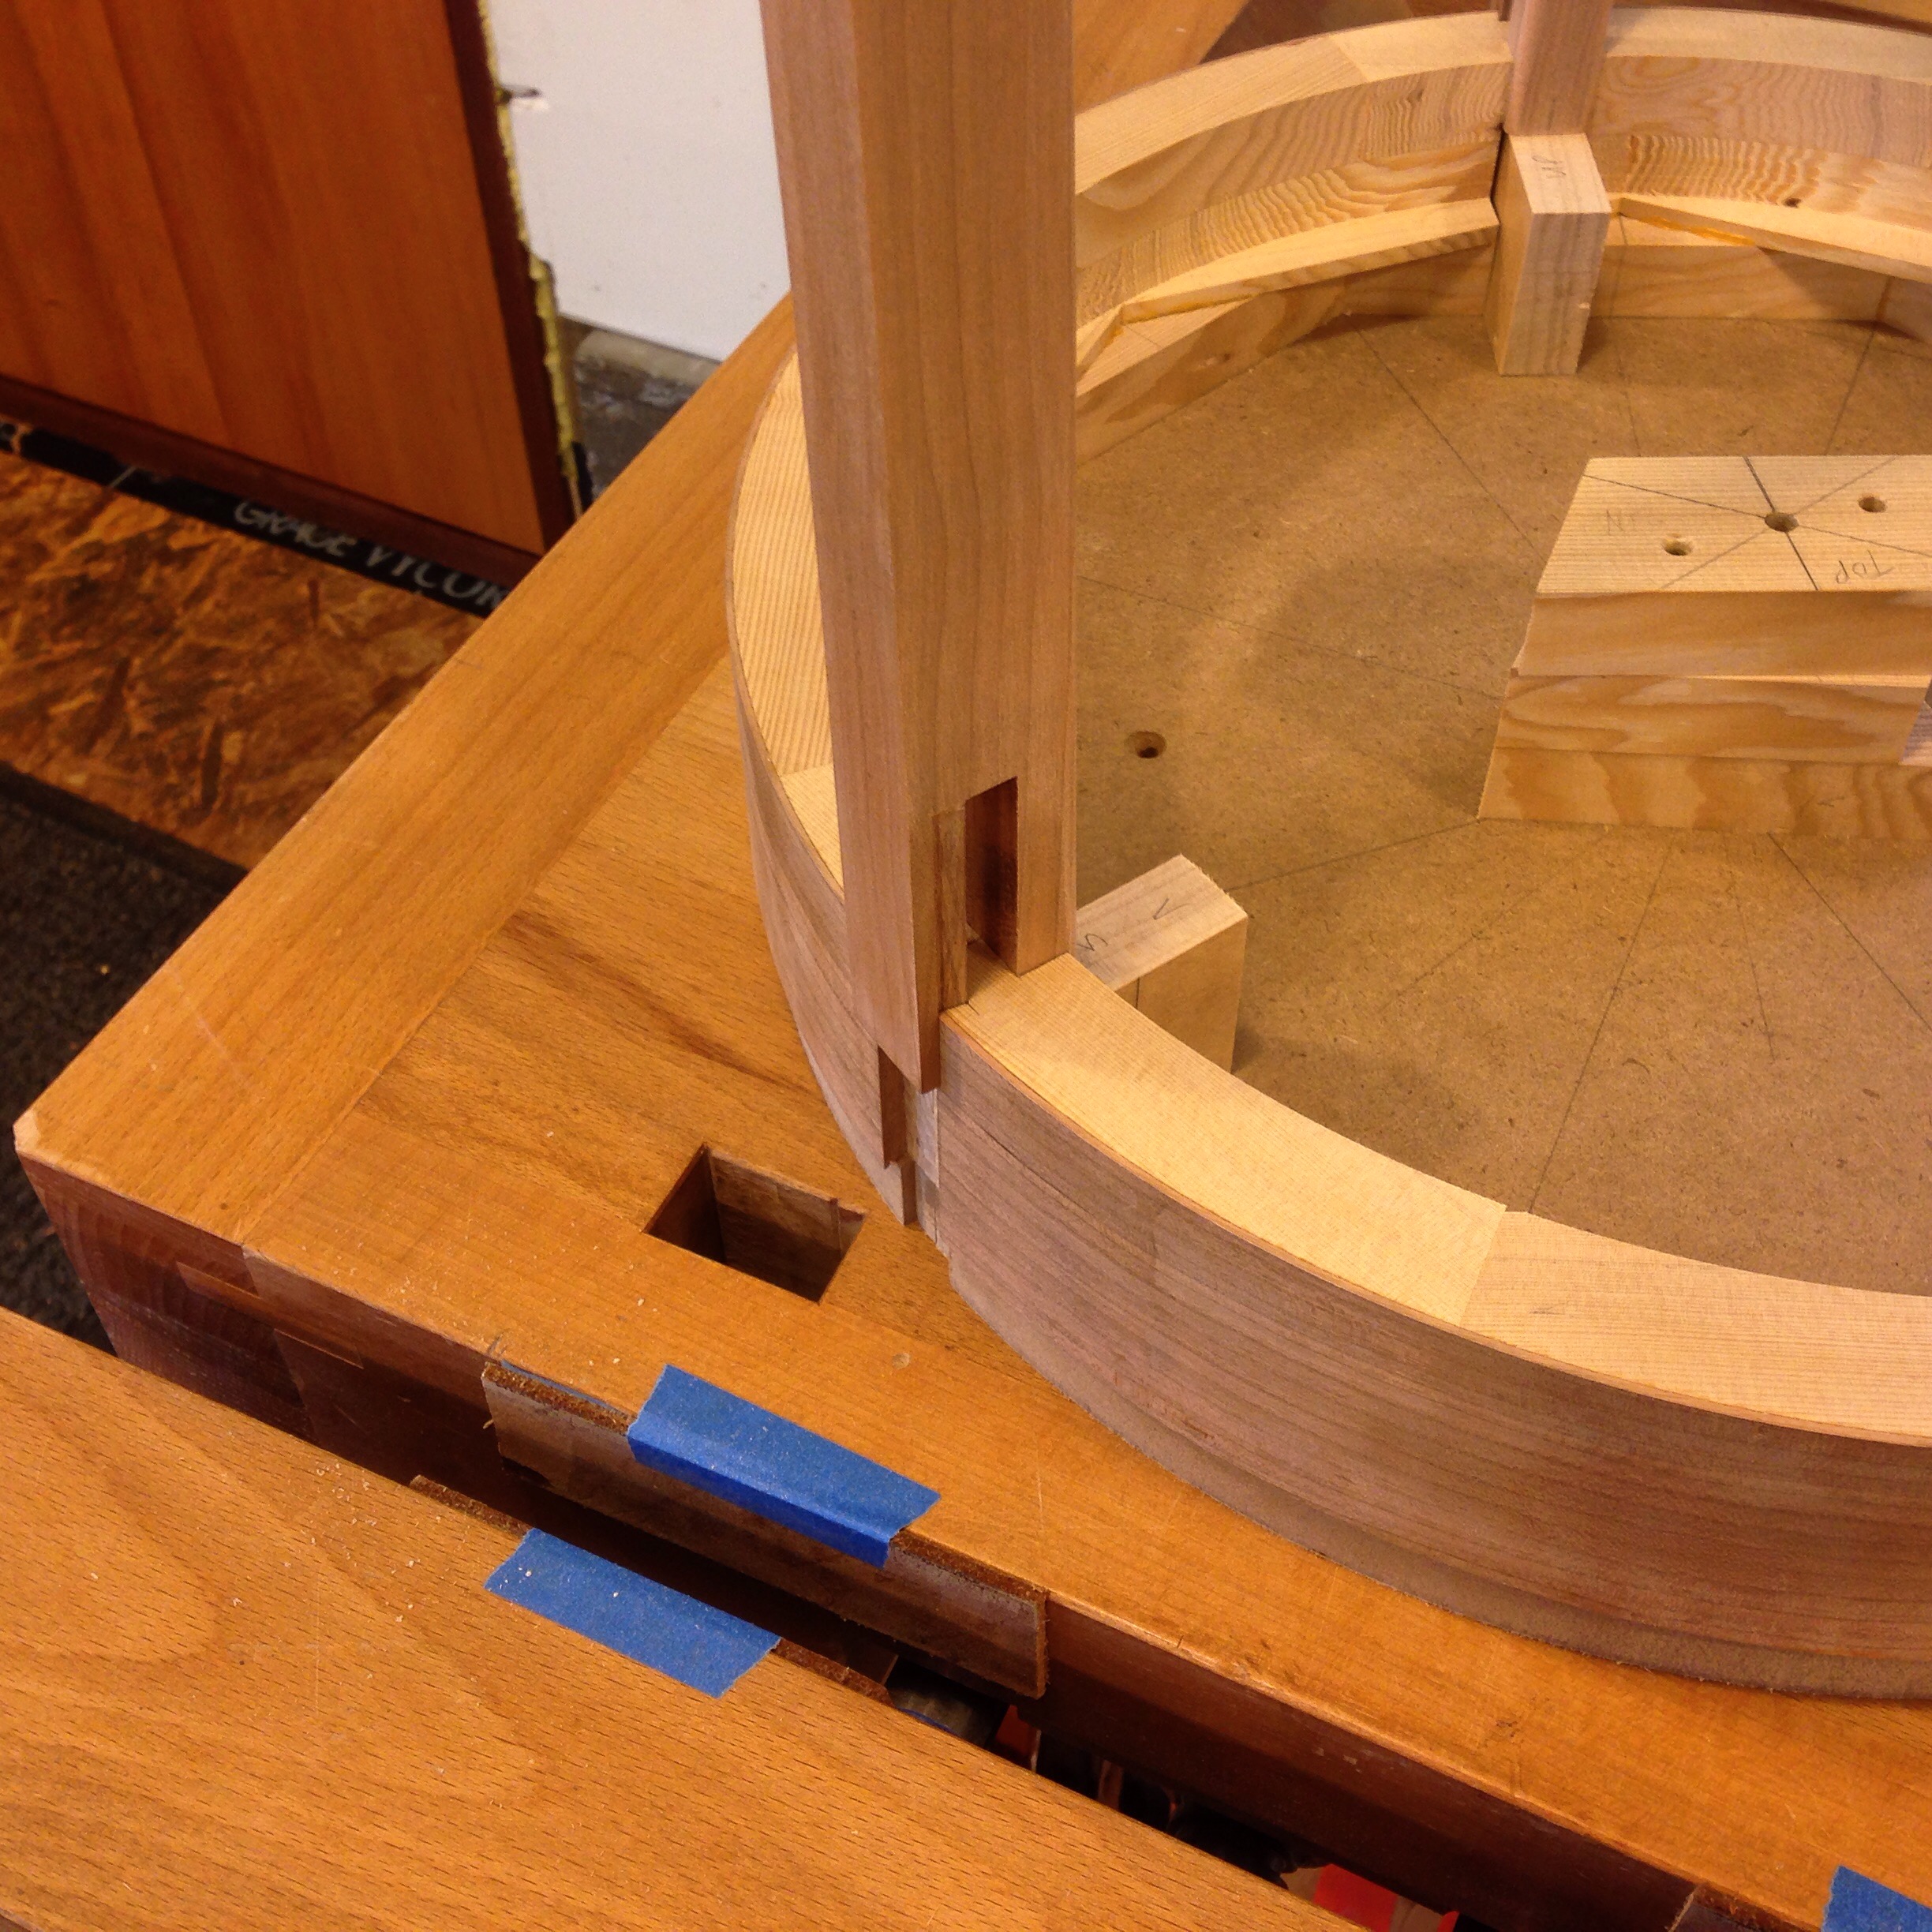
Test fitting the leg to apron bridle joints. The fit has to be just right because all three legs (and the assembled stretchers) will be slid onto the apron at the same time.
