I've said it before: everything starts with drawings (for me, anyway).I'm working on the base for a cabinet. Drawings lead to prototypes, which lead to mock ups. On the left is the full scale drawing of the leg of the base. On the right is a leg prototype made from a Douglas-fir 4x4 offcut.
Selecting Material
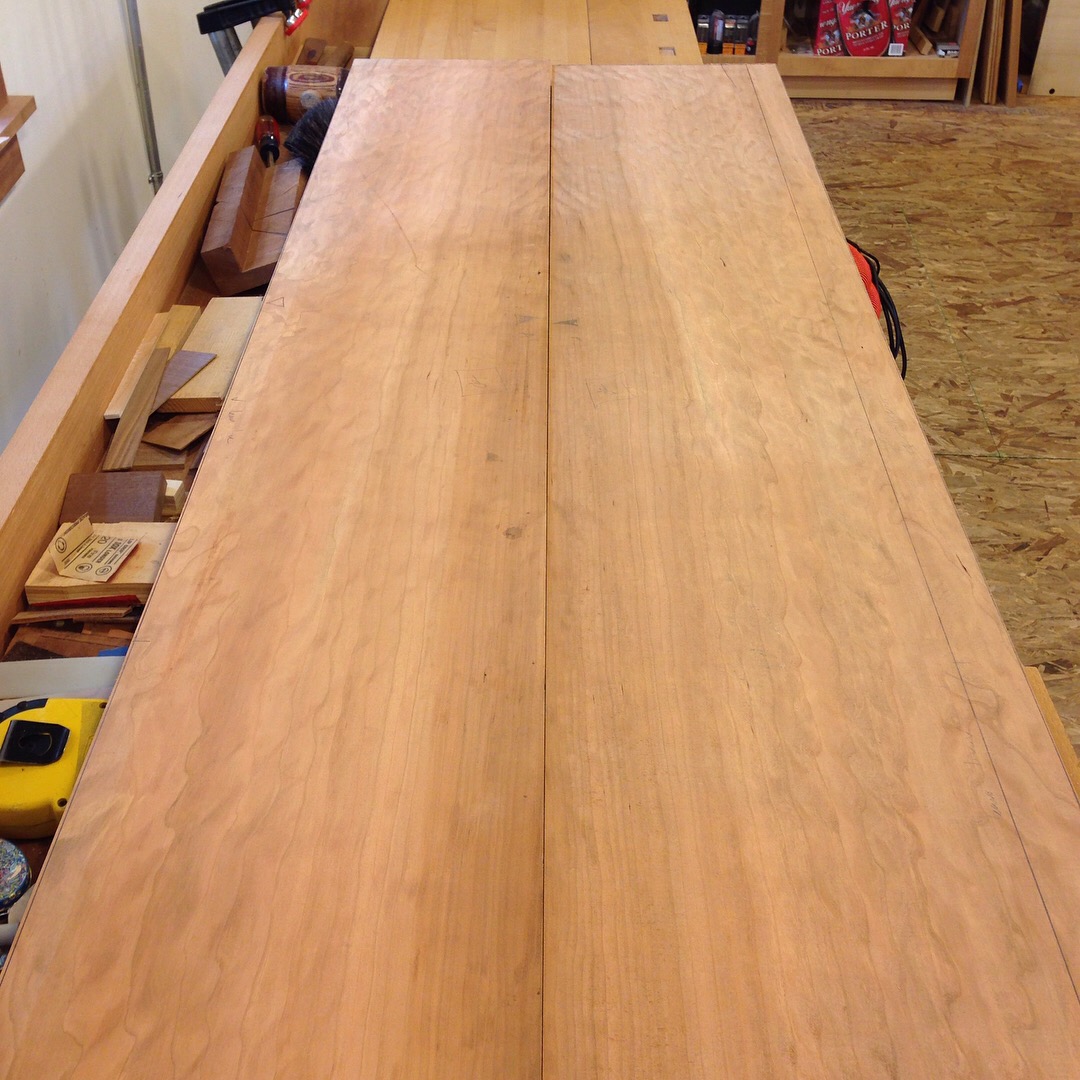
I'm starting to select material for the next piece - a cabinet to hold tv & stereo components. Starting off with the boards for the top, some beautiful, wide, curly cherry. It's precious stuff, so no mistakes at this stage. The image on the right shows the two boards selected and rough cut that will make up the bookmatched top.
Mind the Gap
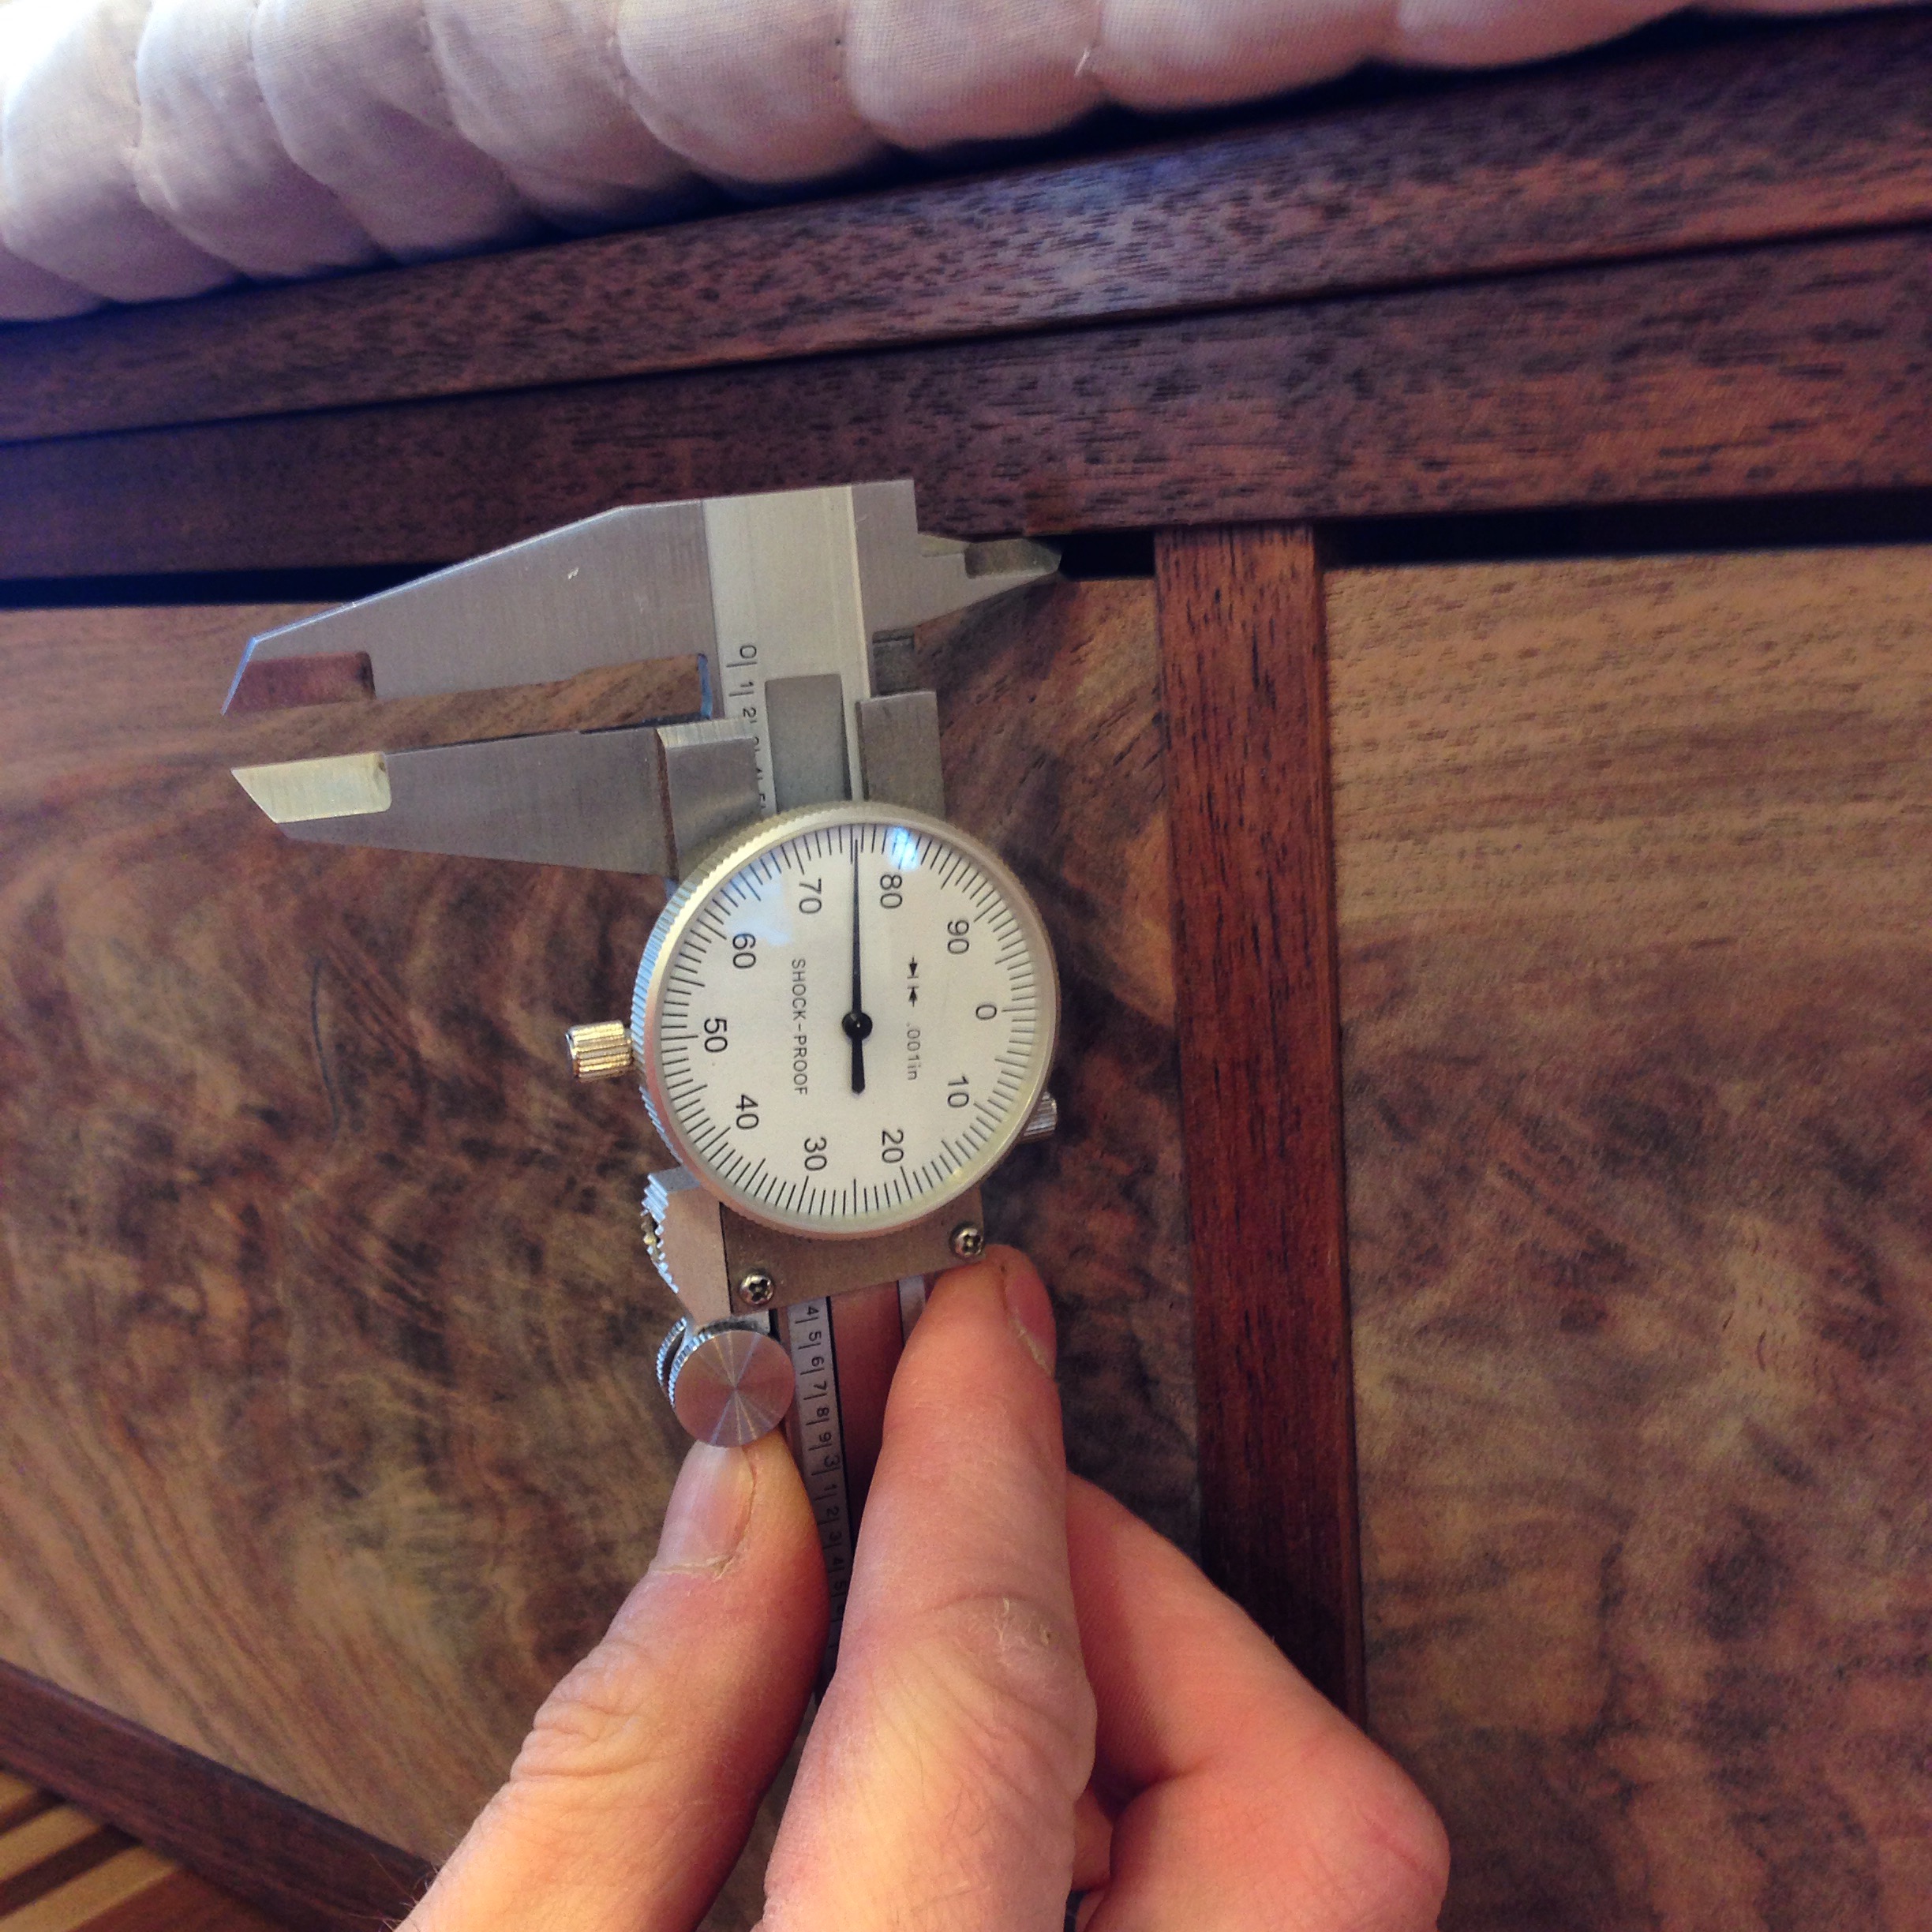
Minding the gap on a top drawer front. This gap is pretty big in this photo because a rosewood bead was later applied to the top edge of the drawer. A bead was also applied to the bottom edge of the drawer front, but it was glued into a rabbet, so no need to adjust the bottom edge for fit.
Maintenance
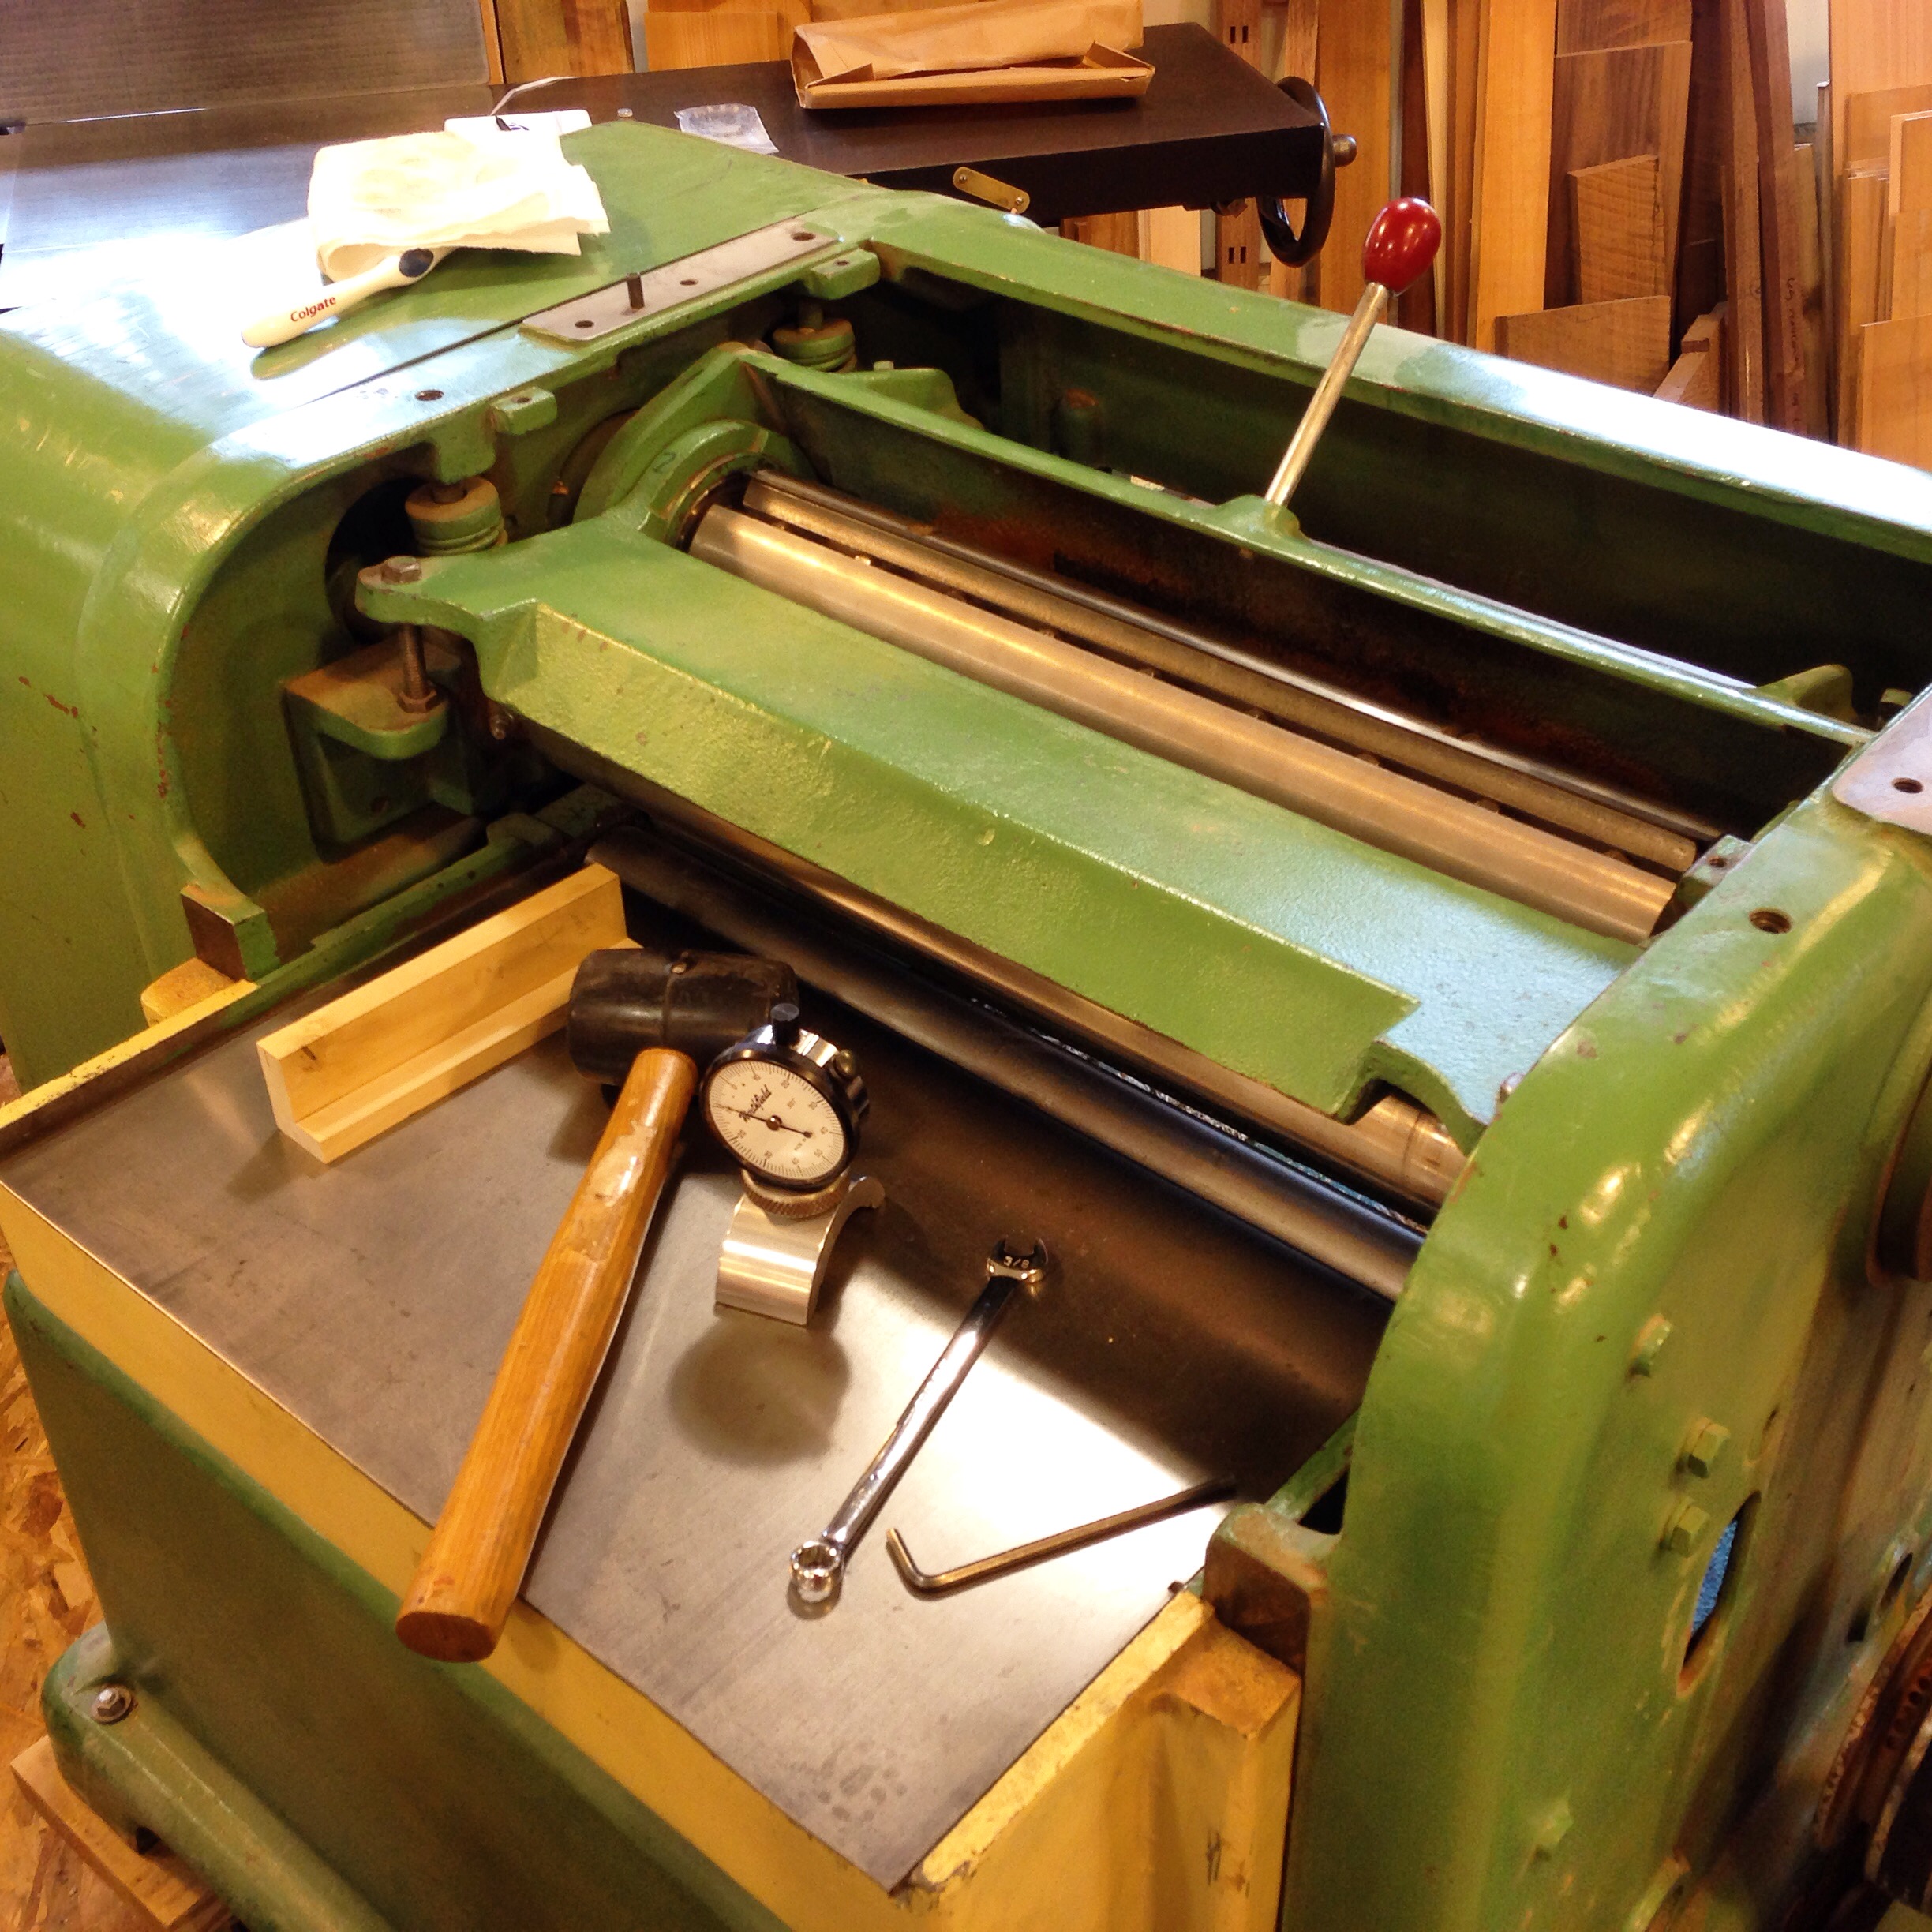
Knife change day on both the Powermatic 180 and Oliver 166. I made the mistake of running some material for someone recently. Said material was not kind to my knives.
An Occassional Table
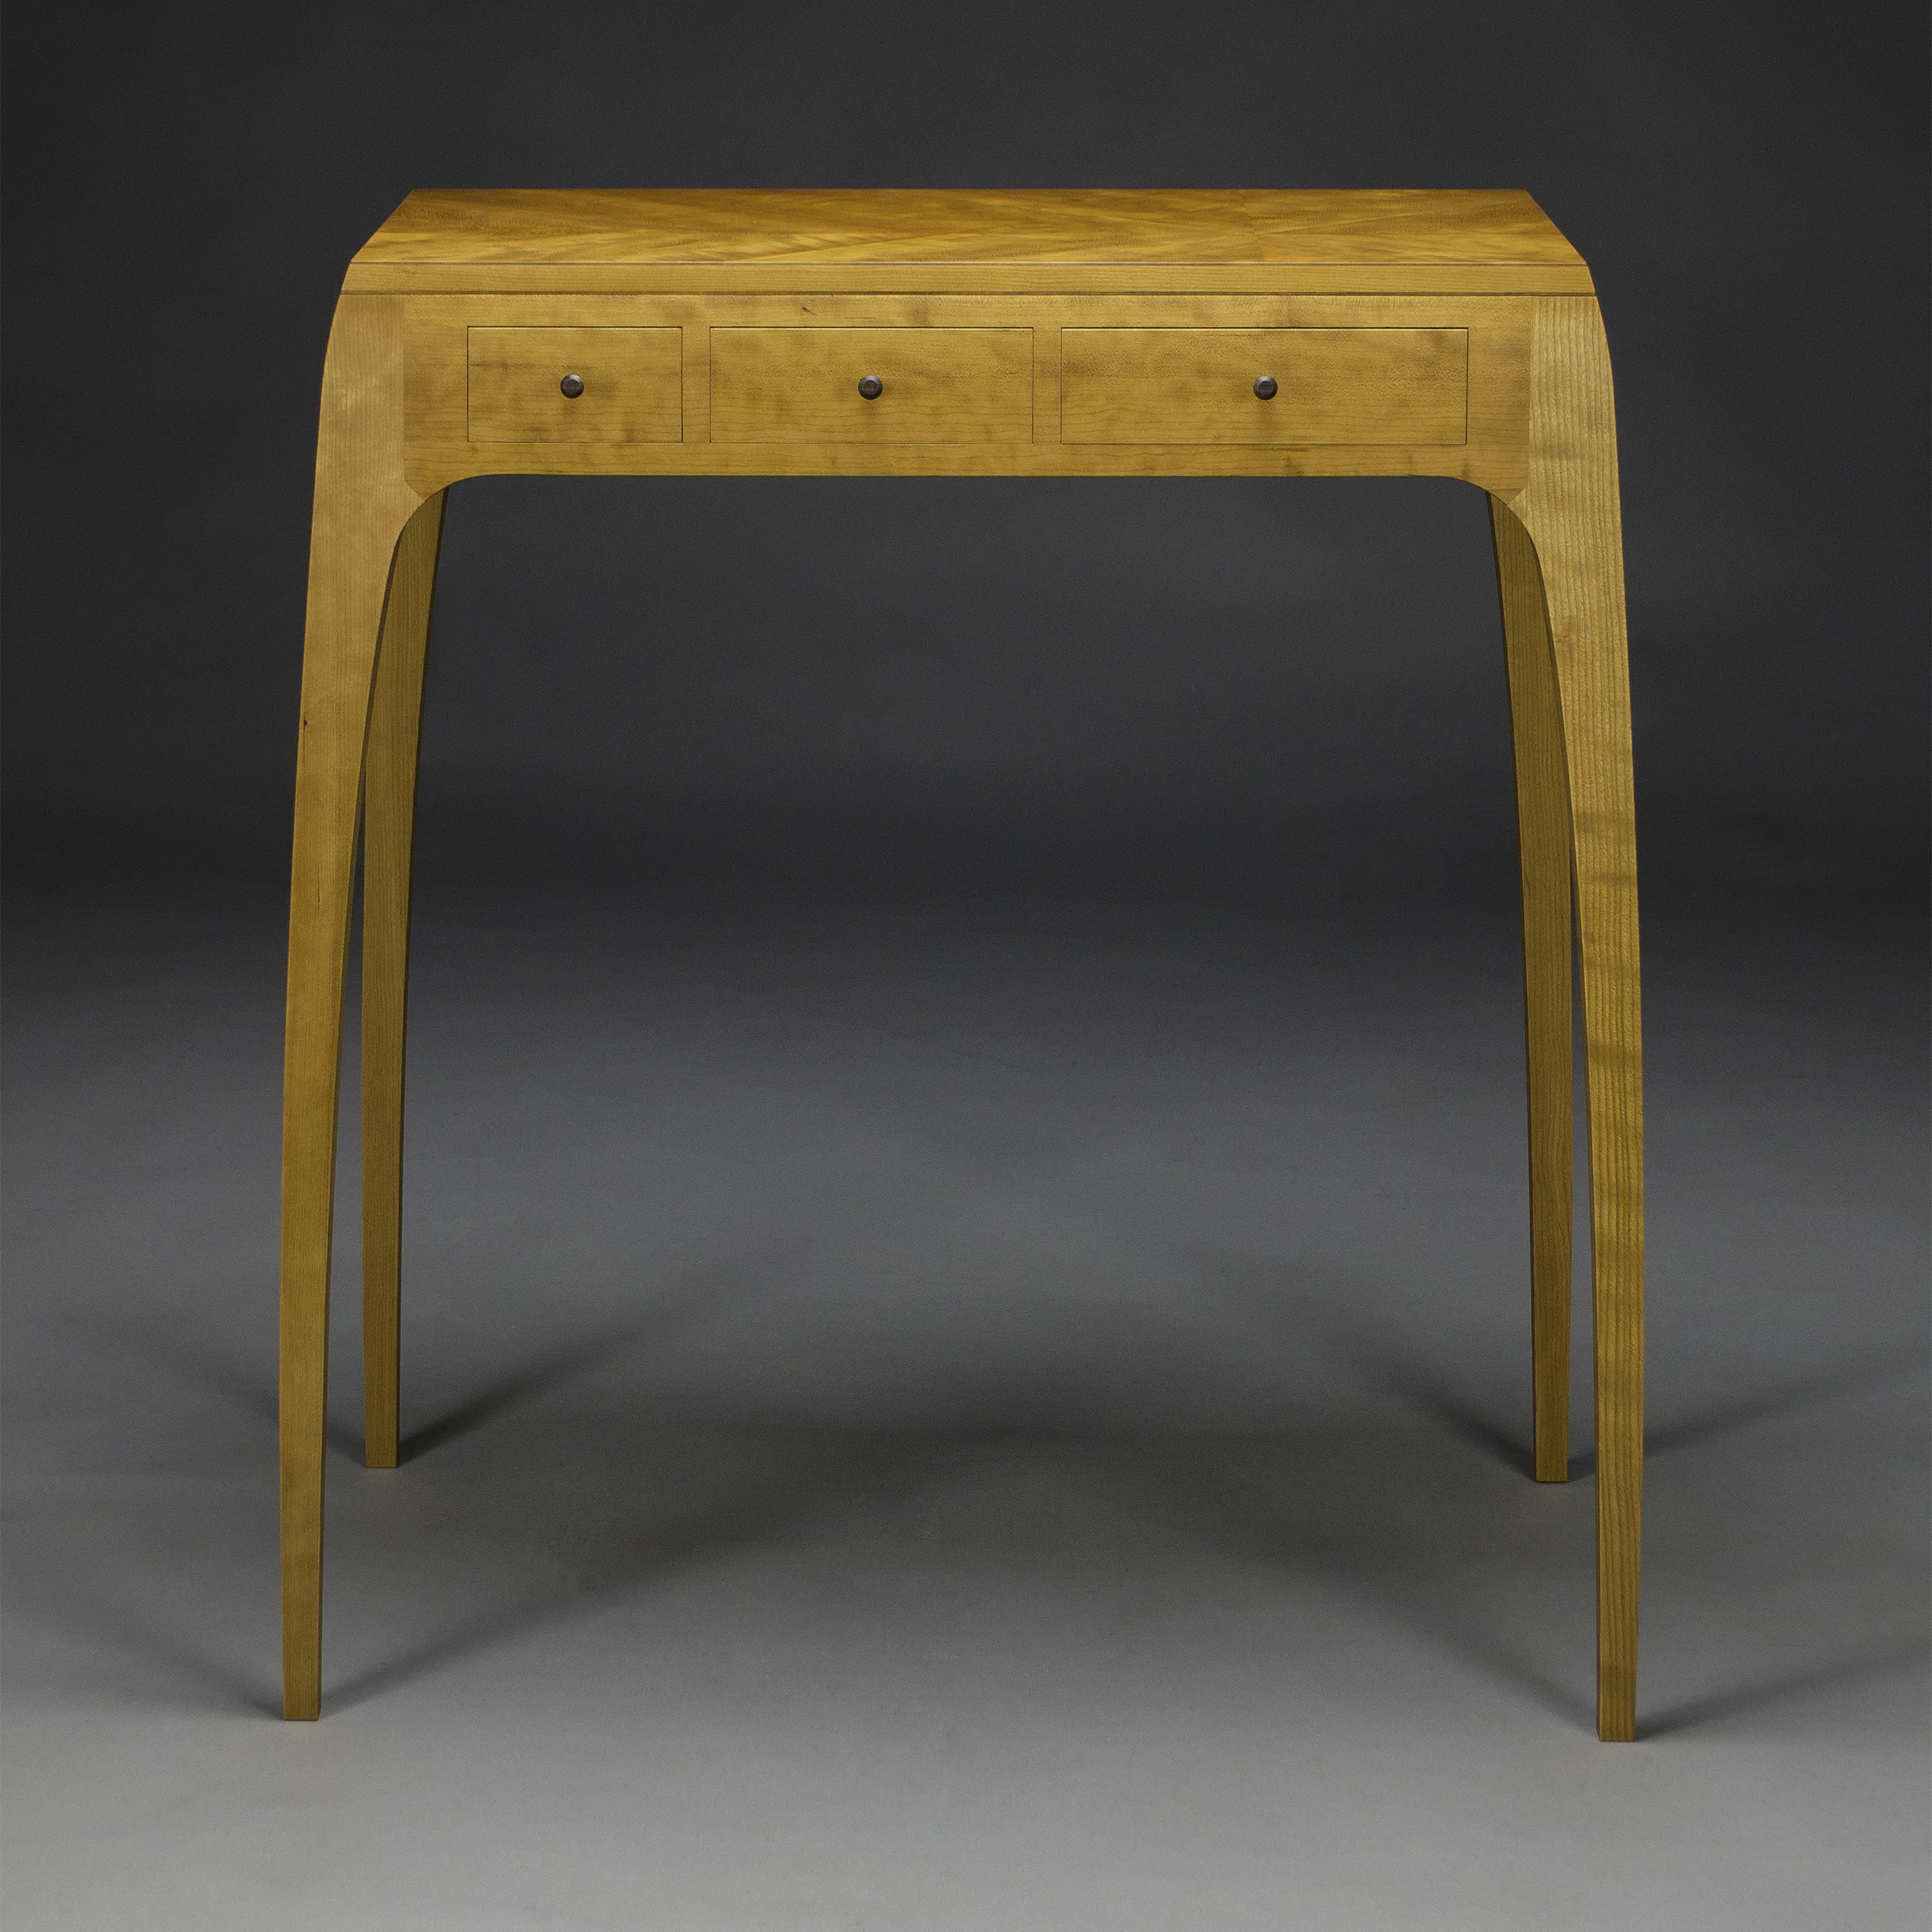
Serotina is made of black cherry and rosewood, with curly, quartersawn maple drawer sides and backs.
